
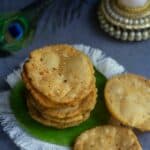
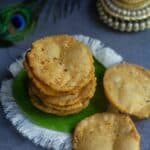
Here is my recipe for delicious deep-fried South Indian snack thattai or thattai murukku with store-bought rice flour, detailed step-wise pictures, and many tips.
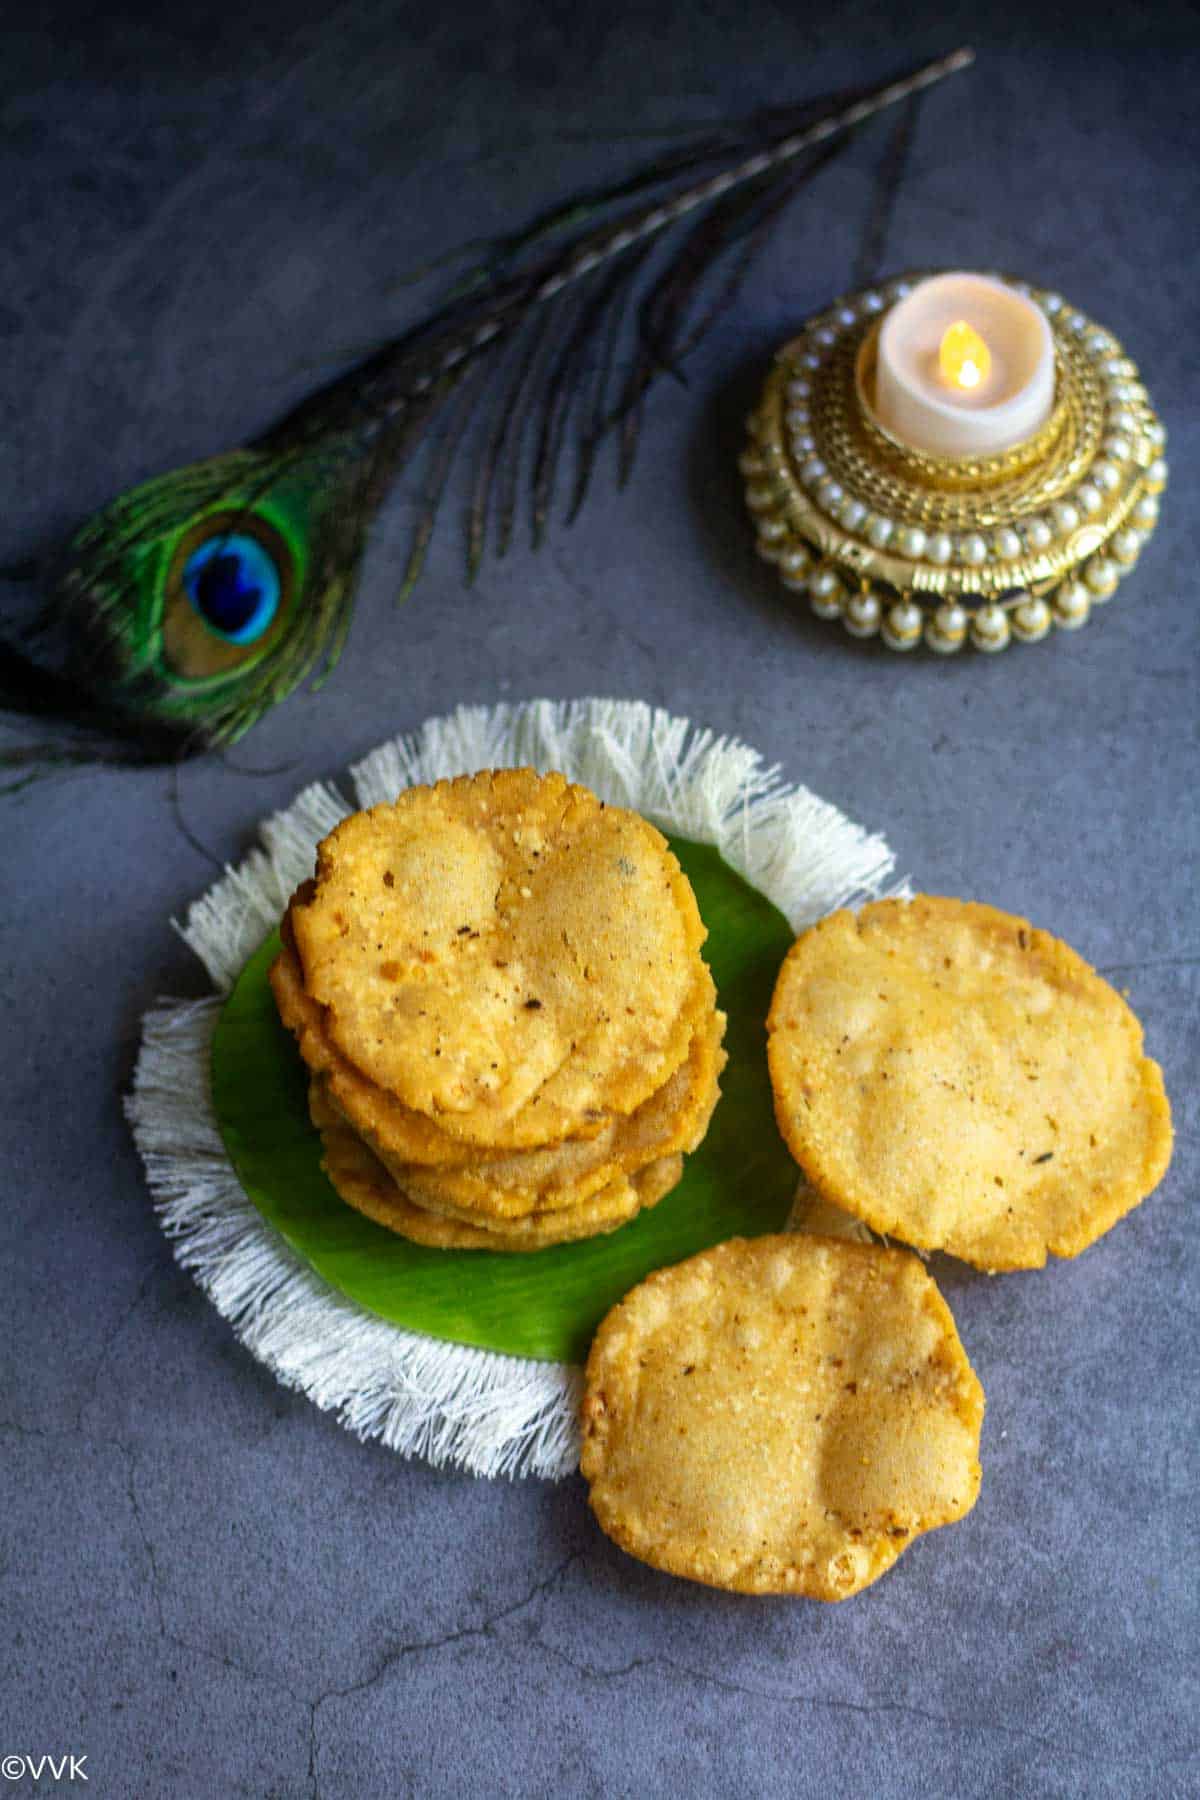
Like the Uppu Seedai recipe I shared earlier, Thattai—also known as Thattai Murukku—is a cherished snack often prepared during festivals, especially Janmashtami.
Jump to:
Thattai is a traditional South Indian snack that is special to Tamil Nadu. These flat, disc-shaped treats, usually about the size of a palm, are made using rice flour and urad dal flour. “Thattai” means “flat” in Tamil, reflecting their distinctive shape. Similar snacks can be found in neighboring South Indian states, such as Nippattu in Karnataka and Chekkalu in Andhra/Telangana.
While the ingredients for thattai resemble those used in seedai, the two snacks differ significantly in appearance, texture, and preparation methods. Here’s my simple recipe for making thattai using store-bought idiyappam flour and homemade urad dal flour.
Now, let’s dive straight into the recipe and all the details.
Ingredients required
Rice Flour or Idiappam Flour: You can use either, but be sure to roast and sift the flour before use.
Urad Dal Flour: You’ll need one tablespoon, as mentioned in the detailed instructions below.
Cumin Seeds, Asafoetida, Chana Dal, and Sesame Seeds: These ingredients enhance the flavors, and you can also add curry leaves and coconut.
Butter: Use softened butter at room temperature—not melted or cold.
Oil: I prefer using coconut oil for frying as it adds a unique flavor, but groundnut oil or any neutral-flavored oil works just as well.
Chili Powder: Unlike seedai, thattai is spiced up with chili powder. You can also add crushed black pepper for a peppery twist.
Additional Ingredients: You’ll also need salt and water.
Please refer to the recipe card for exact measurements.
Preparing homemade urad dal flour
Many traditional snacks, or bakshanams, require urad dal flour, so I like to make a good amount in advance for various recipes. Here’s how I make it:
- Roasting: Heat a wide pan or kadai, and add the urad dal. Roast the dal until it turns golden and releases a nutty aroma. Be sure to stir continuously for even roasting.
- Cooling: Immediately transfer the roasted dal to a plate and let it cool completely.
- Grinding: Once cooled, grind the urad dal into a fine powder. Sieve the flour, and if there are any coarse particles, grind them again until the flour is smooth.
- Storing: Store the flour in an airtight container. You can make thattai, murukku, seedai, and other snacks. You can also use it to make dangar pachadi.
VVK Tip: Promptly transfer the urad dal to a plate after roasting. If left in the pan, especially a heavy-bottomed one, the residual heat may cause the dal to continue cooking and darken in color.
Dietary specifications & yield
My version of thattai is naturally nut-free. You can omit the asafoetida or use gluten-free asafoetida for a gluten-free version. You can use coconut oil instead of butter and deep-fry the thattai with ground nut oil or any neutral-flavored oil for a vegan version.
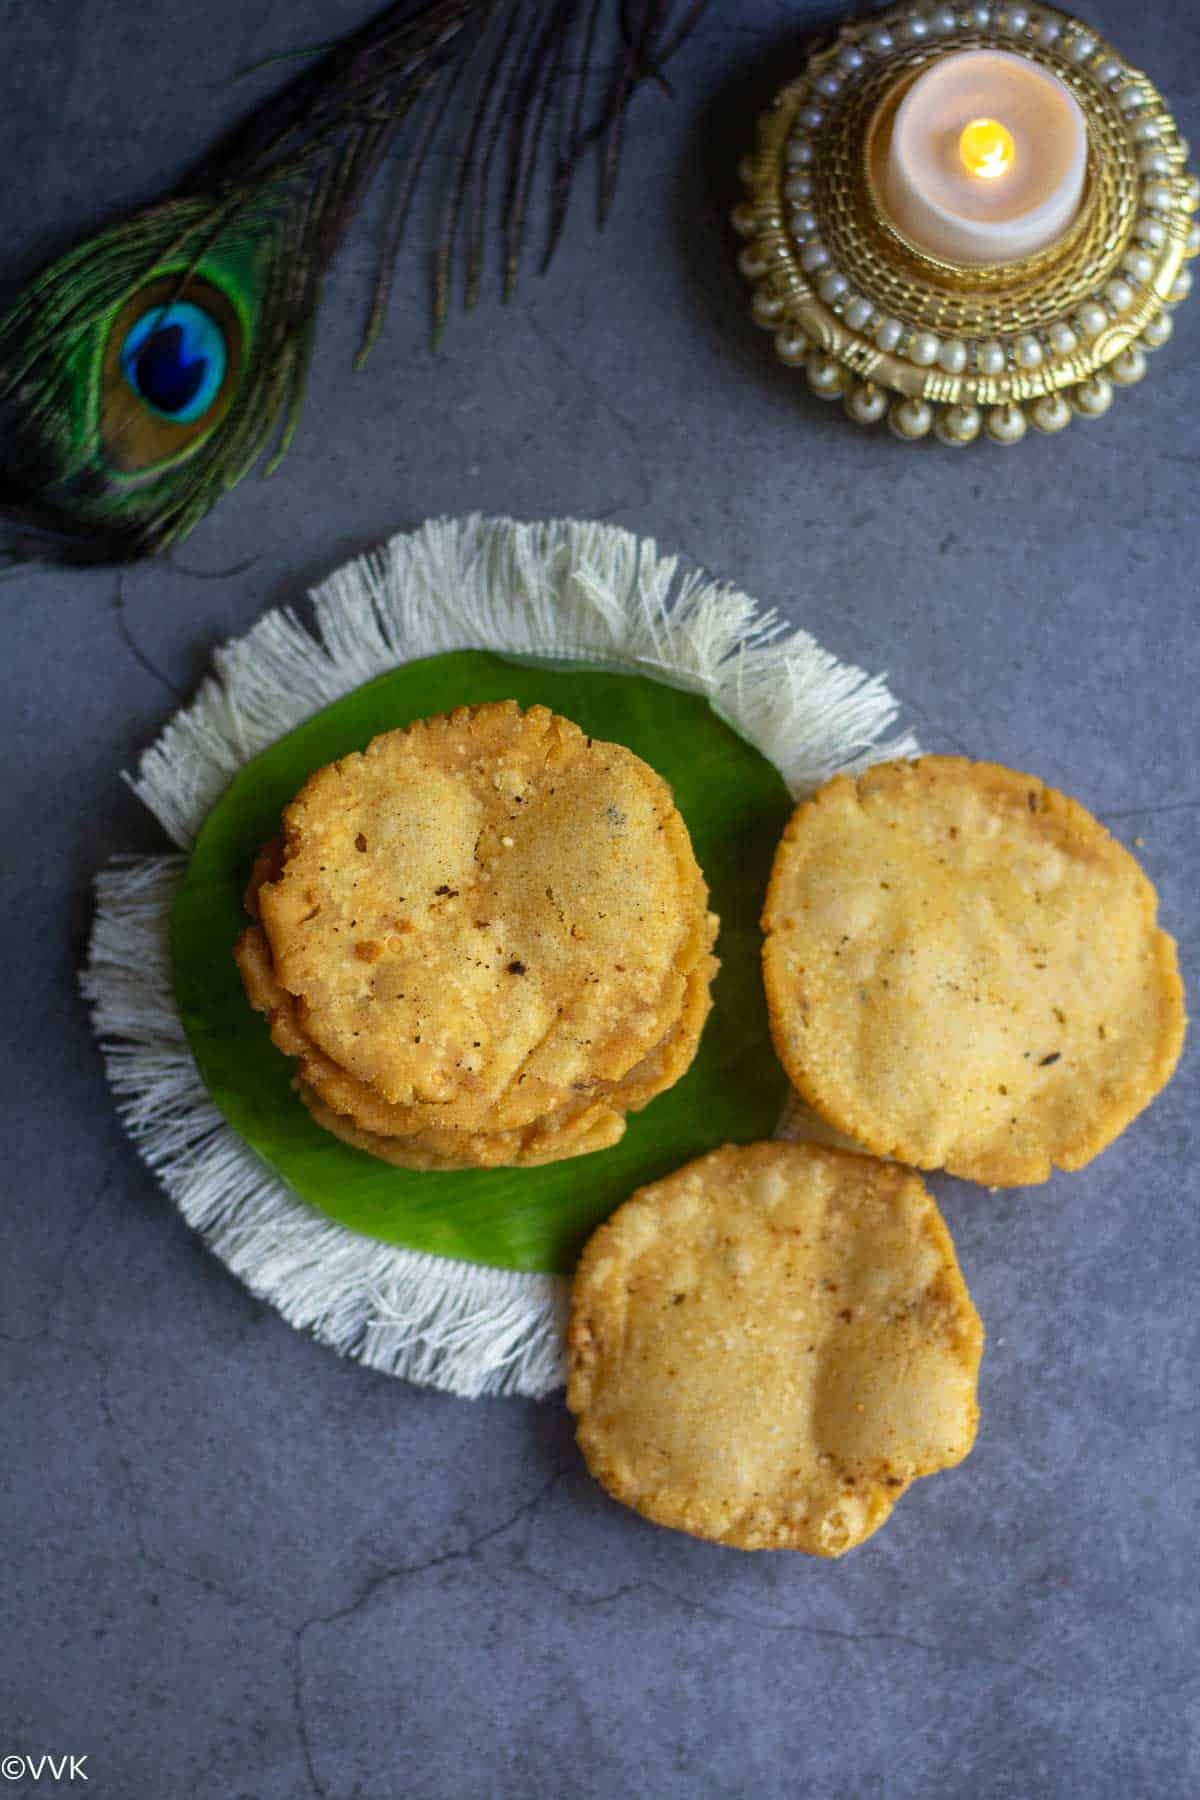
The following measurements yield approximately 12 to 15 thattai. After frying, allow the thattai to cool completely before storing them in an airtight container.
How to make thattai
Prep Work:
- Roast the rice flour on low heat for two minutes. Do not let it change color. This step helps remove moisture from the flour; immediately transfer it to a plate after roasting.
- Sieve the rice flour and urad dal flour to remove any lumps.
- Soak the chana dal in ½ cup of water for a minimum of 15 mts.
Prepare the dough:
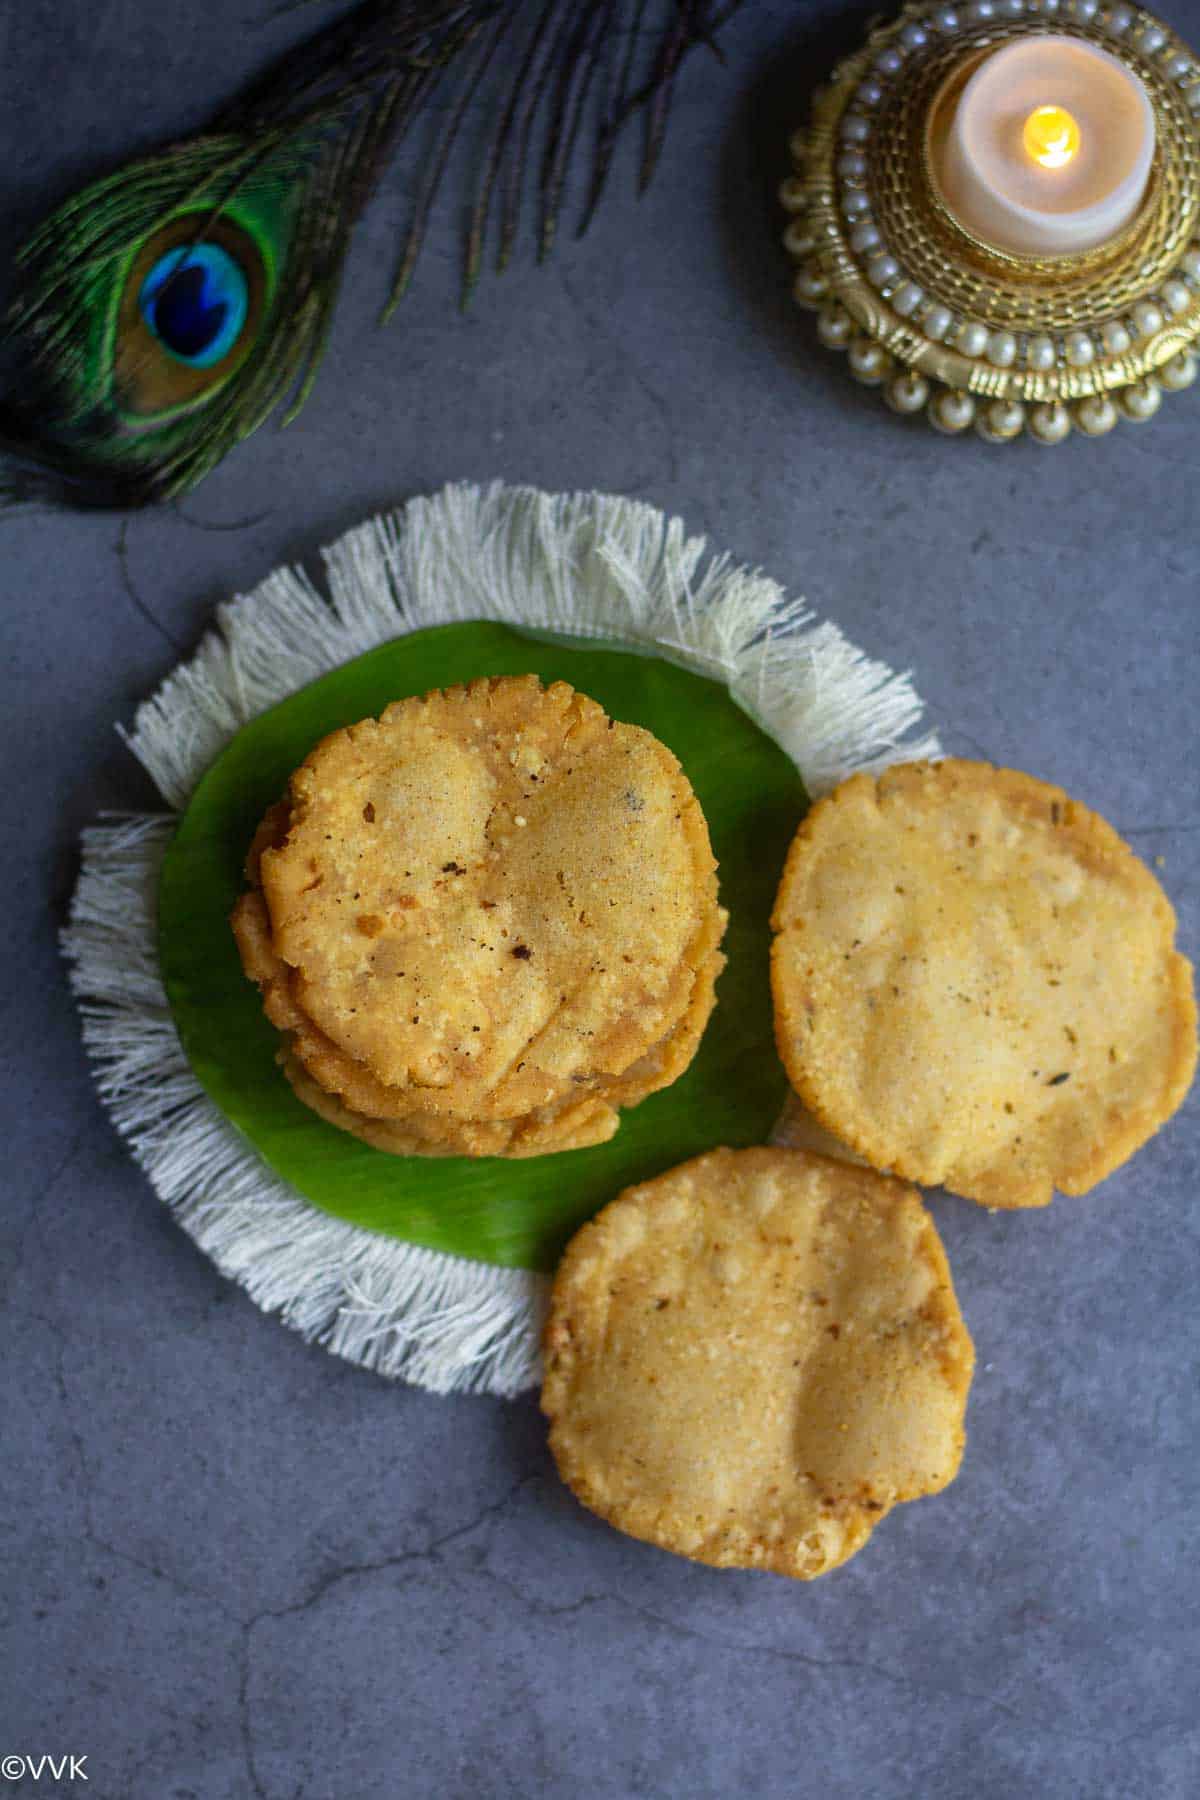
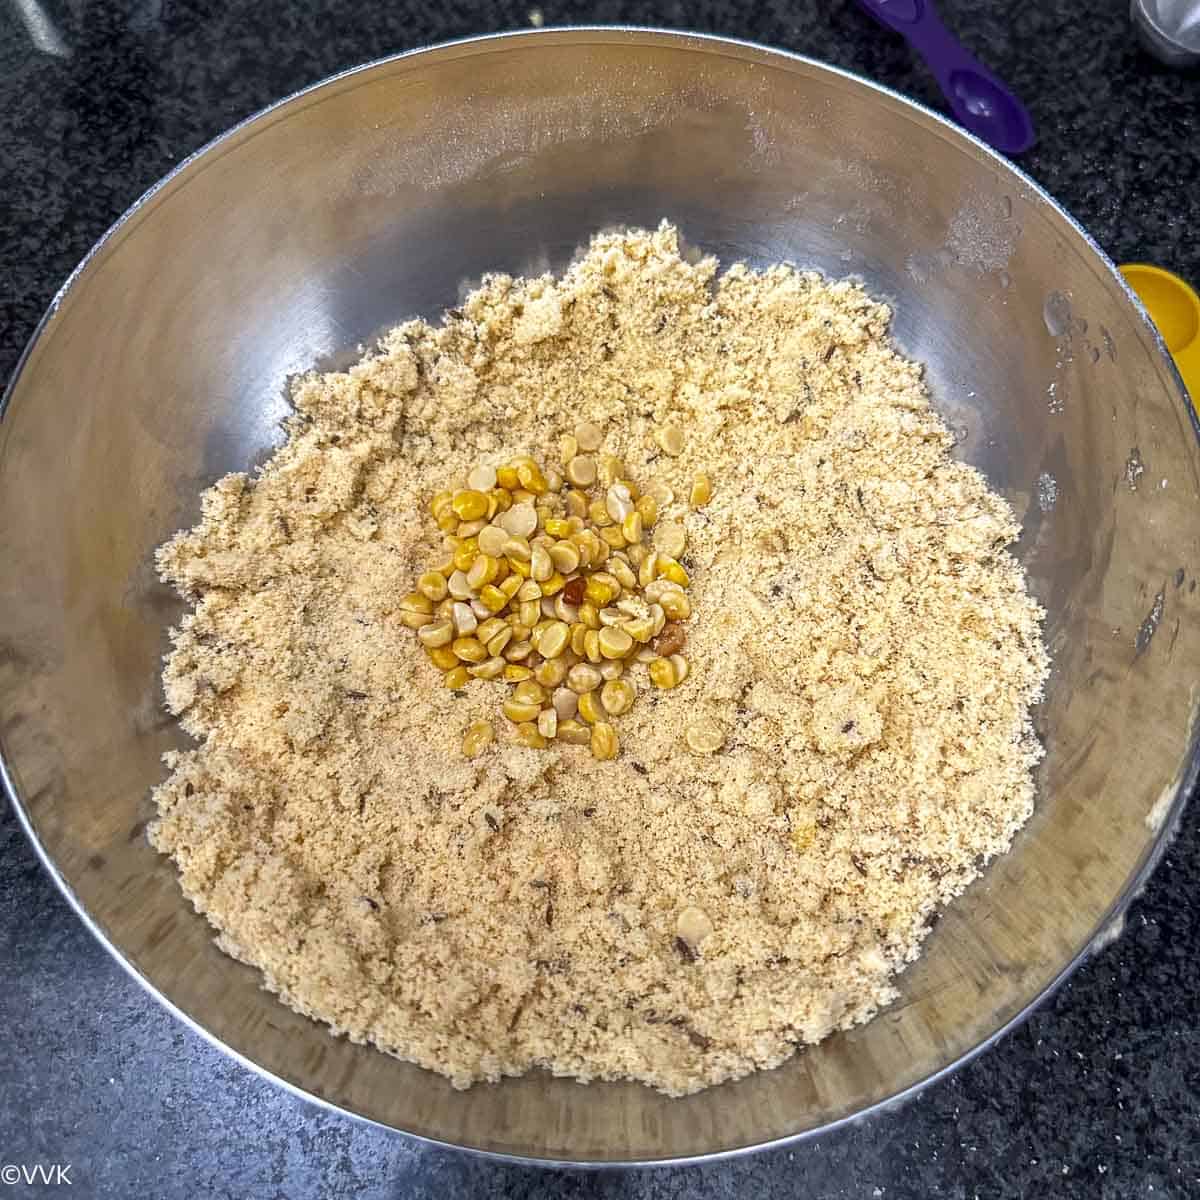
- Add the rice flour, urad dal flour, cumin seeds, asafoetida, white sesame seeds, salt, chili powder, and butter in a large mixing bowl.
- Mix well until it becomes crumbly. Now add the soaked chana dal and mix.
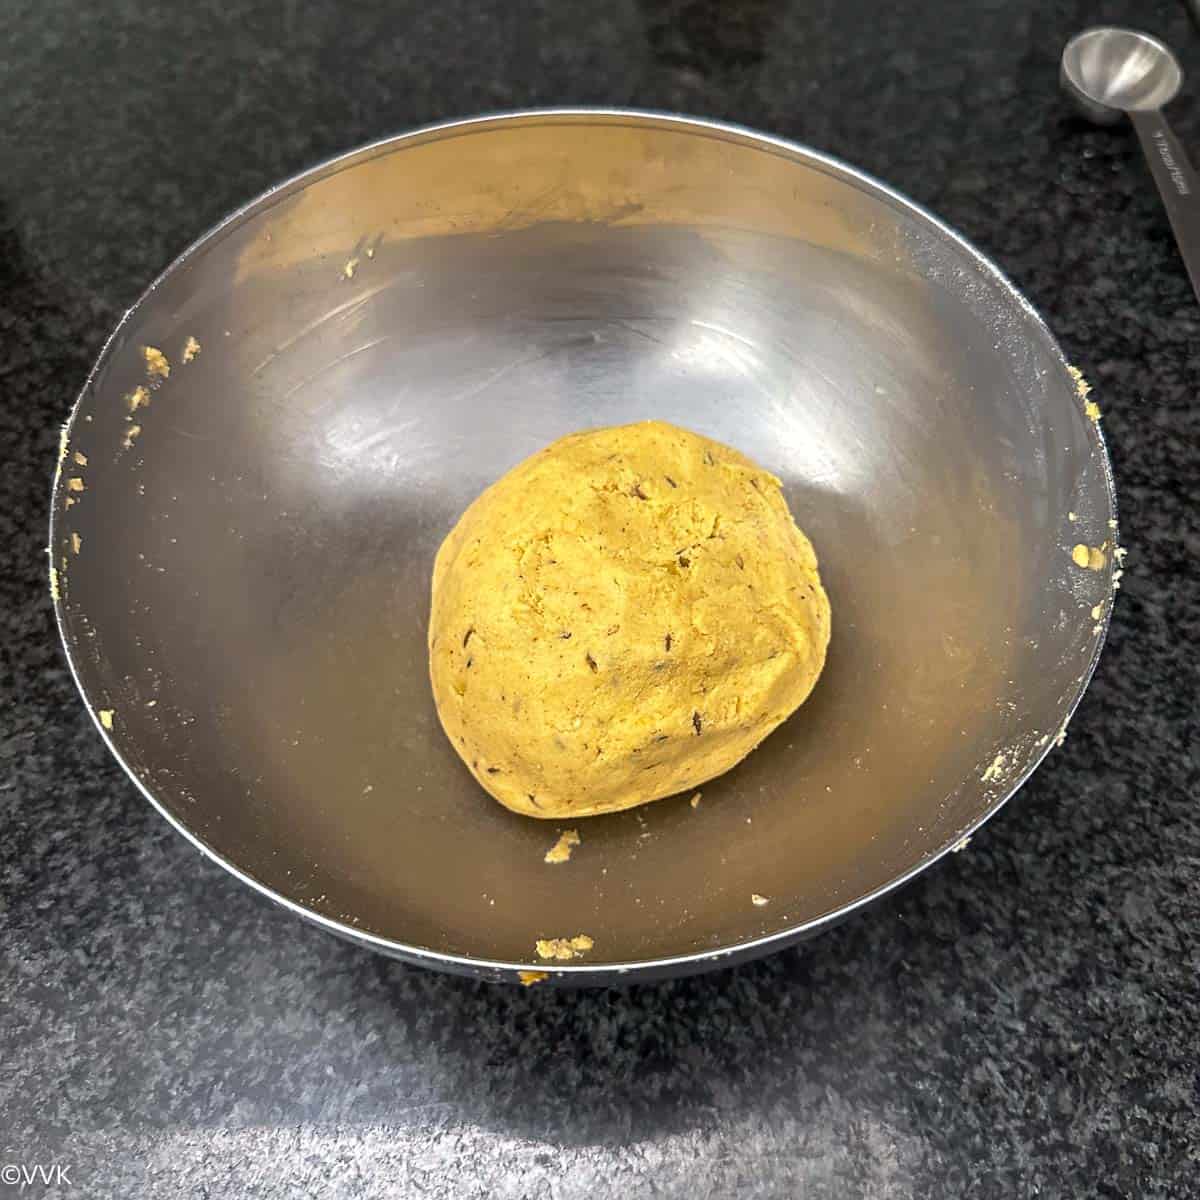
- Slowly add water and knead it into a soft, smooth dough. It should not stick to the vessel and knead the dough like a big ball.
Shape the thattai:
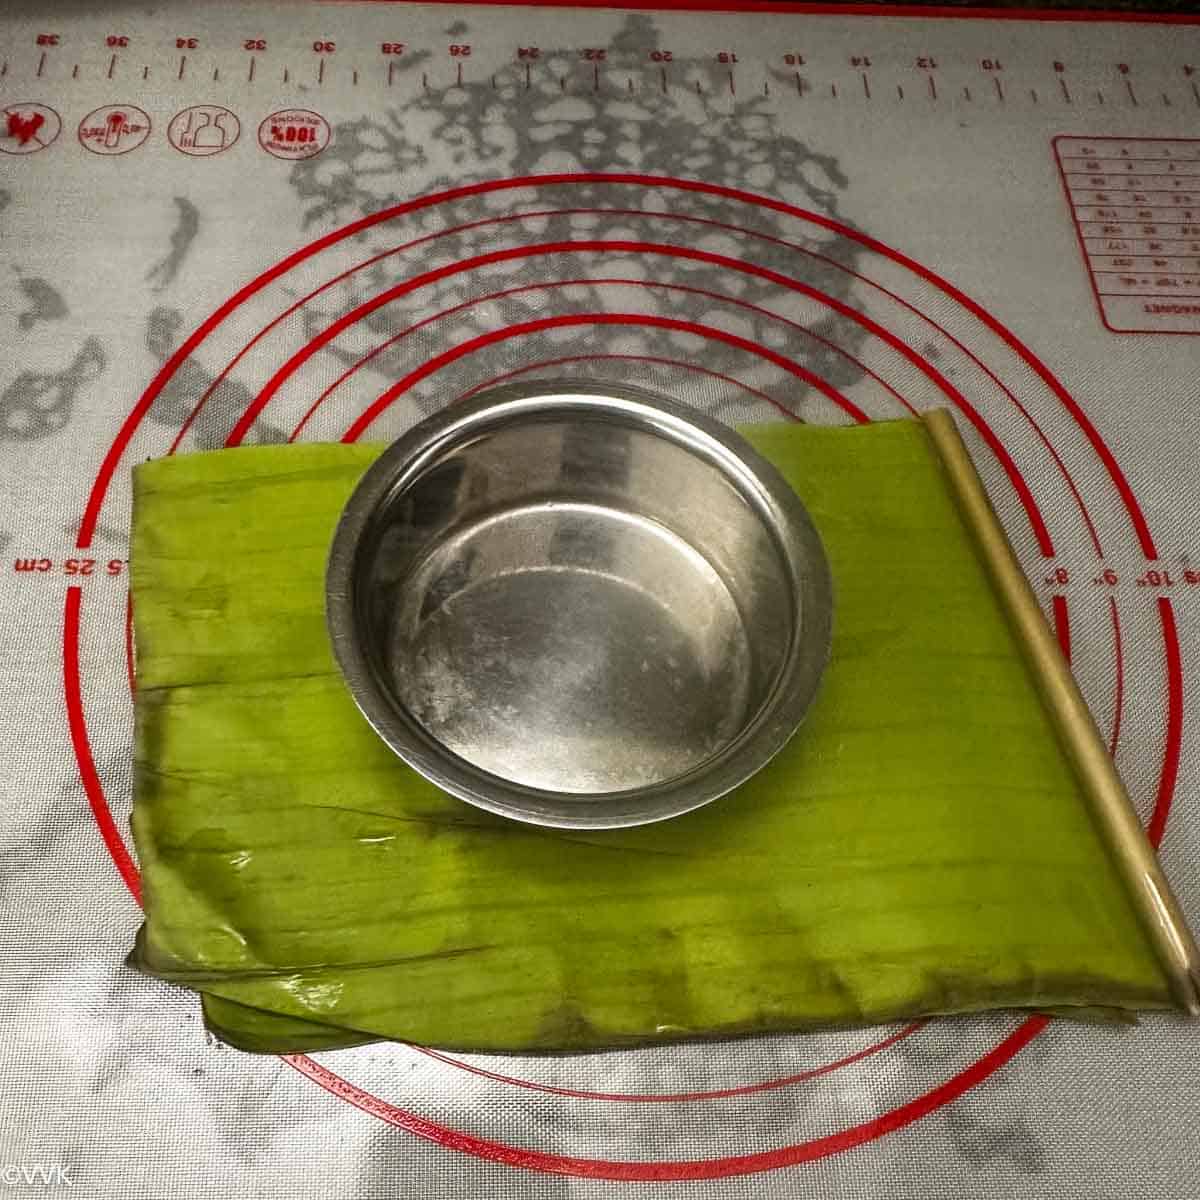
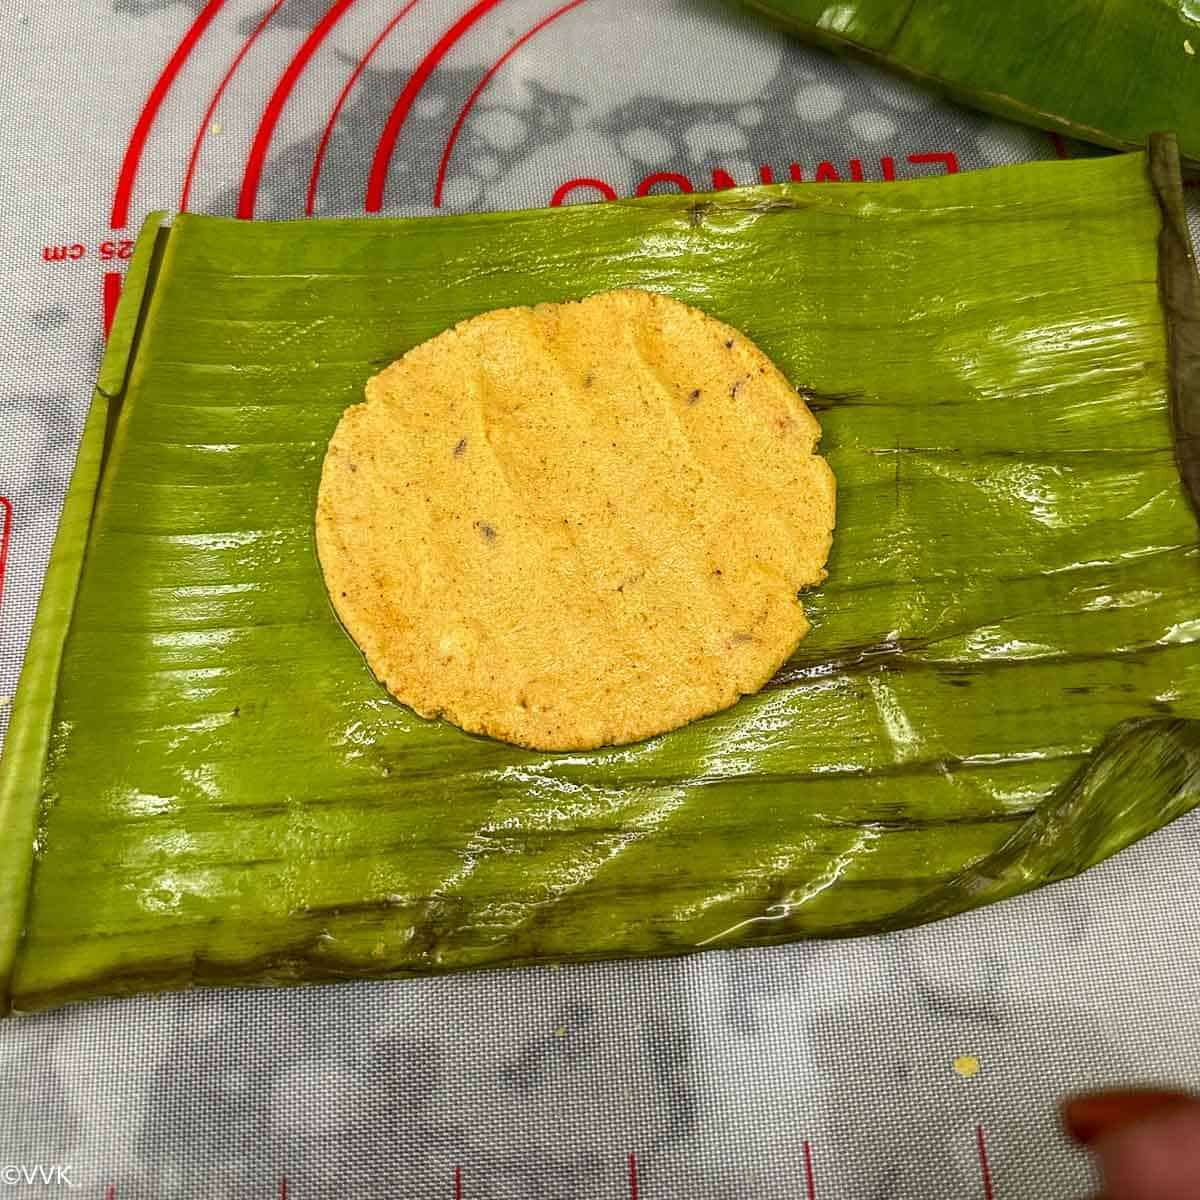
- Lightly coat two ziplock bags or banana leaves with coconut oil. Take a small gooseberry-sized portion of dough, roll it into a smooth, crack-free ball, and gently press it slightly flat. Place the dough ball on one of the oiled ziplock bags or banana leaves, then cover it with the other, oil-side down. Press down as demonstrated in the picture using a davara or a flat bowl.
- After pressing, smooth the edges and prick the Thattai with a fork to prevent it from puffing up during frying. PS – I don’t prick the thattai as we love puffed up ones.
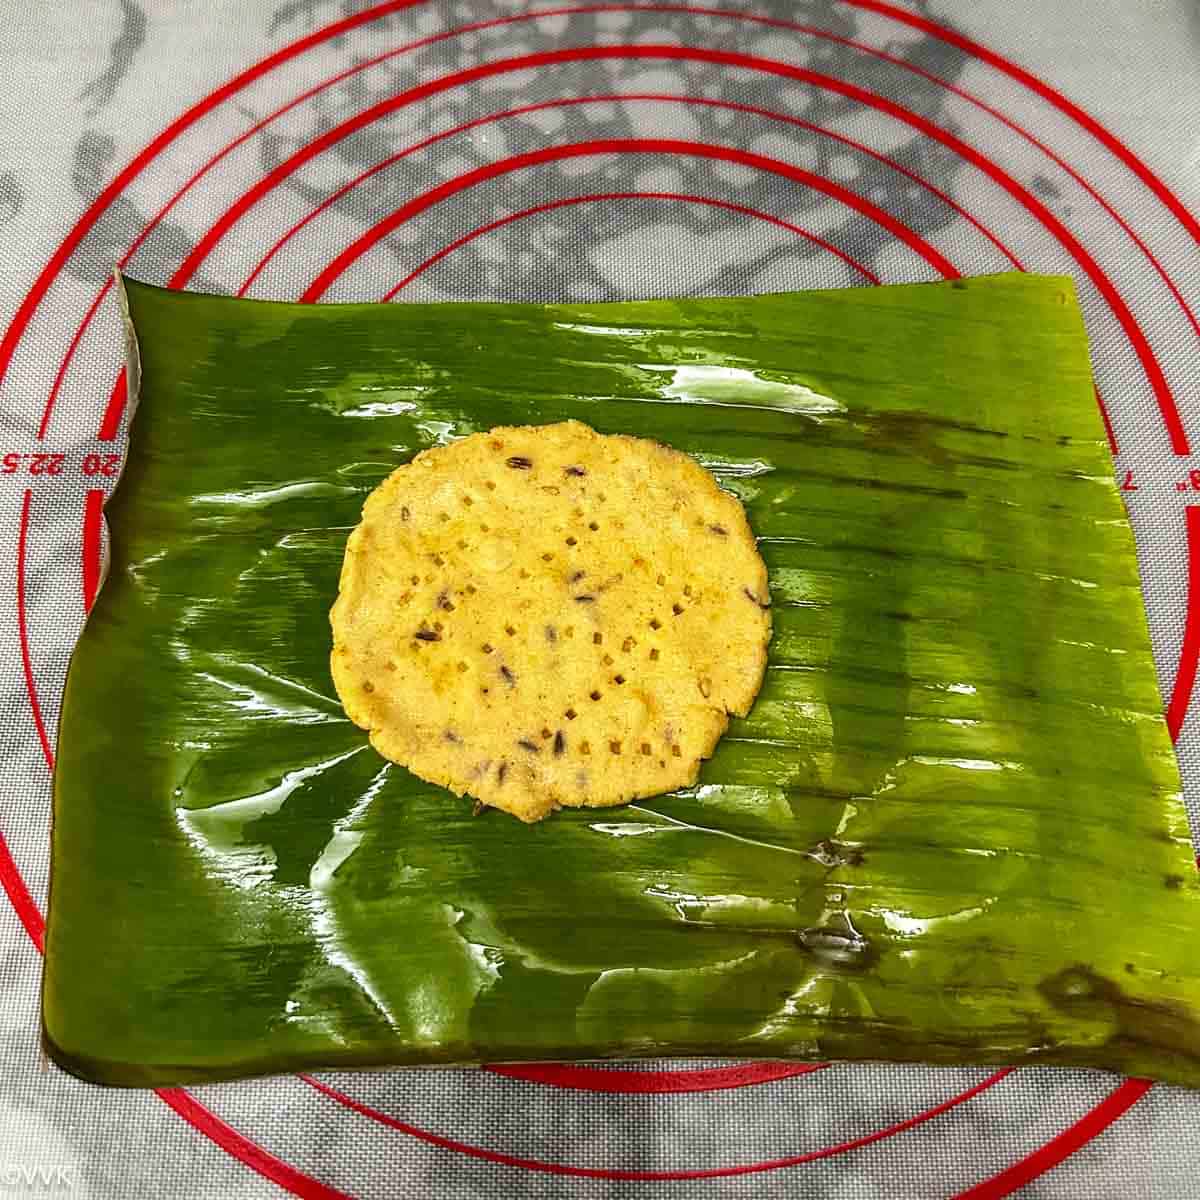
- Alternatively, you can rub a little coconut oil on your palms, place the dough balls on the ziplock bag or banana leaf, and flatten them as thinly as possible—this is my preferred method.
Note: You can fry the thattai immediately—no need to let the pressed dough rest.
Fry the thattai:
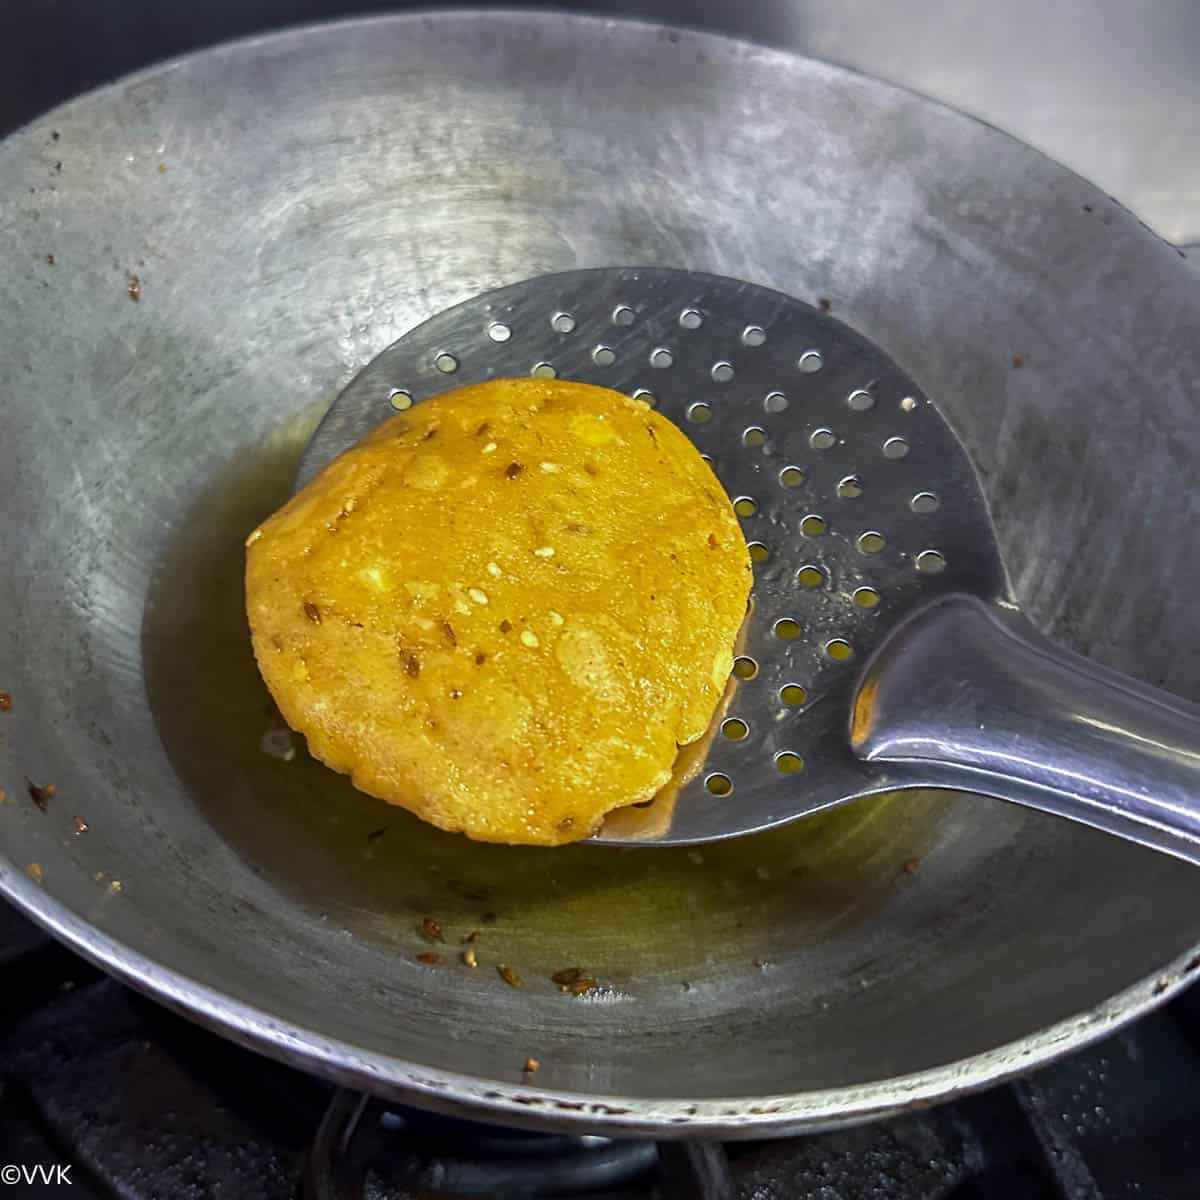
- Meanwhile, heat the oil for frying, and when the oil is hot, fry the thattai until the bubbling sound ceases.
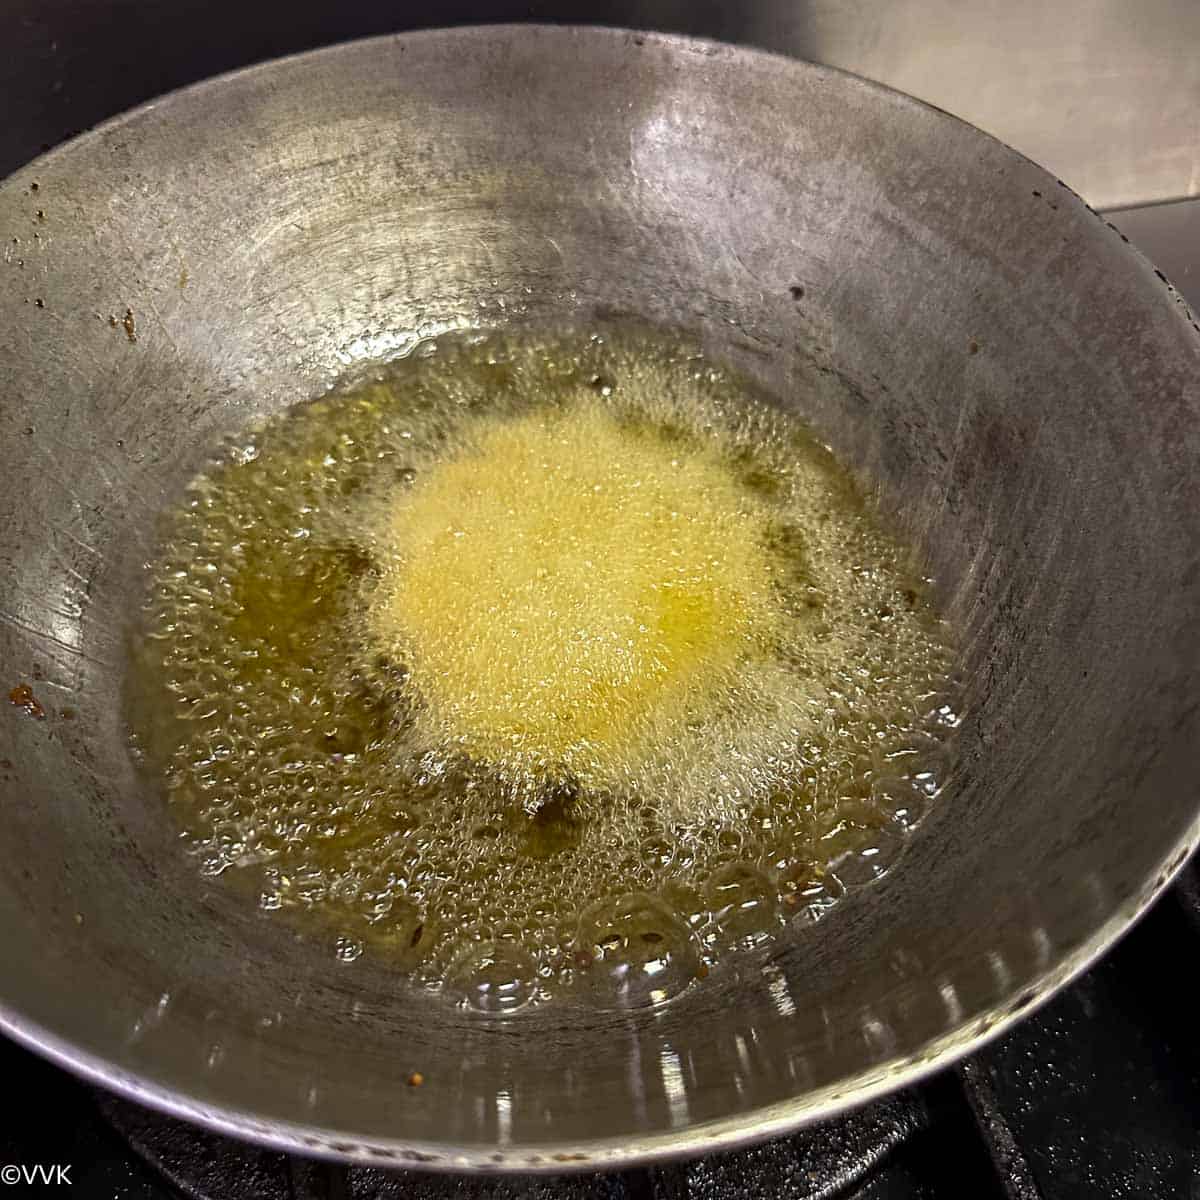
- Usually, it takes about 3 to 5 minutes over medium-low heat.
- Drain it in a tissue paper. Press and fry the thattai similarly with the remaining dough. Check the notes for pressing and frying.
Cool and store:
- Allow the thattai to cool completely before storing them in an airtight container.
Recipe Notes
- Avoid deep frying at high heat. Keep the heat setting at a medium level, around 4 or 5 on a scale, to ensure even cooking. If the heat is too high, the outside may cook too quickly and change color while the inside remains raw.
- Adjust the salt and spice to your taste preference.
- If you’re using store-bought urad dal flour, roast it with rice flour.
- For variations and precautions while preparing thattai, please refer to the FAQ and tips section.
- Don’t press all the thattai at once. Press two to three and fry them immediately.
Frequently asked questions
I highly recommend using coconut oil, but if you prefer, you can use coconut oil to grease your palms while pressing the thattai and opt for groundnut oil, corn oil, or any neutral oil for frying. I don’t recommend canola, olive, or vegetable oil, as they can alter the traditional flavor of seedai.
Yes absolutely. Skip the butter and use coconut oil instead.
Yes, you can use millet flour. You can check my kambu or bajra thattai for inspiration.
Tips to prevent thattai from breaking apart
When thattai disintegrates or breaks apart while frying in oil, it can be due to several reasons related to the preparation of the dough or the frying process. Here are some common causes and tips to prevent this:
- If the dough is too wet or sticky, it can cause the thattai to disintegrate when it hits the hot oil. Ensure the dough is firm but pliable, with enough water to combine the ingredients.
- If the oil is not hot enough, the thattai can absorb too much, becoming soggy and prone to breaking apart. Ensure the oil is at the right temperature before frying.
- If the thattai is rolled too thin, it may not have enough structure to hold together during frying, leading to breakage. Ensure the dough is rolled out evenly, with a consistent thickness, to prevent weak spots that might break apart.
- Adding too much butter, ghee, or oil to the dough can weaken its structure, causing it to break apart when fried. Stick to the recommended proportions.
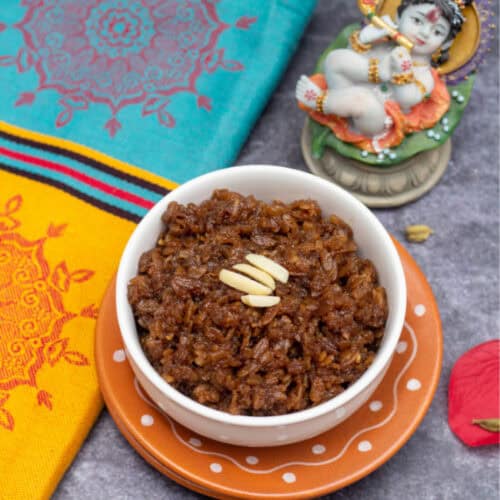
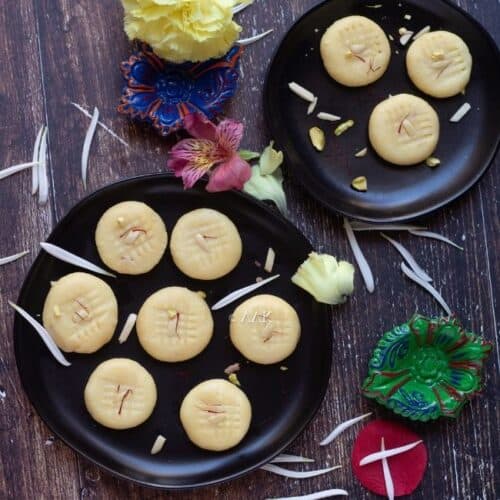
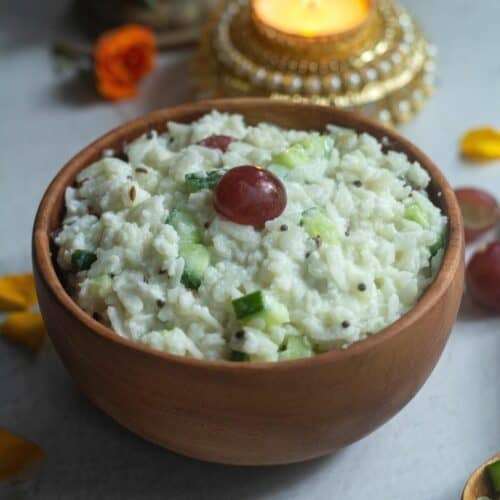
More Janmashtami special recipes

Follow me on Instagram or join my Facebook Group for more gardening and recipe updates. If you try this thattai recipe, please don’t forget to comment and rate this recipe. Please comment if you have any questions, and I will get to it ASAP. Follow me on my Pinterest for more healthy and delicious idea.
📖 Recipe
Thattai | Thattai Murukku
Ingredients
Measurement Details: 1 cup= 240ml; 1 tbsp = 15ml; 1tsp = 5ml;
- 1.5 cups rice or idiyappam flour store-bought
- 1.5 tbsp urad dal flour
- 2 tsp cumin seeds
- ¼ tsp asafoetida
- 1 tsp white sesame seeds
- 1 tsp salt
- 1 tsp chili powder
- 2 tbsp butter at room temperature soft
- 1 tbsp chana dal
- ¾ cup water + 2 tbsp plus water for soaking
- 1.5 cups Oil for frying and greasing
Instructions
Prep Work:
- Roast the rice flour on low heat for two minutes. Do not let it change color. This step helps remove moisture from the flour; immediately transfer it to a plate after roasting.
- Sieve the rice flour and urad dal flour to remove any lumps.
- Soak the chana dal in ½ cup of water for a minimum of 15 mts.
Prepare the dough:
- Add the rice flour, urad dal flour, cumin seeds, asafoetida, white sesame seeds, salt, chili powder, and butter in a large mixing bowl. Mix well until it becomes crumbly.
- Now add the soaked chana dal and mix.
- Slowly add water and knead it into a soft, smooth dough. It should not stick to the vessel and knead the dough like a big ball.
Shape the thattai:
- Lightly coat two ziplock bags or banana leaves with coconut oil. Take a small gooseberry-sized portion of dough, roll it into a smooth, crack-free ball, and gently press it slightly flat. Place the dough ball on one of the oiled ziplock bags or banana leaves, then cover it with the other, oil-side down. Press down as demonstrated in the picture using a davara or a flat bowl.
- After pressing, smooth the edges and prick the Thattai with a fork to prevent it from puffing up during frying.
- Alternatively, you can rub a little coconut oil on your palms, place the dough balls on the ziplock bag or banana leaf, and flatten them as thinly as possible—this is my preferred method.
- Note: You can fry the thattai immediately—no need to let the pressed dough rest.
Fry the thattai:
- Meanwhile, heat the oil for frying, and when the oil is hot, fry the thattai until the bubbling sound ceases. Usually, it takes about 3 to 5 minutes over medium-low heat.
- Drain it in a tissue paper. Press and fry the thattai similarly with the remaining dough. Check the notes for pressing and frying.
Cool and store:
- Allow the thattai to cool completely before storing them in an airtight container.
Notes
- Avoid deep frying at high heat. Keep the heat setting at a medium level, around 4 or 5 on a scale, to ensure even cooking. If the heat is too high, the outside may cook too quickly and change color while the inside remains raw.
- Adjust the salt and spice to your taste preference.
- If you’re using store-bought urad dal flour, roast it with rice flour.
- For variations and precautions while preparing thattai, please refer to the FAQ and tips section.
- Don’t press all the thattai at once. Press two to three and fry them immediately.
Nutrition
I am not a nutritionist. The nutritional information is provided as a courtesy and is an estimate only. It varies depending upon the product types or brands.
Update notes – This recipe was originally published on August 2014. Now updated with video, new pictures, recipe card and nutrition information.

So crispy and tasty! I made a batch and enjoyed it with my evening chai!
So glad to hear. Thanks
Thank you for sharing this wonderful recipes. Could you also please share air fryer methods for deep fried recipes? That will be very helpful. Thank you!
Sure. I will definitely try testing these air fryer and share the update.
Mrs/Miss Vidhya your recipes are really very nice and easy to follow. No hype about anything as if we make it everyday. Thank you very much for the easy to cook hand tastes fantastic. Jug jug gioy dear
Wow looks so crispy and delish snack….
Yeah I love thattai too
Clearly explained:-) crispy yummy snacks
Thanks Vidya