Make some delicious and healthy ragi and wheat roti, and pair it with curry of your choice for a perfect lunch or dinner! Incorporating ragi or finger millet in your daily diet has never been easy!
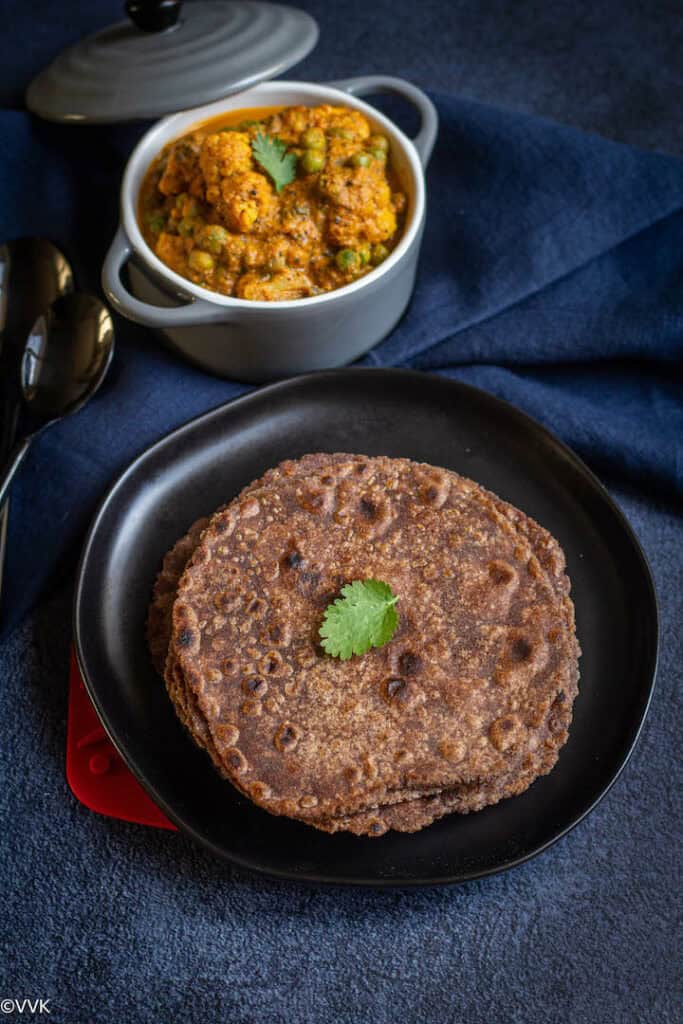
I love to switch grains and incorporate different grains in our daily diet. Quinoa, millets, barley, amaranth are part and parcel of my kitchen pantry now. While switching grains can be easy for some, that’s not the case for all.
Jump to:
Combined goodness of ragi and wheat
I used to combine quinoa and rice before getting acquired to the earthy flavor of quinoa. When you start a new grain, try to combine it with your everyday ingredient and slowly make the switch. And that’s what I have followed here. I have combined ragi (finger millet in English nachni in Hindi) and wheat flour for making the roti.
Ragi and wheat flour ratio
It’s hard to roll the gluten-free roti (with practice, you can definitely do), but when you combine the gluten-free flour with wheat flour, it’s easy to roll and prepare the rotis. Also, I have used a 1:1 ratio of ragi flour to wheat flour to get the goodness of both the flours.
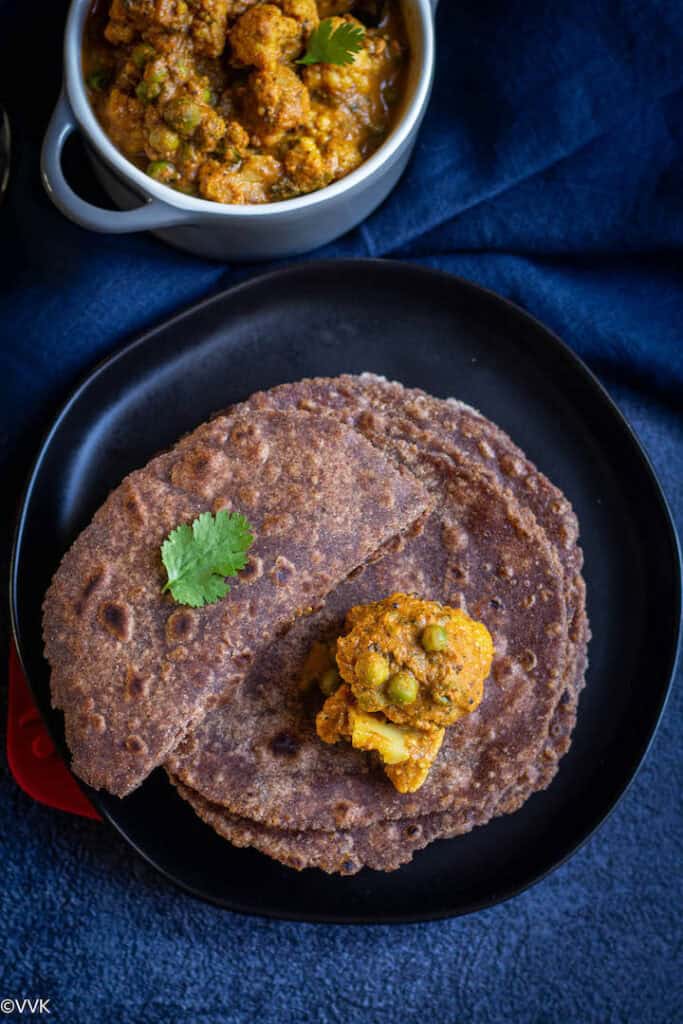
We all know the health benefits of ragi or finger millet flour. It’s rich in calcium and provides the essential amino acids. You can read about it on my ragi platter post.
Can we use other gluten-free flours?
Definitely, you can use can other millet flours. When my friend introduced amaranth flour, I started to combine it with wheat flour, and I made some yummy rotis and even pooris. I have tried combining quinoa and wheat flour also. You can try combing different gluten-free flours along with wheat flour to make healthy roti.
As I always make ragi roti/adai (I am yet to share that recipe), I never thought of combining ragi and wheat flour.
When one of my blogger friends, Suma, shared this ragi roti, I decided to try it, and it was delicious. Ragi is a staple in our household, and I make this roti often compared to the other ones.
Dietary specifications
This is a nut-free and vegan roti, but not gluten-free. If you are not particular about vegan, you can smear some ghee on top of the roti.
I always make the ragi roti dough and rotis fresh. I have never refrigerated the dough, so I can’t speak about the shelf life. But I have stored the rotis for a longer time (not in the fridge) and reheated them.
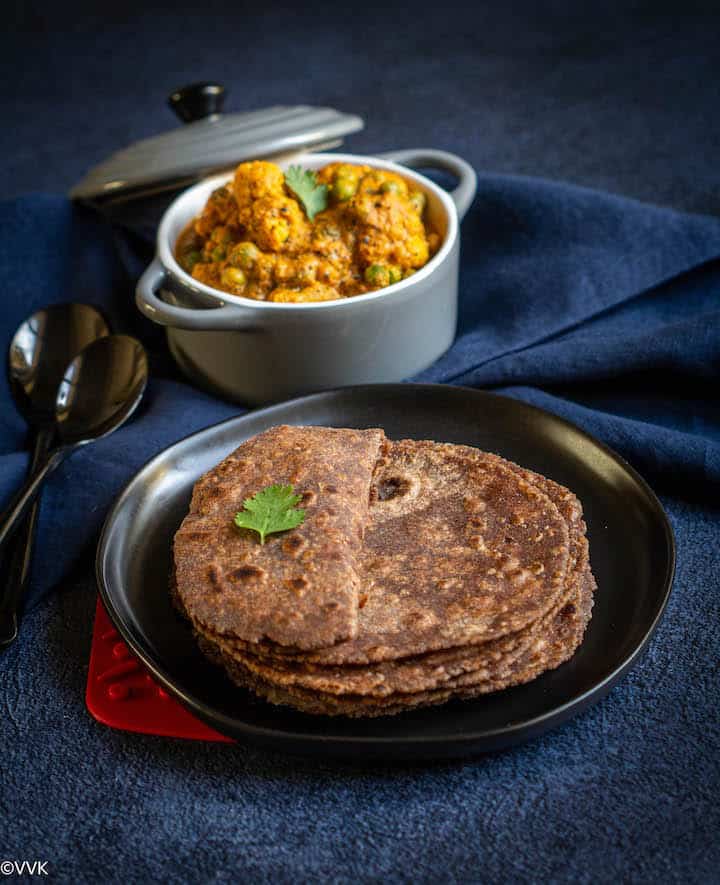
You can serve ragi roti with any dal, sabzi, or paneer gravy and make it a complete meal. I served it with gobhi matar / cauliflower green peas curry.
How to make ragi wheat roti
Prepare the dough-
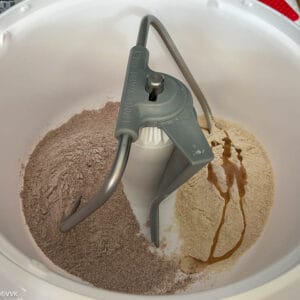
- I prepared my dough in the Nutril mill artiste. You can prepare it with any stand mixer or knead it by hand also. In a mixing bowl, add the whole wheat flour, ragi flour, oil, and salt.
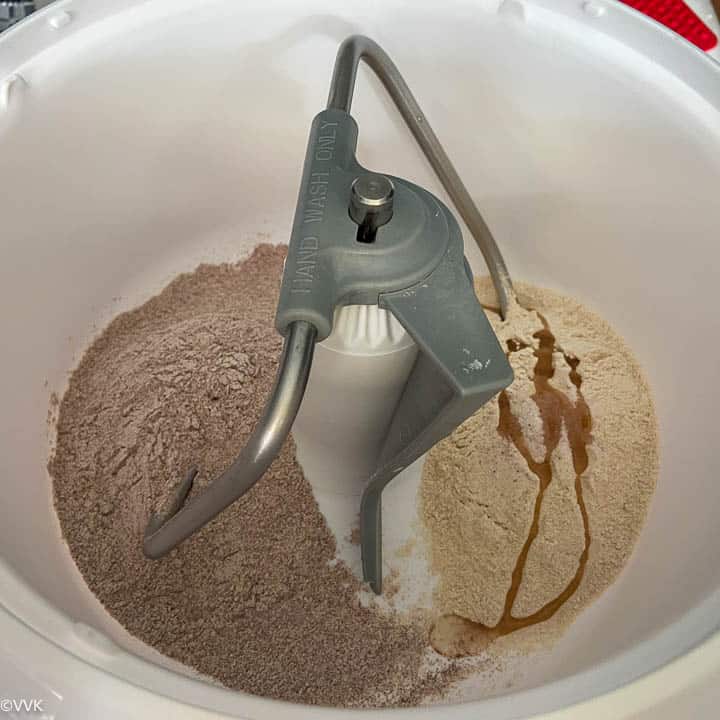
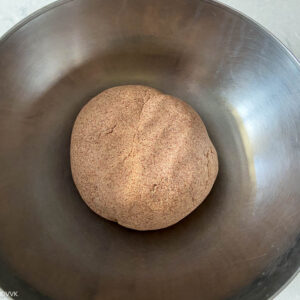
- First, mix it and then slowly add water in small quantity and knead into soft dough. If you are using the stand mixer, follow the instructions accordingly. After kneading, let the dough rest for 15 to 20 minutes. Make sure you cover the dough.
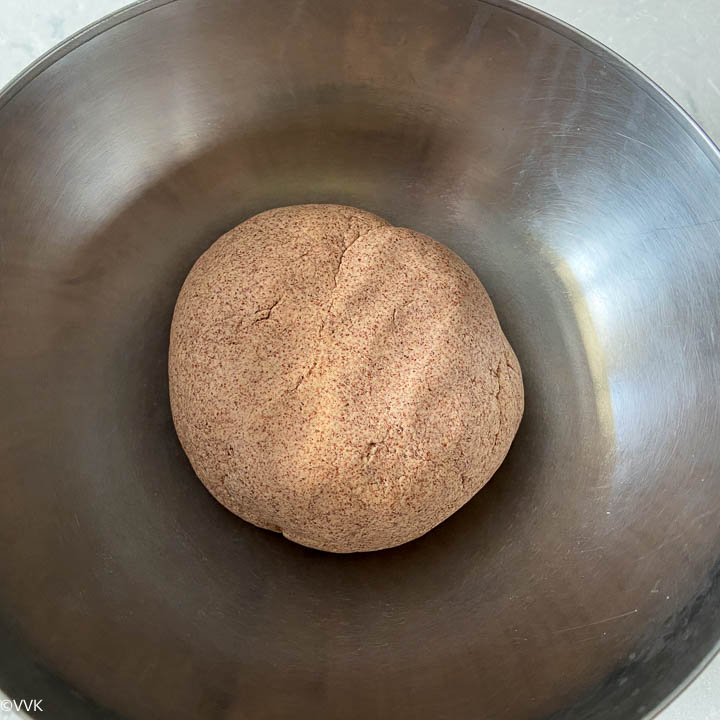
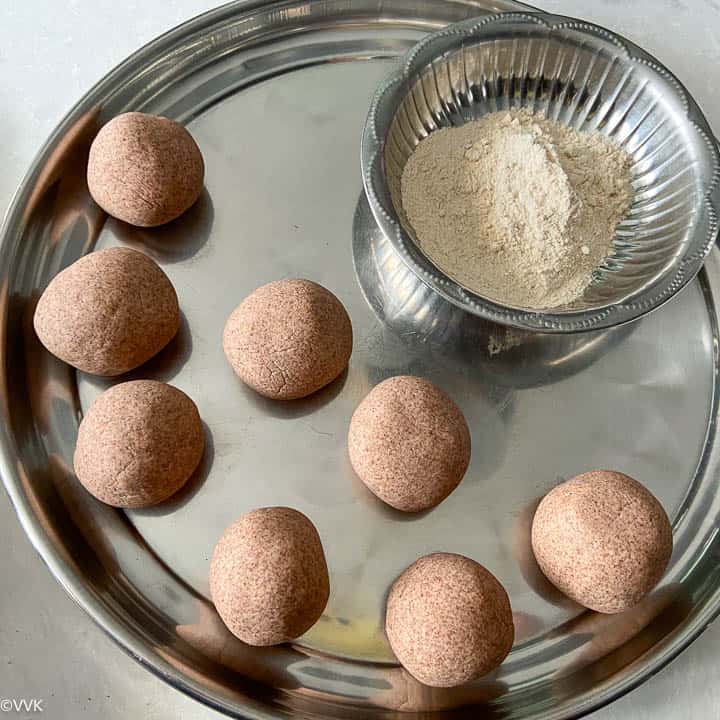
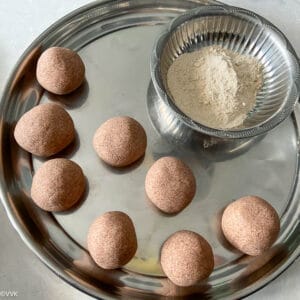
- Divide the prepared dough into equal parts and roll them into smooth balls. I divided my dough into eight balls.
Roll and cook the ragi roti
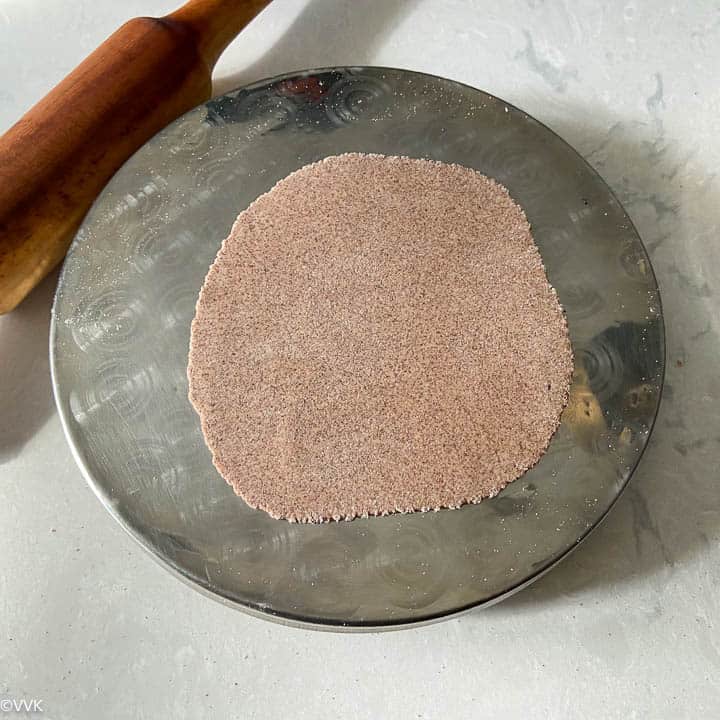
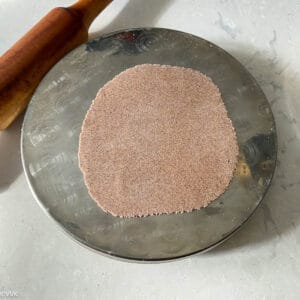
- Take a rolled ball, dust it with wheat flour, and roll it out into a circle 5 to 6 inches in diameter. Do not roll it too thin. Also, dust it generously with wheat flour as required. Shake off the excess flour. Similarly, make all the rotis and keep them ready. You can roll and cook simultaneously.
- Heat an iron tawa and make sure it is hot. Make sure the heat is at medium to medium-high. Place the rolled roti on the hot tawa. Let it cook for 30 to 40 seconds—Spread ¼ to ½ tsp of oil around the edges in between.

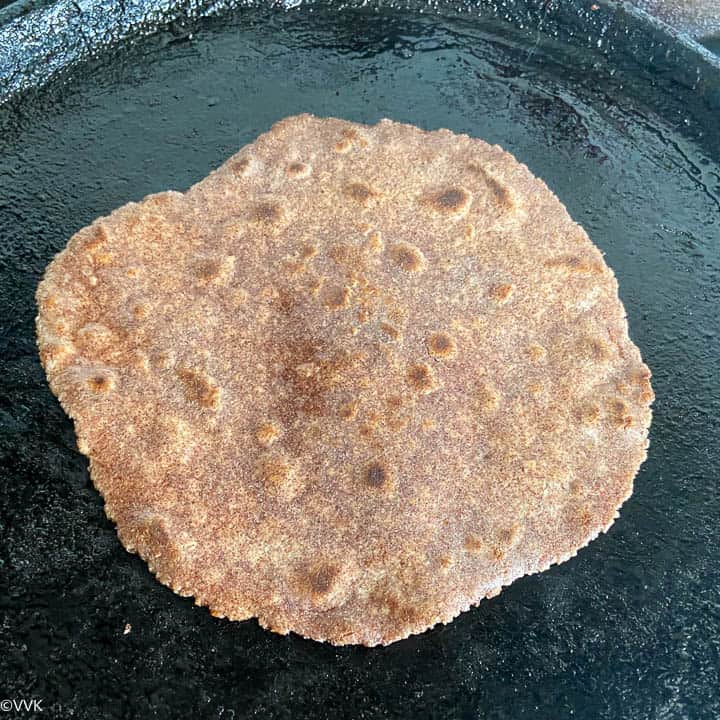
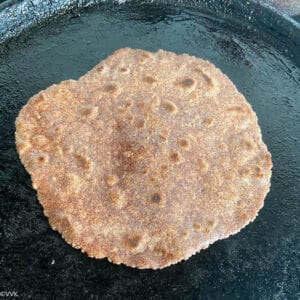
- Now flip the roti and cook until you see the brown spots like below. Gently press the roti as you cook so that the oil spreads evenly and the roti puffs up slightly. I did not let the roti puff up fully like phulka.
- Place the prepared roti separately and apply a small layer of ghee. This step is optional. Skip it if you want to keep the paratha vegan. Serve warm with curries of your choice.
Recipe Notes
- I like to use an equal measure of ragi and wheat flour. You can adjust it as per your liking. But if you increase the measure of ragi flour, rolling will be slightly difficult.
- Add water as required. Room temperature or lukewarm water is preferable.
- Serve it warm, and you can reheat it if needed. I haven’t tried refrigerating the prepared roti.
- Instead of ragi flour, you can use amaranth flour, quinoa flour, or other millet flours of your choice.
Explore other ragi recipes
PS: Follow me on Instagram or join my Facebook Group for more gardening and recipe updates. If you try this instant ragi roti recipe, please don’t forget to comment and rate this recipe. If you have any questions, please leave a comment, and I will get to it asap. Make sure to follow me on my Pinterest for more healthy and delicious ideas!
📖 Recipe
Ragi Wheat Roti | Ragi Roti
Equipment
- Mixing bowl
- Tawa or Griddle
Ingredients
Measurement Details: 1 cup=240ml; 1 tbsp=15ml; 1tsp=5ml;
Instructions
Prepare the dough
- I prepared my dough in the Nutril mill artiste. You can prepare it with any stand mixer or knead it by hand also. In a mixing bowl, add the whole wheat flour, ragi flour, oil, and salt.
- First, mix it and then slowly add water little by little and knead into the soft dough. If you are using the stand mixer, follow the instructions accordingly. After kneading, let the dough rest for 15 to 20 minutes. Make sure you cover the dough.
- Divide the prepared dough into equal parts and roll them into smooth balls. I divided my dough into eight balls.
Roll and cook the ragi roti
- Take a rolled ball, dust it with wheat flour, and roll it out into a circle 5 to 6 inches in diameter. Do not roll it too thin. Also, dust it generously with wheat flour as required. Shake off the excess flour. Similarly, make all the rotis and keep them ready. You can roll and cook simultaneously.
- Heat an iron tawa and make sure it is hot. Make sure the heat is at medium to medium-high. Place the rolled roti on the hot tawa. Let it cook for 30 to 40 seconds—Spread ¼ to ½ tsp of oil around the edges in between.
- Now flip the roti and cook until you see the brown spots like below. Gently press the roti as you cook so that the oil spreads evenly and the roti puffs up slightly. I did not let the roti puff up fully like phulka.
- Place the prepared roti separately and apply a small layer of ghee. This step is optional. Skip it if you want to keep the paratha vegan. Serve warm with curries of your choice.
Notes
- I like to use an equal measure of ragi and wheat flour. You can adjust it as per your liking. But if you increase the measure of ragi flour, rolling will be slightly difficult.
- Add water as required. Room temperature or lukewarm water is preferable.
- Serve it warm, and you can reheat it if needed. I haven’t tried refrigerating the prepared roti.
- Instead of ragi flour, you can use amaranth flour, quinoa flour, or other millet flours of your choice.
Nutrition
I am not a nutritionist. The nutritional information is provided as a courtesy and is an estimate only. It varies depending upon the product types or brands.








i have always known ragi chapathi to be made with cooking ragi floor in boiling water so it cooks well. is that not needed here? do we just mix it with cold water and does it work? is rago cooked right with this method?
No even for ragi roti I just mix with cold water and make it, so far no issues. Thanks