
Creamy onion raita recipe, the popular yogurt onion relish – a perfect side for pulao, biryani, roti, parotta, and other rice dishes. Check out how I make my onion raita with a detailed video.

I have shared quite a few raita recipes on my blog, and now it’s time for this simple no-cook onion raita recipe, aka pyaz ka raita in Hindi and vengaya thayir pachadi in Tamil. You can make this raita with minimal ingredients and less than 10 minutes of active prep/chopping time.
Jump to:
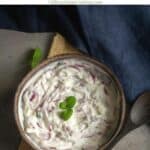
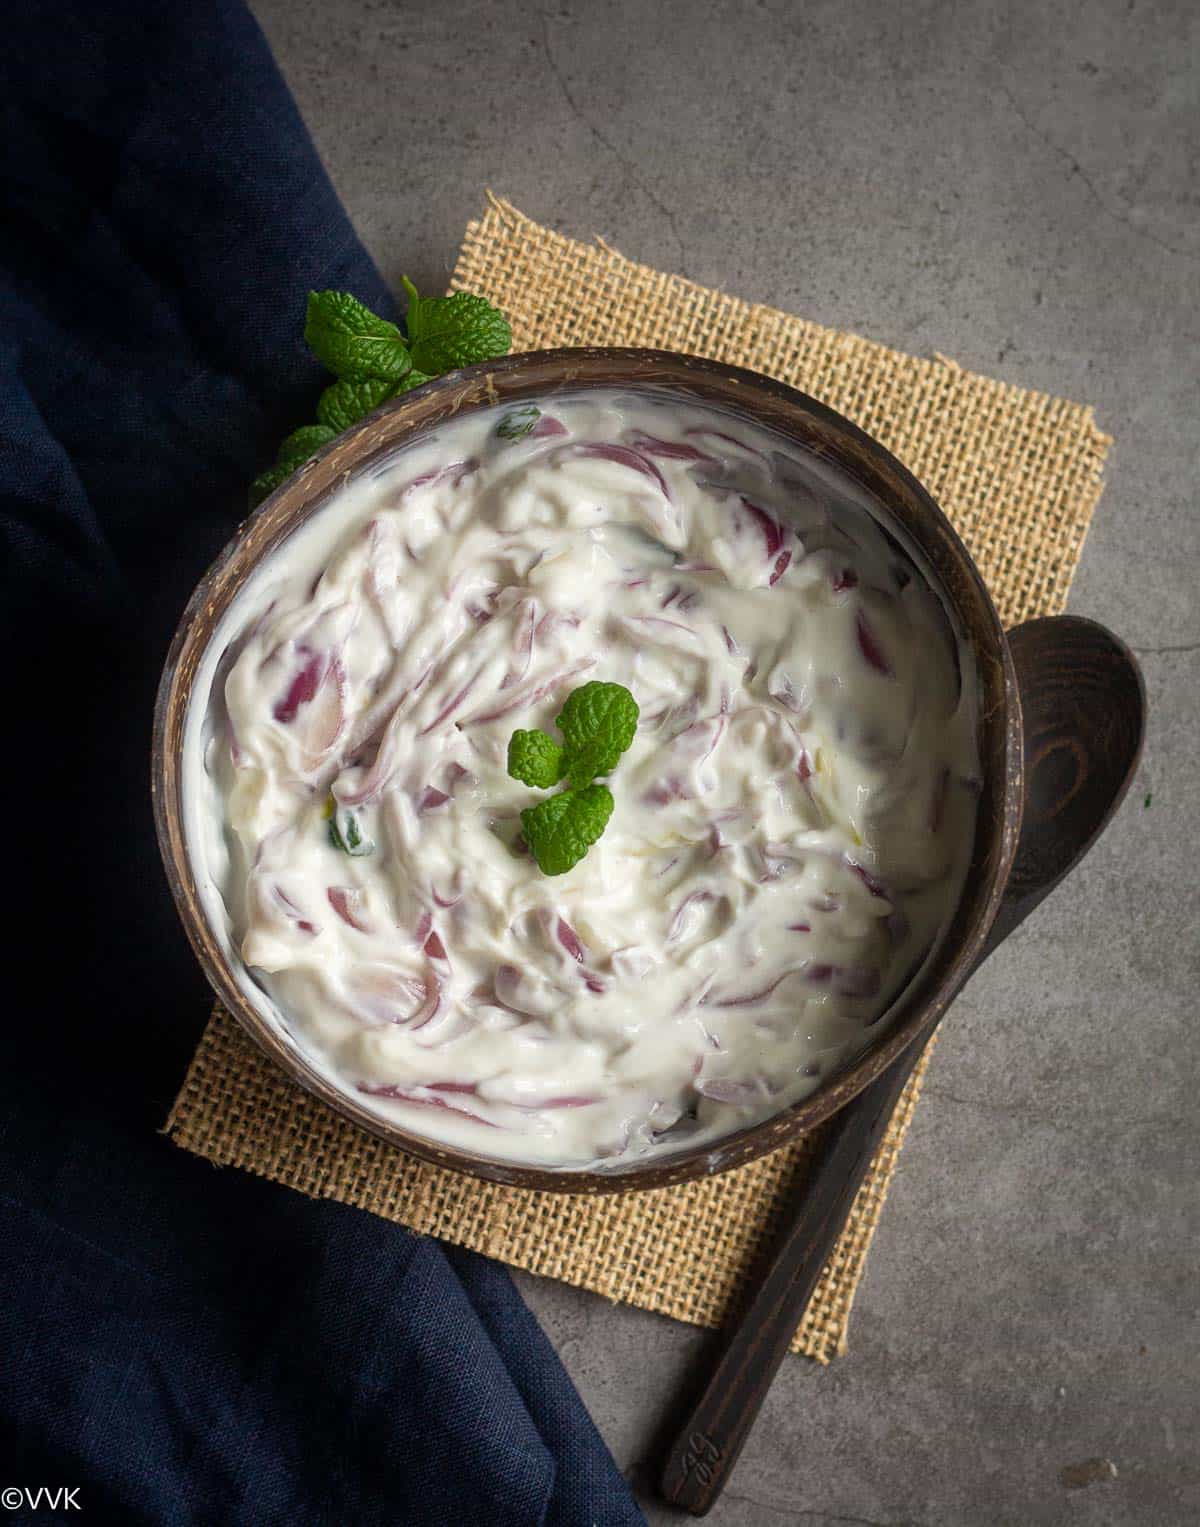
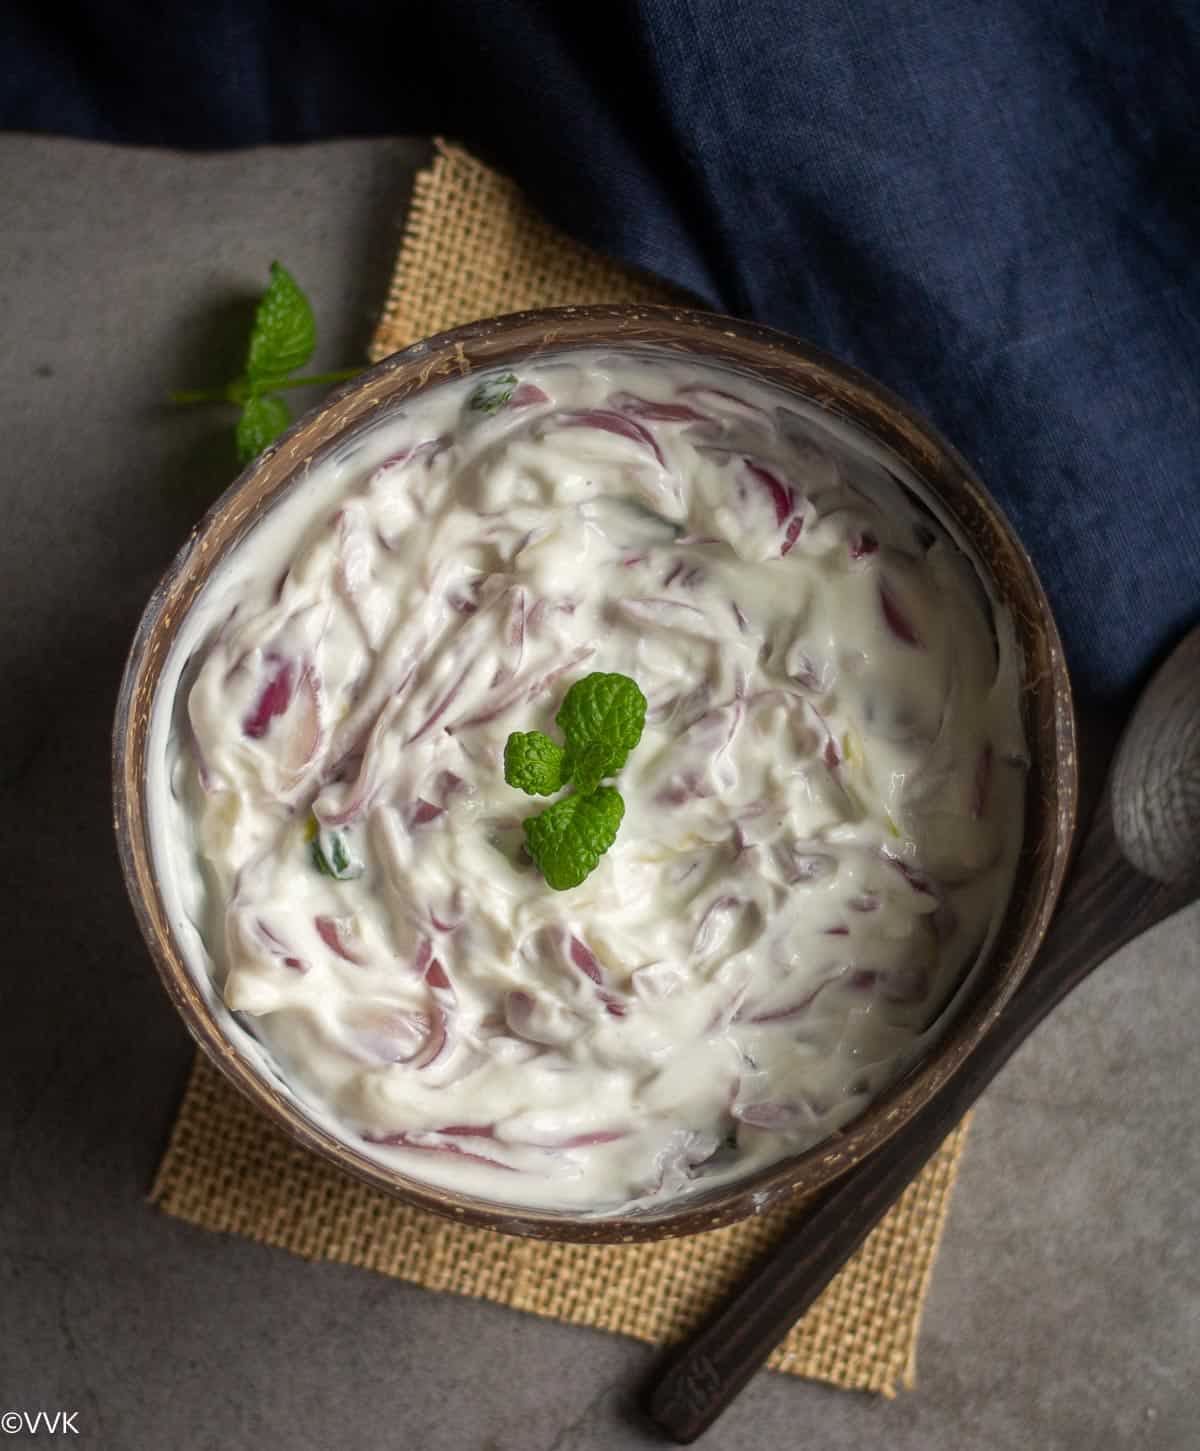
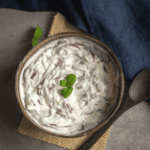
Thick and creamy onion raita
I grew up eating this thick, creamy onion raita. The restaurants around my native town also serve thick raita with biryani, pulao, roti kurma, and parotta kurma, which I am sharing here. PS – I love my onion raita with onion rice and vathal kuzhambu. It’s a fantastic combo. Give it a try for sure.
There are no set measurements or rules for making this raita. You can customize as per your need and preference. Do check my variation section for more ideas.
While you can make this raita in less than five minutes, my procedure calls for resting time. Earlier I used to make this raita in less than five minutes. I chop the onion, add salt and yogurt and garnish it with cilantro or mint and get it done.
But ever since I saw this video of Chef Revathy Shanmugam where she makes biryani combo, I mix sliced onion and salt and let it sit for 10 minutes. Then squeeze out the water and then add the yogurt. This way, the raita stays thick without oozing water for longer.
It’s an extra ten minutes, but worth the wait time. I have tested this method by keeping prepared onion raita for over 10 hours, and it had stayed thick and creamy without oozing out too much water.
Ingredients required
Onions: While I recommend red onions for that flavor and color, you can use yellow or white too.
Yogurt: You can use homemade or store-bought yogurt, and we prefer not-so-sour yogurt for the raita. You can also use vegan yogurt like coconut or cashew yogurt. I have tried onion raita with Greek yogurt.
Mint or cilantro: I usually add one of these herbs, either mint or cilantro, and today I went with mint. I rarely add them both. Either one should be sufficient to flavor up the raita.
We also need salt. I don’t add water or green chilies. Please check the recipe card for exact measurements and the variation section for more ideas.
How much yogurt should you add to the onion raita?
While it all depends on your consistency preference, this is what I do. After I squeeze out the water from the onion-salt mixture, I measure the onion. If I am using my homemade yogurt and it’s usually not thick as Greek yogurt, I add an equal measure of the yogurt. I use ¾ of the onion measure if I am using Greek yogurt.
Variations and other ingredients
Adding spice: You can add deseeded green chilies or slit green chilies, or ground pepper for added spice. I usually skip because the kiddo doesn’t like the bite of it. Sometimes I add slit green chilies, let the raita soak up all the spice, and discard them before serving.
Adding other spices: You can add chaat masala, roasted cumin powder, or black salt.
Adding other vegetables: With onion, you can add deseeded and chopped tomatoes, grated or chopped carrots, and cucumber.
Are you worried about consuming raw onions due to salmonella? This has happened to us during a salmonella outbreak. In that case, heat a tsp of oil and saute the onions with salt and ground turmeric. Let it cool, and then add the yogurt.
Dietary specifications and storing suggestions
This is a nut-free and gluten-free raita recipe. We don’t use any oil as well. For a vegan option, use plant-based yogurt.You can serve this raita with biryani, pulao, and various rice recipes like tomato rice, vaangi bath, onion rice, roti-kurma platter, parotta-kurma platter, vathal kuzuhambu. I have stored this onion raita for up to a day, not more than that. I always make the required amount and try to use it within a day.
How to make onion raita
- Add the sliced onion, mint leaves, and salt to a bowl. Mix well with hands and let it sit for 10 minutes.
- After 10 minutes, you see water oozing out slightly. Squeeze the onions as much as you to get that water. Discard the squeezed water.
- Now measure the onion, add either equal or little less yogurt, and mix well.
- That’s it. Onion raita is ready.
Recipe notes
- I don’t beat or whisk my yogurt separately. I directly mix it with the onion and mix well. You can beat it separately and with Greek yogurt; if you find it difficult to mix, add a tbsp of water but not more.
- Adjust salt as required.
- Please refer to the variation section for other add ons and ideas.
Explore more raita recipes


PS: If you try this onion raita, please don’t forget to comment and rate this recipe. If you have any questions, please leave a comment, and I will get to it ASAP. Follow me on my Pinterest for more healthy and delicious ideas! Follow me on Instagram or join my Facebook Group for more recipe updates! You can also sign-up for my newsletter for weekly updates.
📖 Recipe
Onion Raita | Vengaya Thayir Pachadi | Pyaz ka Raita
Ingredients
Measurement Details: 1 cup = 240ml ;1 tbsp = 15ml; 1 tsp = 5ml;
- 150 grams onion thinly sliced
- 1 tsp salt heaped tsp or to taste
- ¾ cup yogurt
- 8 to 10 mint leaves
Instructions
- Add the sliced onion, mint leaves, and salt to a bowl. Mix well with hands and let it sit for 10 minutes.
- After 10 minutes, you see water oozing out slightly. Squeeze the onions as much as you to get that water. Discard the squeezed water.
- Now measure the onion, add either equal or little less yogurt, and mix well.
- That’s it. Onion raita is ready.
Video
Notes
- I don’t beat or whisk my yogurt separately. I directly mix it with the onion and mix well. You can beat it separately and with Greek yogurt; if you find it difficult to mix, add a tbsp of water but not more.
- Adjust salt as required.
- Please refer to the variation section for other add ons and ideas.
Nutrition
I am not a nutritionist. The nutritional information is provided as a courtesy and is an estimate only. It varies depending upon the product types or brands.

Leave a Reply