
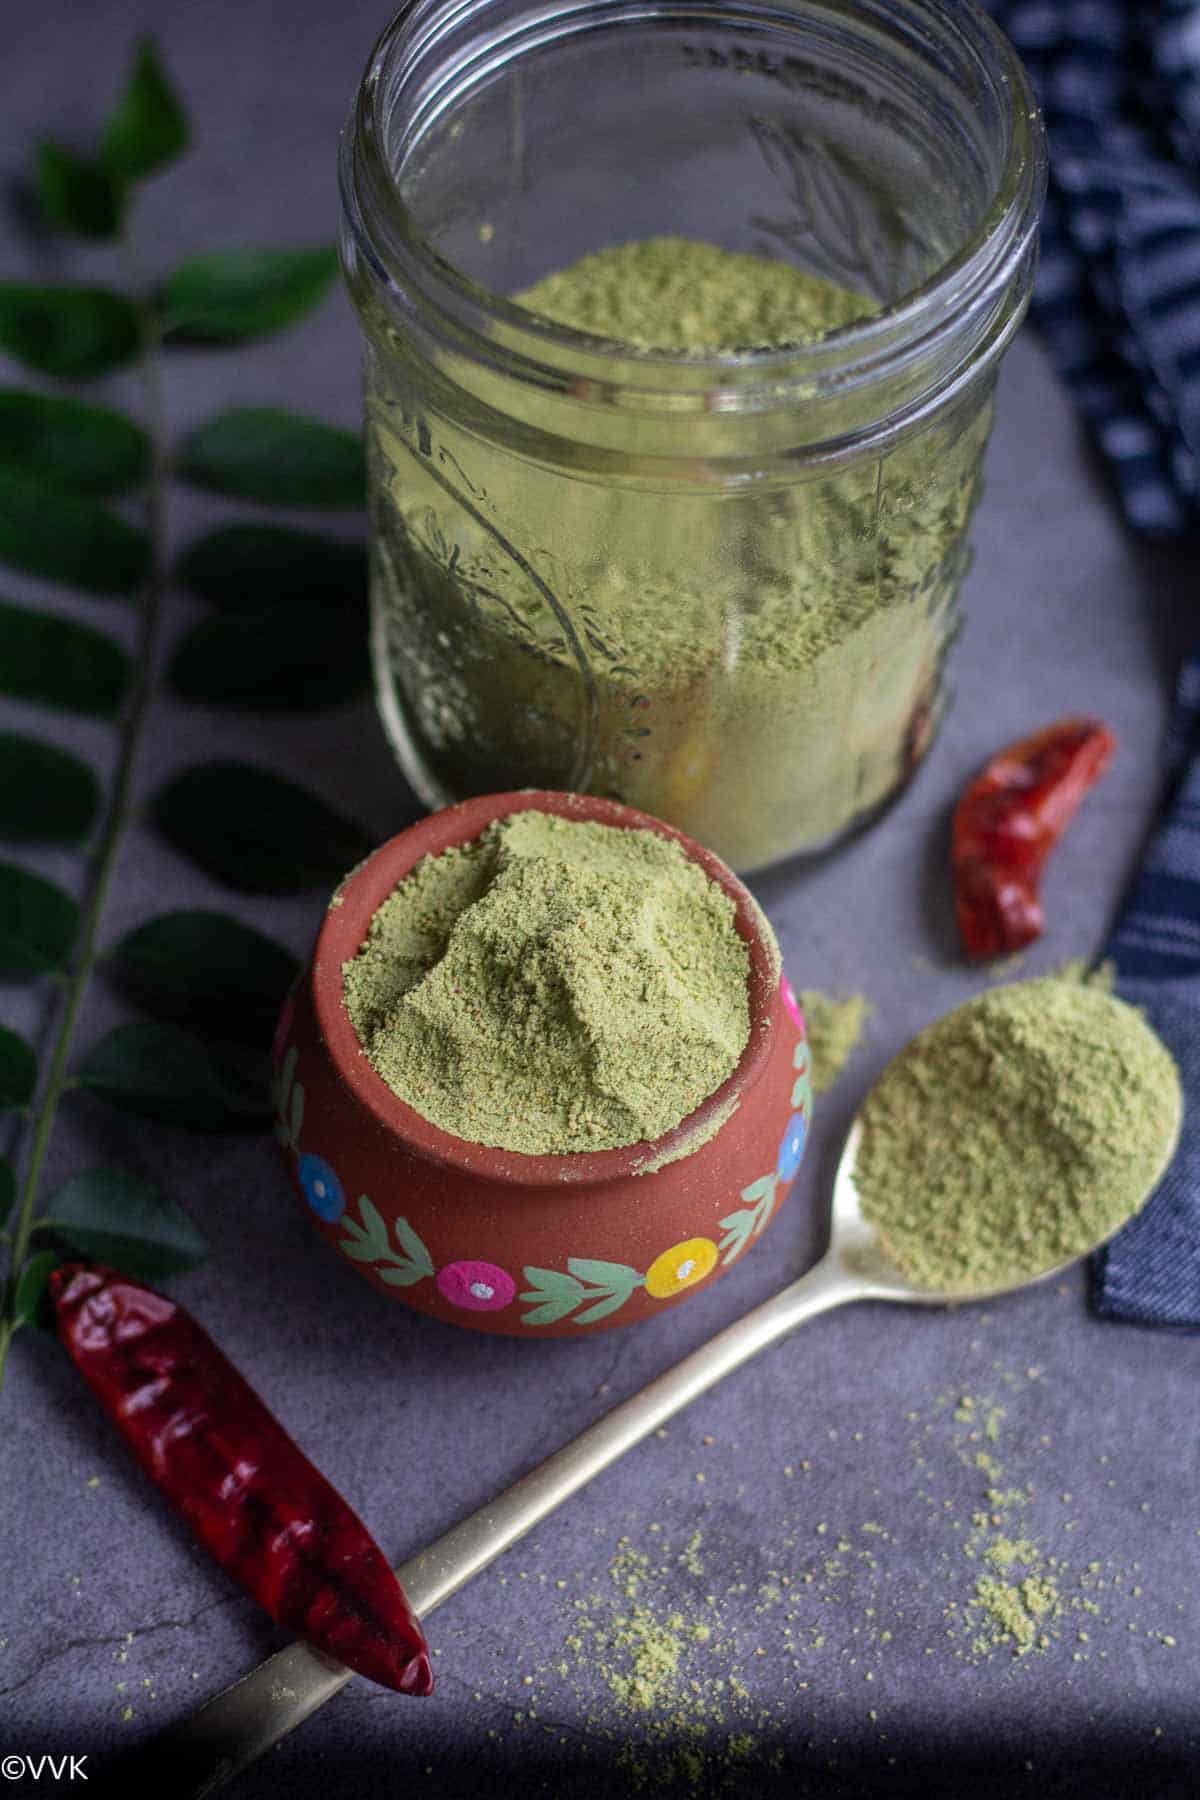
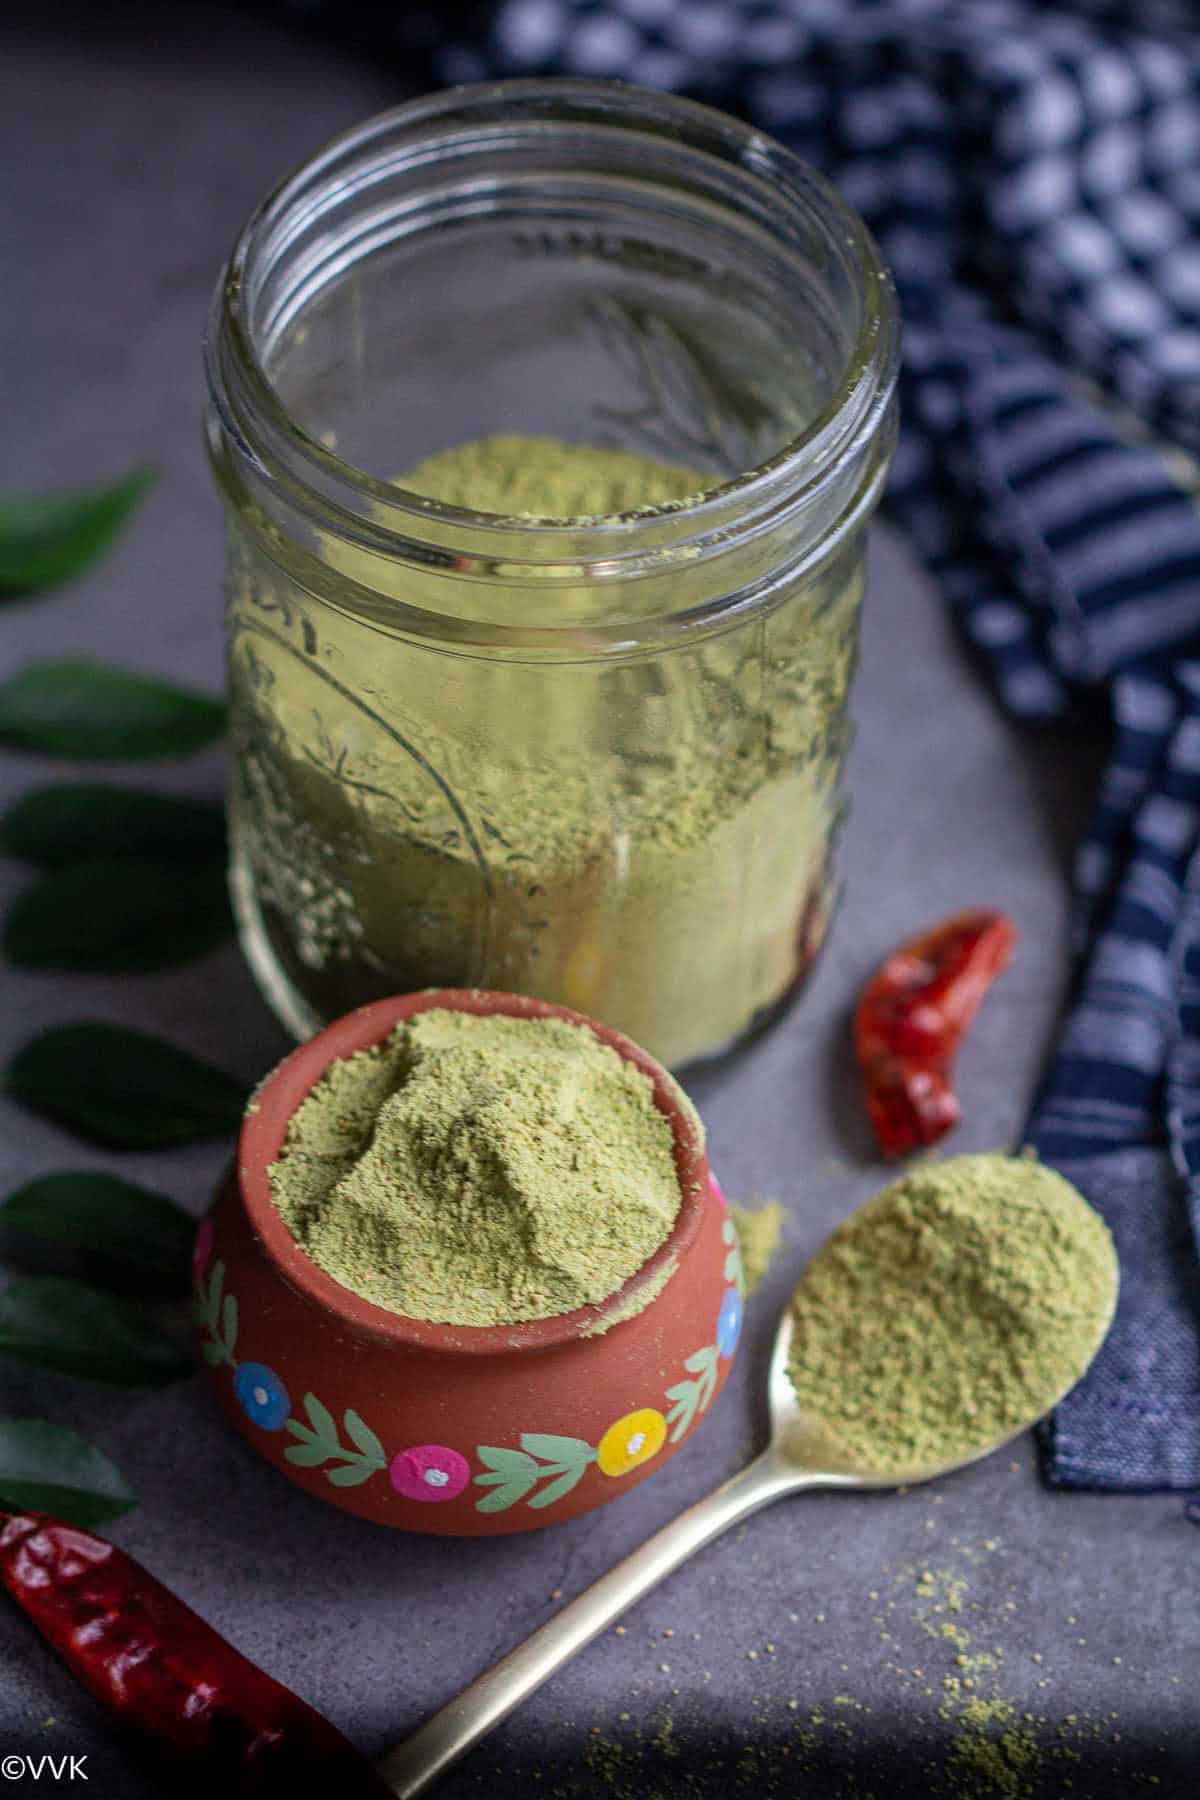
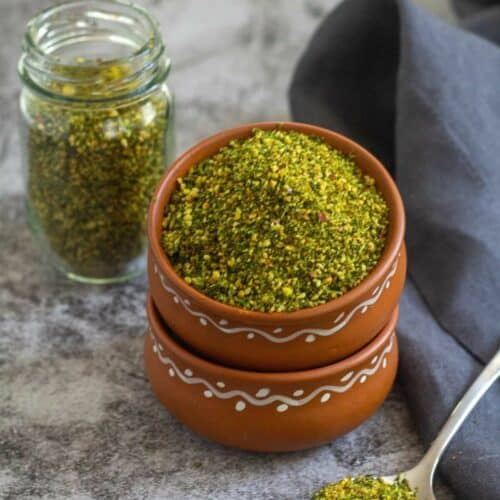
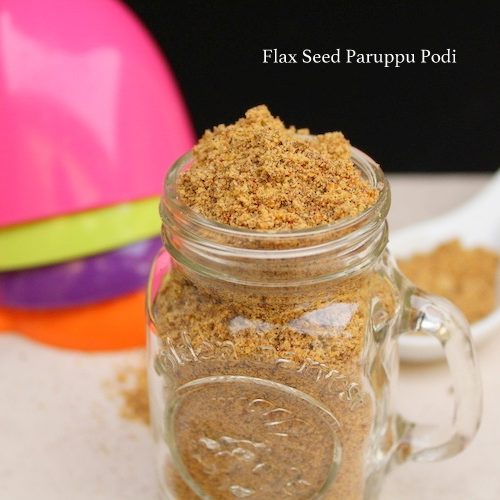
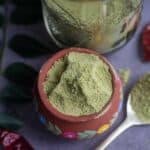
Learn to make a small batch of curry leaves powder, known as karuveppilai podi. This oil-free spice mix is incredibly versatile and can be used in various ways.

South India is famous for its spice mixes, commonly called podi, which are typically mixed with rice and enjoyed with ghee or gingelly (sesame) oil. There are many varieties, including paruppu podi (toor dal spice mix), thengai podi (coconut-lentil spice mix), cilantro podi, garlic podi, and this flavorful curry leaves podi. These spice mixes are perfect for bachelors and those living in dorms, making quick meals effortless. Today, I’m excited to share my mom’s recipe for curry leaves podi.
Karuveppilai means curry leaves in Tamil, and the spice mix made from it is called karuveppilai podi. A similar version exists in Andhra and Telangana cuisine, known as karivepaku podi, but this recipe follows a Tamil-Brahmin style without garlic.
Preparing the Curry Leaves
Fresh curry leaves enhance the flavor of this podi, so it’s best to use them. Remove any blackened leaves, rinse thoroughly, and pat them dry. Spread them on a kitchen towel and let them air dry to remove any moisture before roasting.
Ingredients
This recipe follows a 1:1 ratio of urad dal and chana dal, with a 1:2 ratio of combined dals to curry leaves. For example, if using ½ cup each of chana dal and urad dal (1 cup total), you’ll need 2 cups of curry leaves.
For spices, black pepper and red chilies are used and can be adjusted to taste. The provided measurements serve as a base, which you can tweak as needed. Salt is also required—refer to the recipe card for precise amounts.
Dietary Notes & Storage
This karuveppilai podi is naturally vegan and nut-free. Asafoetida is highly recommended for added flavor. If avoiding gluten, opt for a gluten-free version of asafoetida.
When stored in an airtight container, this podi remains fresh for months without refrigeration, though refrigeration won’t harm it. If you bring it in bulk from India, freezing it is a great option for extended shelf life.
Ways to Use Curry Leaves Podi
- Mix with Rice: The most common way to enjoy this podi is to mix 1 to 1.5 teaspoons with a cup of cooked rice, along with ghee or gingelly oil.
- Curry Leaves Podi Idli: Use it alongside or as a substitute for idli podi to make flavorful podi idli. Temper with peanuts for extra crunch.
- Karuveppilai Sevai or Aval: Enhance rice vermicelli (sevai) or poha with this spice mix for a unique taste.
- Sundal: Add it to cooked legumes or beans for a delicious and spiced snack.
- Curry Leaves Makhana or Puffed Rice: Instead of red chili powder, use this podi to season puffed rice or makhana.
- Roasted Paneer: Sprinkle on roasted paneer and add it to salads for a flavorful twist.
The possibilities are endless—get creative and incorporate this spice mix into various dishes!
How to make karuveppilai podi
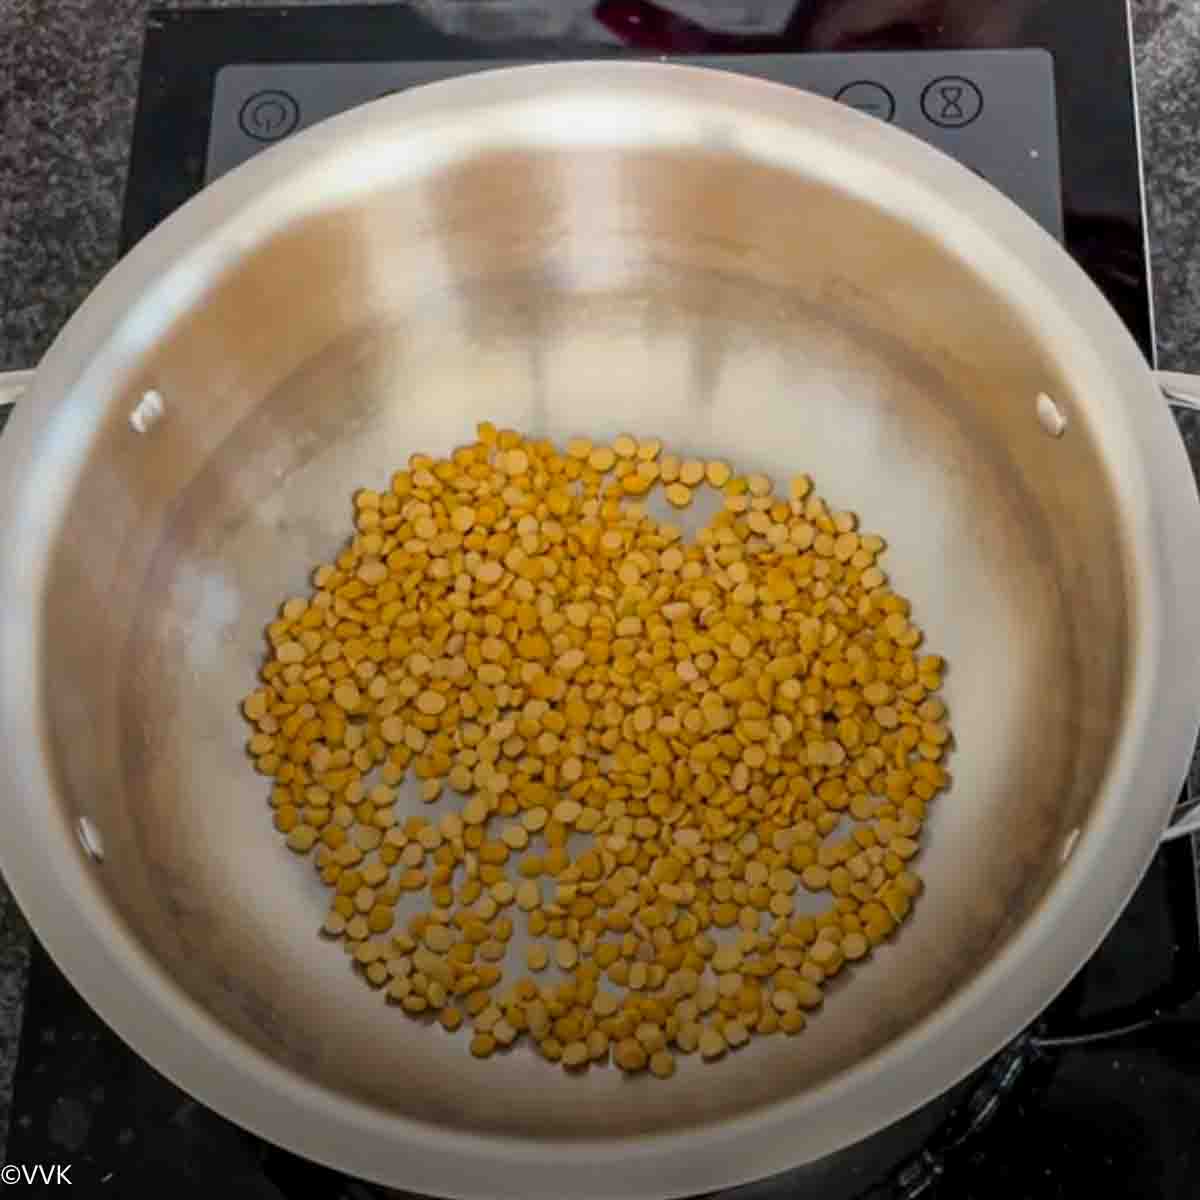
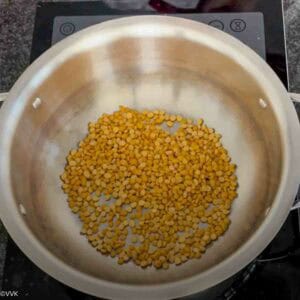
- Heat a pan or kadai and add chana dal. Roast over medium-low heat (around level 4) until it turns deep golden brown, then transfer it to a plate.
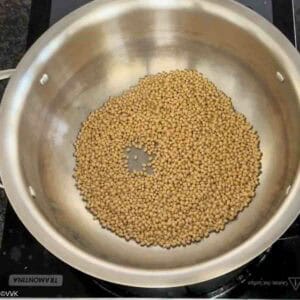
- In the same kadai, roast urad dal until it reaches a deep golden brown color, then transfer it to a plate.

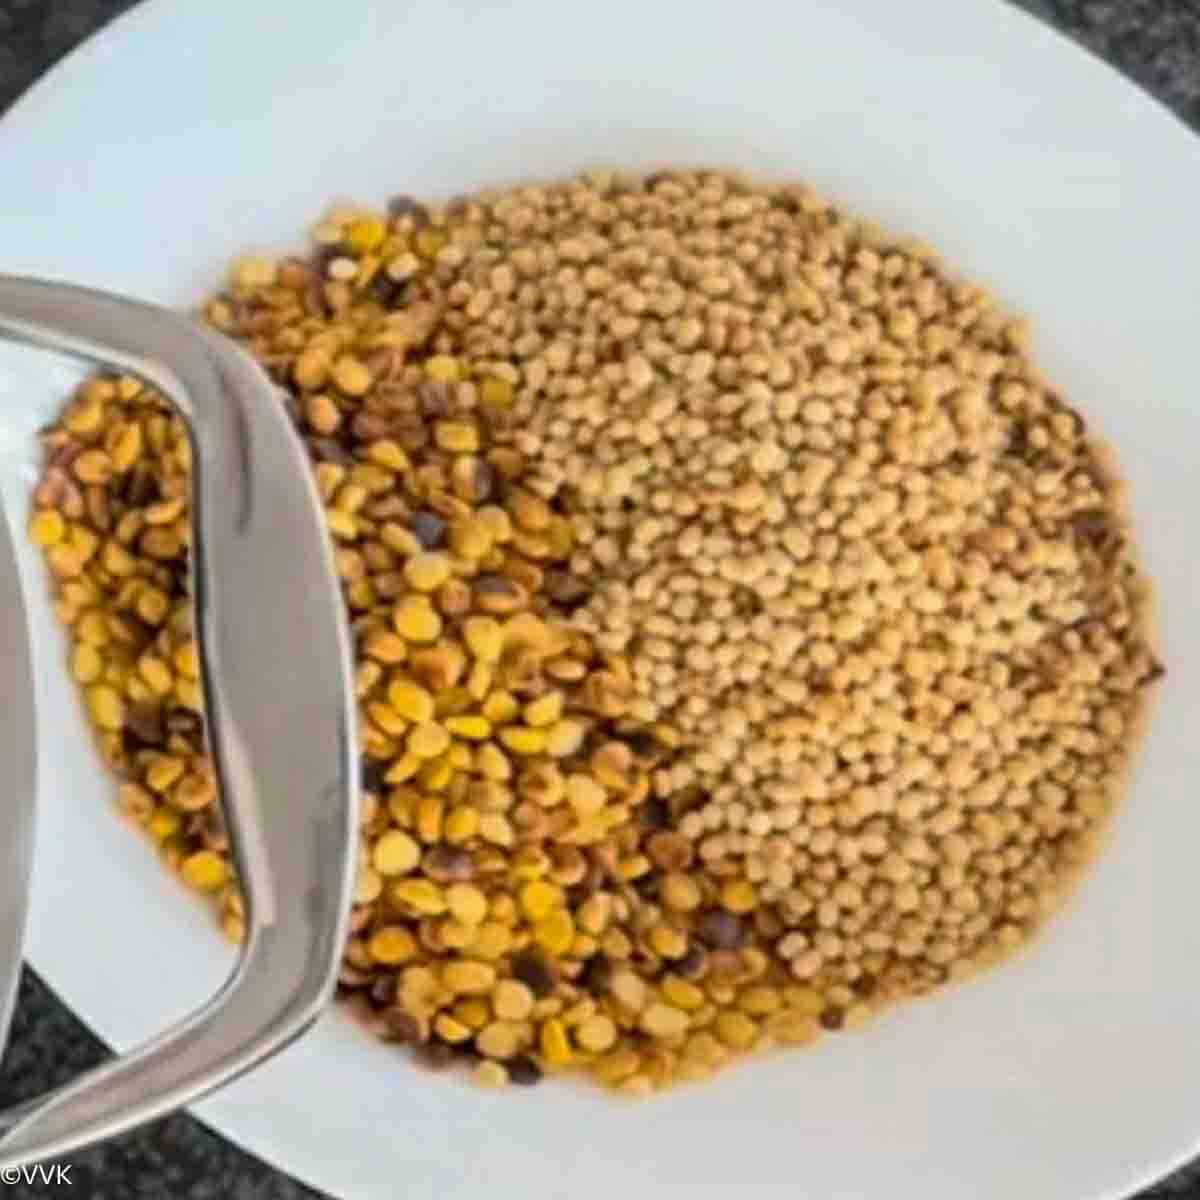
- Keep stirring continuously for even roasting, and avoid leaving the dal unattended. A few slightly over-roasted lentils won’t affect the taste.
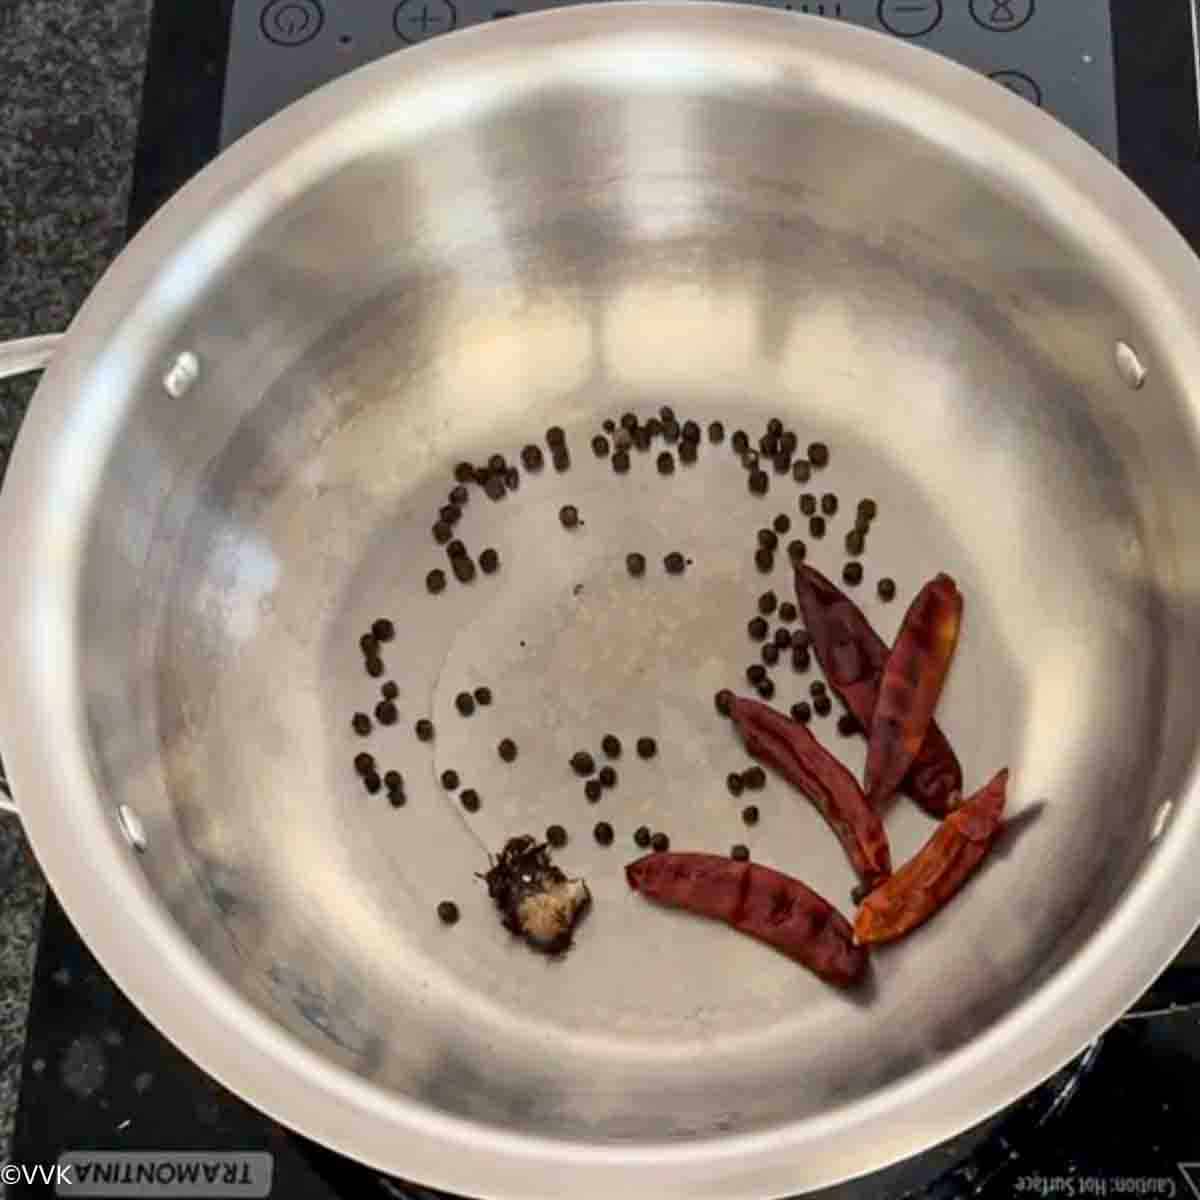
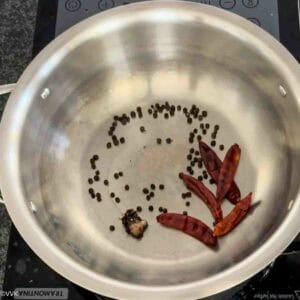
- In the same kadai, roast tamarind, dry red chilies, and whole pepper for a couple of minutes.
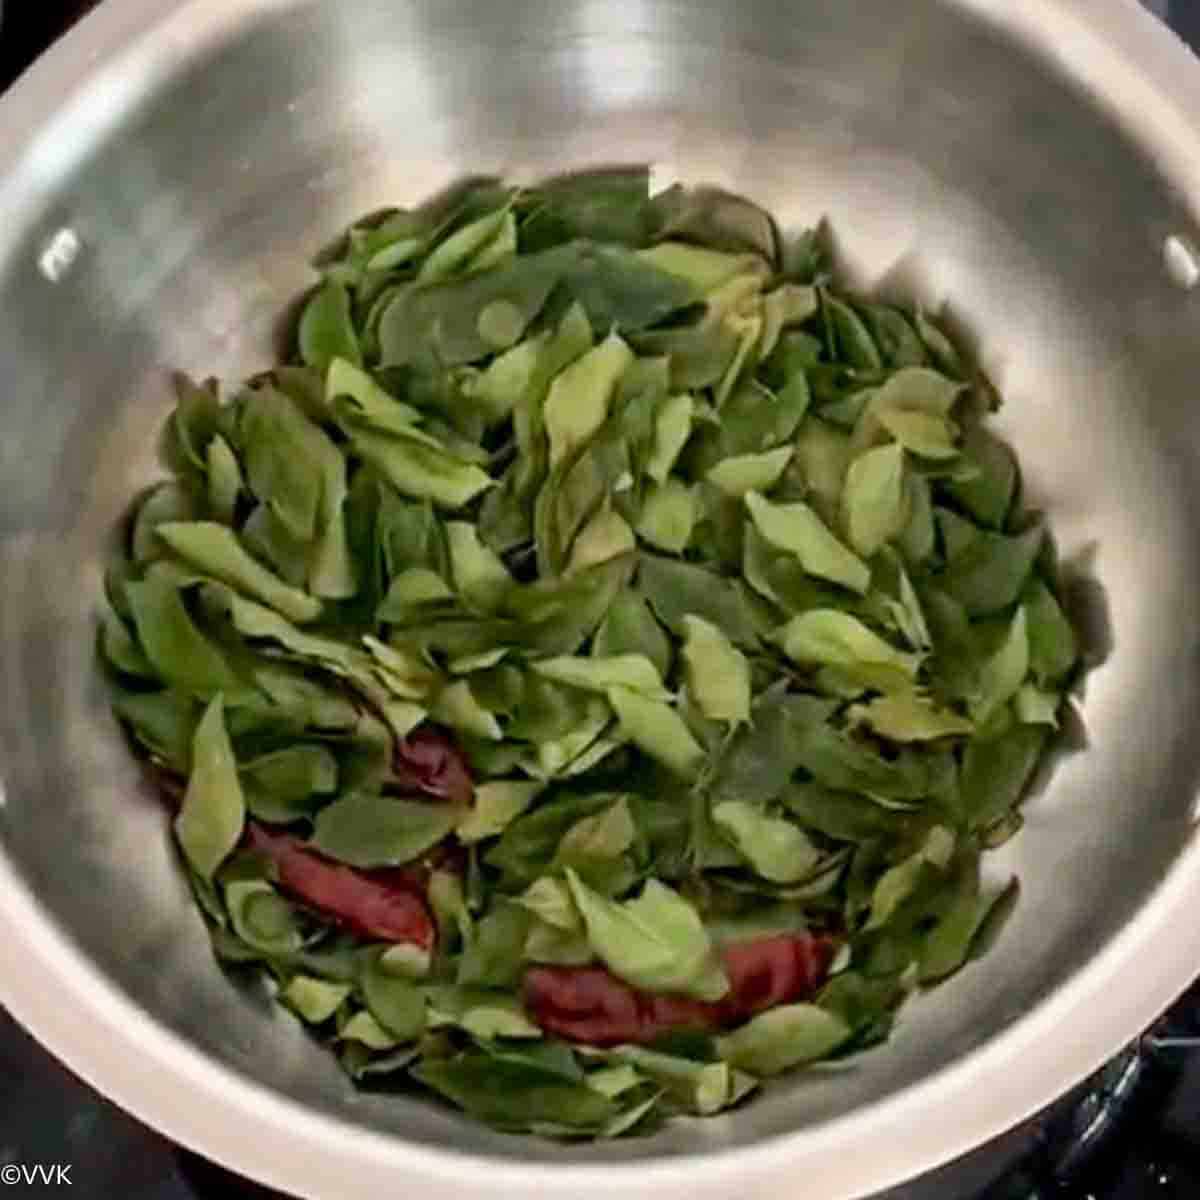
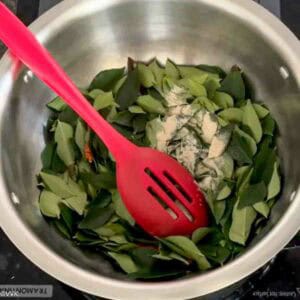
- Add rinsed and dried curry leaves along with asafoetida.

- Then roast until the curry leaves turn crisp. Let everything cool.
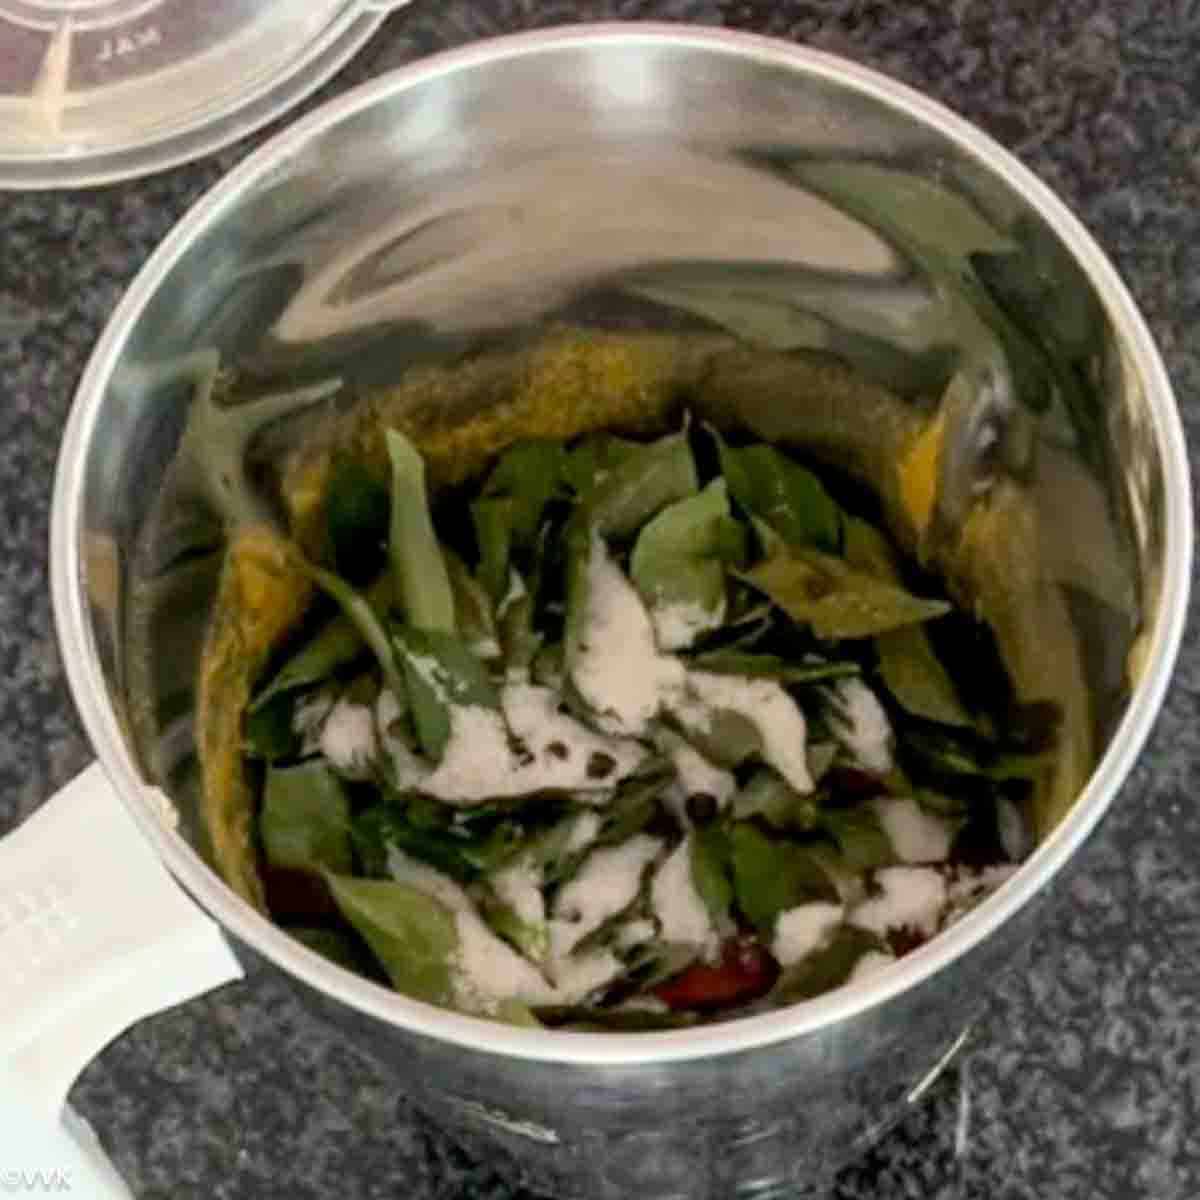
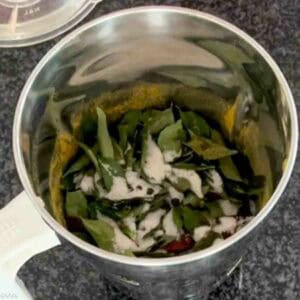
- First, grind the roasted curry leaves with salt in a mixer jar until coarsely powdered.
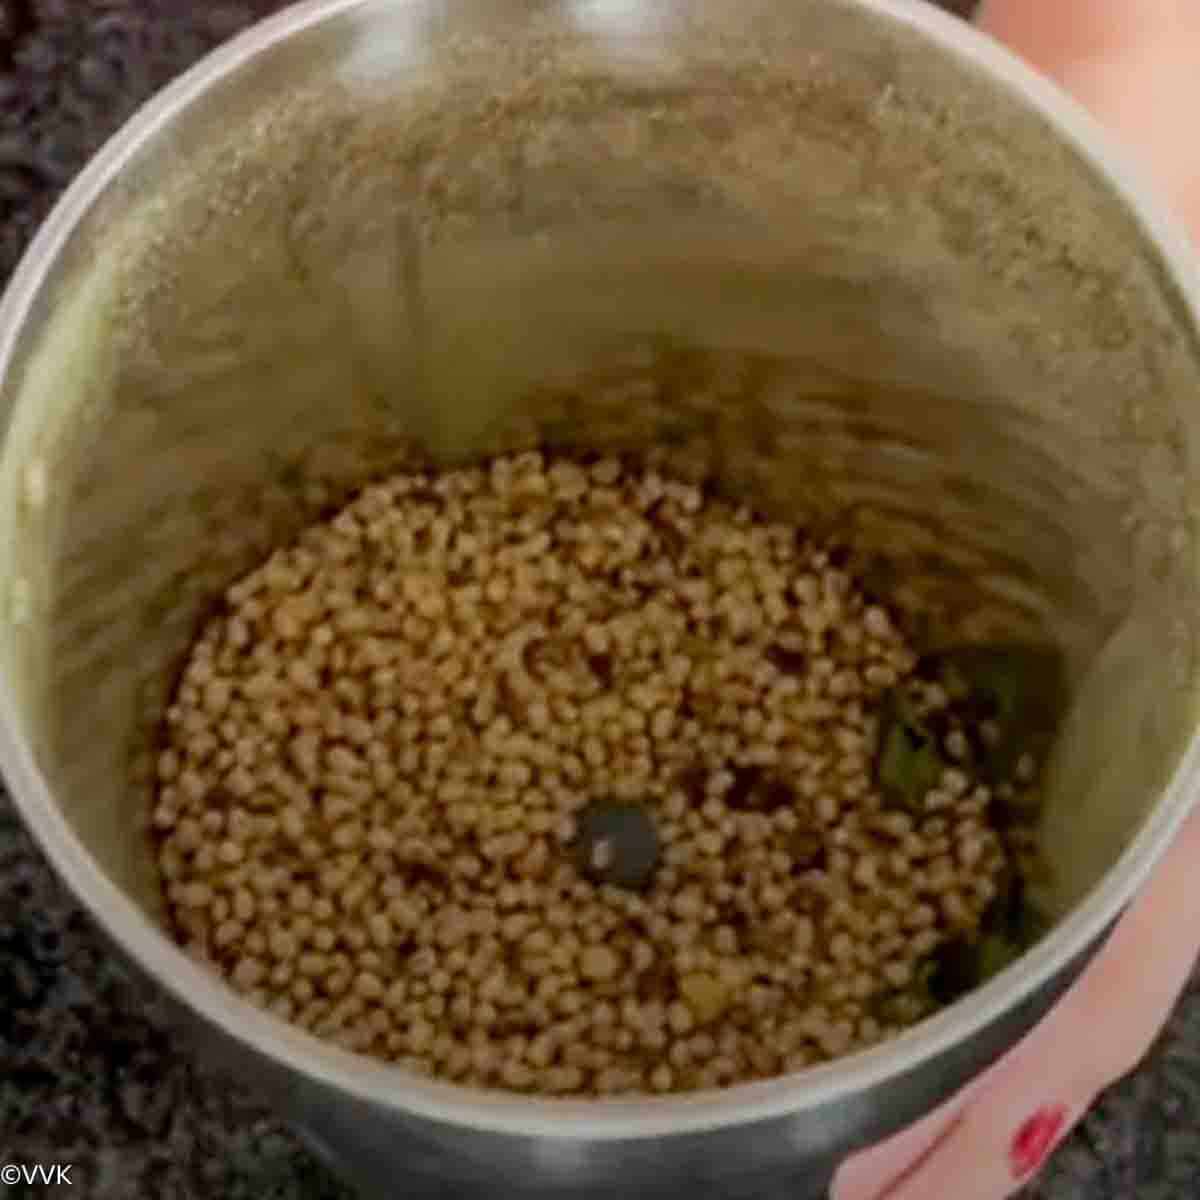
- Add the roasted lentils and grind in short intervals, mixing in between, until you achieve a slightly smooth texture.
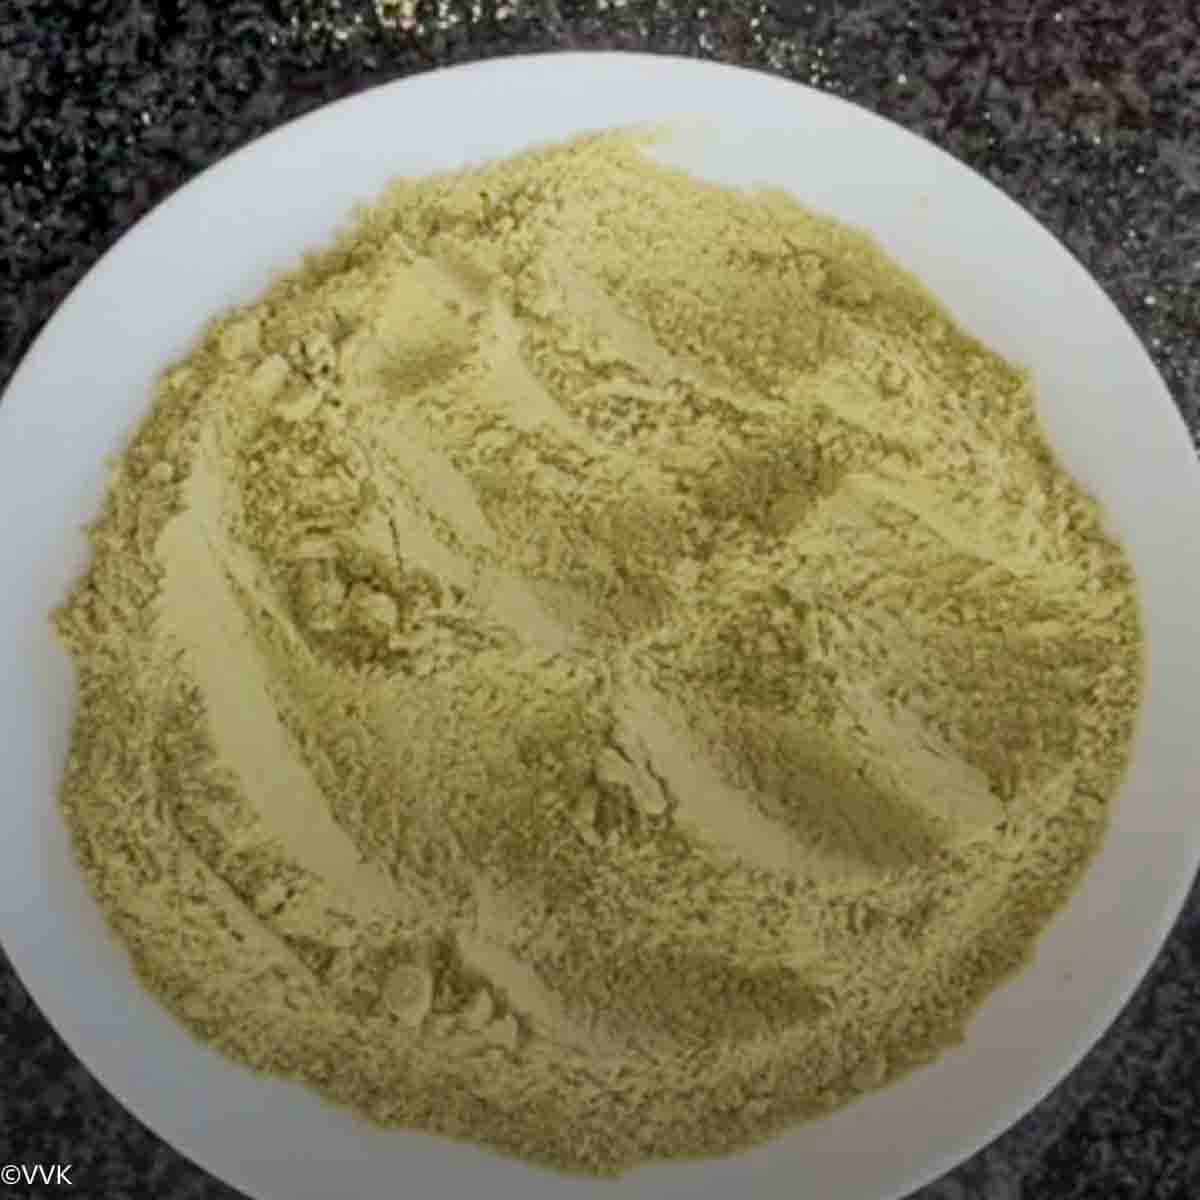
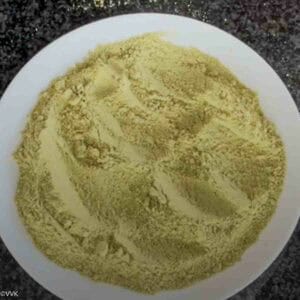
- Transfer the ground podi to a plate, break any lumps, and let it cool completely before storing it in an airtight container.
Recipe Notes
- Be mindful when adding salt; more can be added later when mixing with rice.
- Adjust the amount of pepper and red chilies according to taste.
- Tamarind is optional but enhances the flavor.
- Roasting time varies based on the utensil and heat; lentils should be deep golden, and curry leaves should be crisp.
- Asafoetida can also be added while roasting the lentils.
Explore other South Indian spice mixes

Have you made this recipe?
If you’ve made this curry leaves powder, please share your photos with me on Pinterest, Facebook, Instagram, YouTube or Twitter – I will be delighted to see your results!
📖 Recipe
Curry Leaves Powder | Karuveppilai Podi
Ingredients
Measurement Details: 1 cup=240ml; 1 tbsp = 15ml ; 1tsp=5ml;
- ½ cup chana dal
- ½ cup urad dal
- 2 cups curry leaves approx 40 grams
- 5 dried red chilies
- 1 tsp pepper
- small piece tamarind betel nut size
- ½ tsp asafoetida
- 1.25 tsp salt or to taste
Instructions
- Heat a pan or kadai and add chana dal. Roast over medium-low heat (around level 4) until it turns deep golden brown, then transfer it to a plate.

- In the same kadai, roast urad dal until it reaches a deep golden brown color, then transfer it to a plate.
- Keep stirring continuously for even roasting, and avoid leaving the dal unattended. A few slightly over-roasted lentils won't affect the taste. Here are the roasted dal.
- In the same kadai, roast tamarind, dry red chilies, and whole pepper for a couple of minutes.
- Add rinsed and dried curry leaves along with asafoetida, then roast until the curry leaves turn crisp. Let everything cool.
- First, grind the roasted curry leaves with salt in a mixer jar until coarsely powdered.
- Add the roasted lentils and grind in short intervals, mixing in between, until you achieve a slightly smooth texture.
- Transfer the ground podi to a plate, break any lumps, and let it cool completely before storing it in an airtight container.


Video
Notes
- Be mindful when adding salt; more can be added later when mixing with rice.
- Adjust the amount of pepper and red chilies according to taste.
- Tamarind is optional but enhances the flavor.
- Roasting time varies based on the utensil and heat; lentils should be deep golden, and curry leaves should be crisp.
- Asafoetida can also be added while roasting the lentils.
Nutrition
I am not a nutritionist. The nutritional information is provided as a courtesy and is an estimate only. It varies depending upon the product types or brands.
Originally posted in 2014, this recipe has now been updated with a recipe card, fresh images, and nutritional details.

what a coincidence! I have just been preparing all the ingredients to make this at home today! Yours looks beautiful!
Thanks and welcome here :-) You have a beautiful blog :-)