
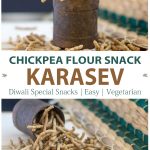
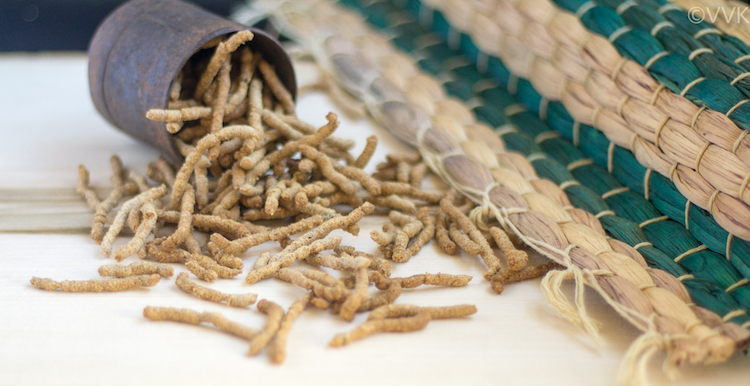
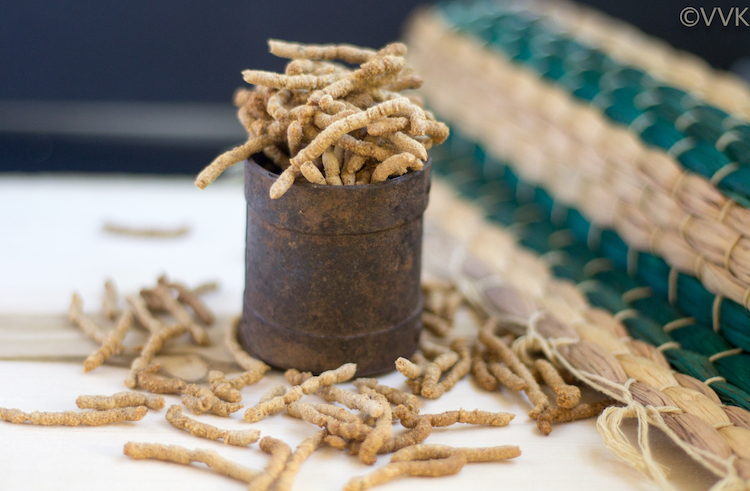
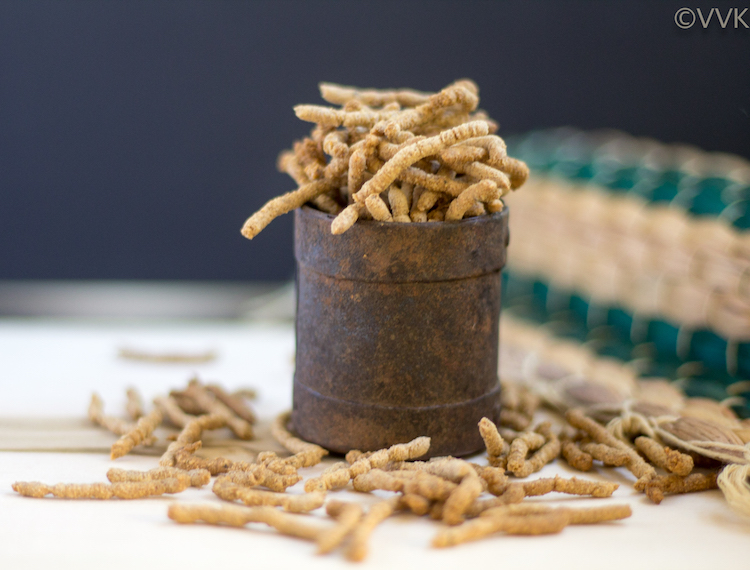
I wish you all a happy and prosperous Diwali / Deepavali. Last but not the least, here comes my no garlic crispy and crunchy Karasev recipe flavored with peppercorns. Karasev is a famous snack from Tamil Nadu, and it pairs well with tea, coffee, and even rice too. Today I am going to share the no garlic version of the sevu and also how to press it traditionally with a perforated ladle.
TamilNadu Delicacies:
Like Okkarai, I have fond memories associated with Kara Sev. Do you know which place is famous for Kara Sev in Tamil Nadu? It’s Sattur. I did undergrad in South TN, and I am fortunate to devour some of the traditional south TN delicacies.
I miss that halwa, coconut milk murukku from Tirunelveli, Kadalai mittai from Kovilpatti, Paalkova from Srivilliputhur, and of course this sevu from Sattur. There is an interesting article about Sattur Sevu, and you can find it here. As the report says, the secret of any recipe first depends upon high-quality ingredients.
And can you guess from where they source garlic? It’s from my native Periyakulam. Periyakulam is known for its mangoes and also garlic, especially the Vadugapatti Garlic. We always prefer the otha poondu / single garlic pod variety from there. :-)
Milagu Karasev:
I know I am talking about garlic when I am posting the no garlic version. :-) I will share more details about it when I post the Sattur special garlic sevu recipe. Now back to this pure pepper flavored Kara sev. I did not use any red chili powder for this recipe and went only with freshly grated pepper. The pepper and asafoetida or hing are the magical ingredients in this recipe.
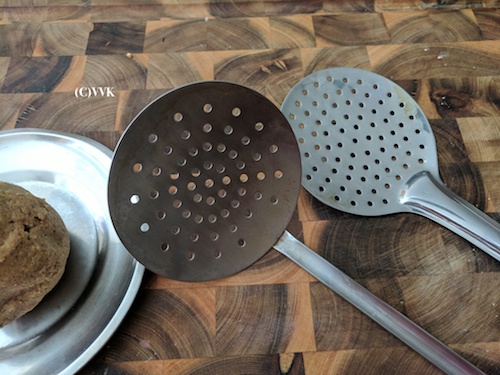
I always wanted to press the Karasev traditionally using a perforated ladle / Jalli Karandi. But I don’t own that specific sevu ladle, but luckily I was able to manage with the regular ones that I have at home. When I prepared Omapodi, I tried pressing sevu with my perforated ladle, and to my surprise, I was able to squeeze them and made decent shaped Kara sev. And that gave me the confidence to post this year. As the ladle holes are small, the sevu is comparatively thinner than the ones that you see in the store. But taste-wise, there is no compromise.
Pressing Karasev:
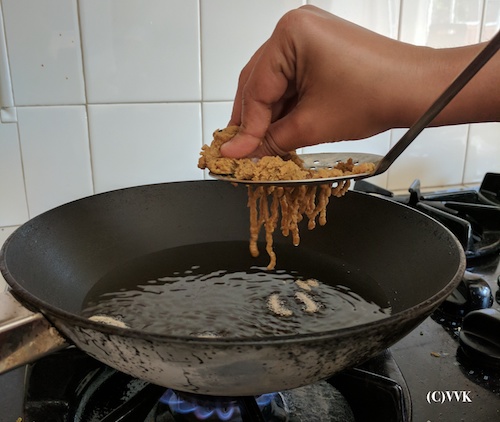
Karasev pressing is not easy; it’s an arm workout for sure. Please be cautious and extra careful when you press them over hot oil. I took the medium potato-sized dough and pressed the dough to and fro on the big perforated ladle. It’s like grating a potato but with high pressure. I used my thumb finger and pressed it hard during the to and fro motion. This helps in long thick strands, and towards the end of the process, shake the ladle so that the sevu falls onto the oil.
I think I wrote a lot. So without any further ado, here is the detailed recipe. 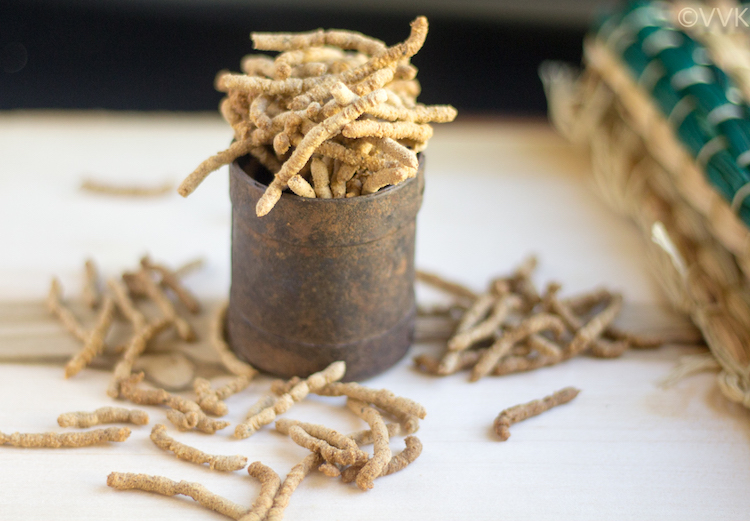
Karasev | Milagu Karasev Recipe
No garlic crispy and crunchy Karasev / deep-fried chickpea noodle recipe flavored with peppercorns
Ingredients:
- Chickpea Flour / Besan – 1 cup
- Rice Flour – 2 tbsps
- Salt – 1 tsp
- Hing – ½ tsp heaped
- Freshly grated pepper – 1 tsp
- Baking Soda – a pinch
- Butter – 1 tbsp
- Water – as required for mixing. I used about ½ cup
- Oil for frying
Steps:
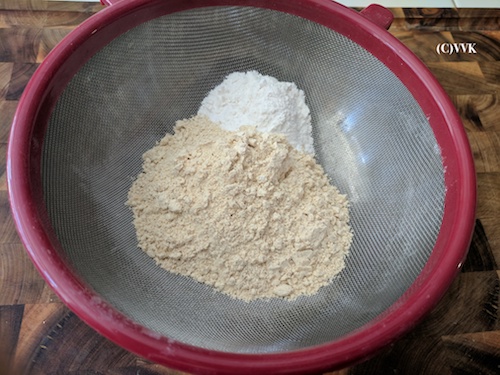
- In a wide bowl, sieve the besan and rice flour.
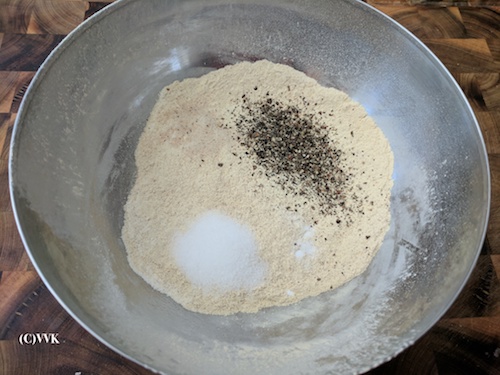
- Then add the salt, baking soda, pepper, and hing. Mix the ingredients.
- Then add the butter and mix again.
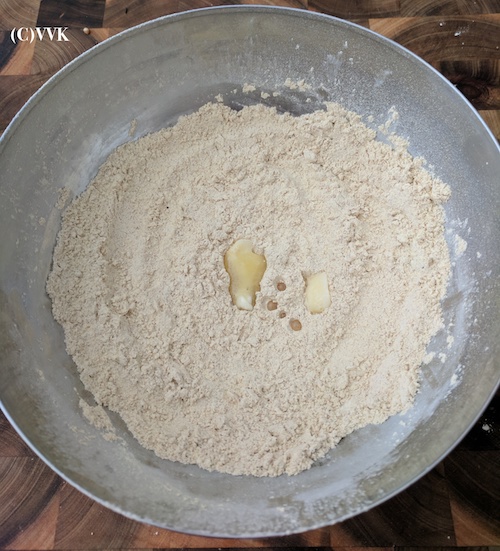
- Now add little by little water and combine them and form a smooth and soft dough.
- Meanwhile, heat the oil for frying for a low medium flame.
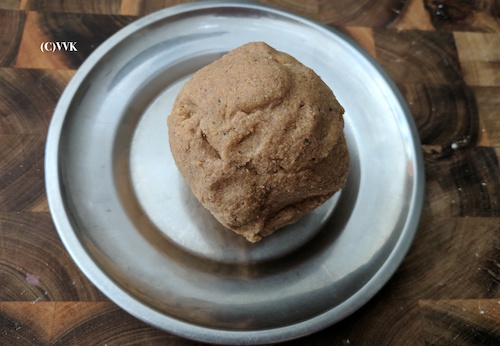
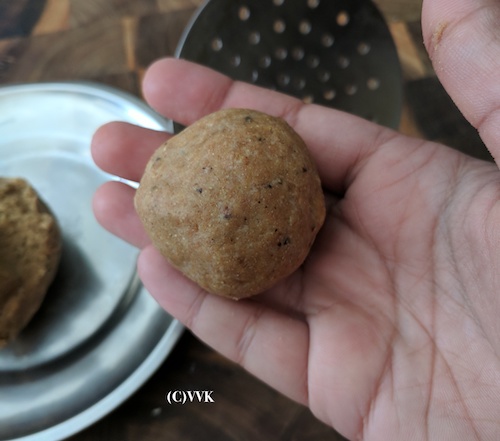
- When the oil is hot, take medium potato-sized dough like below.
- Hold the perforated ladle on top of the oil and start pressing the dough to and fro like below.
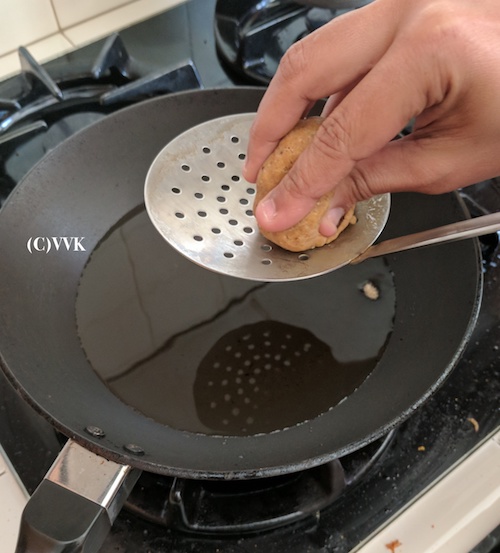
- Using your thumb finger, press the dough hard during the to and fro motion. Slowly long strands will form like below.
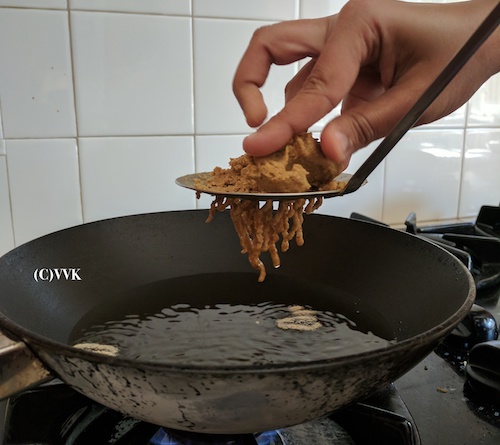
- Towards the end, shake the ladle once so that the last parts of the hanging strands can fall into the oil.
- Flip them over and let it fry until the bubble ceases.
- Repeat the following for the remaining dough.
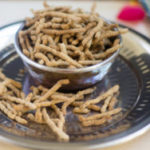
- Let it cool completely and then serve it with tea or coffee.
Notes:
- I used the black chickpea flour, and the dough was getting quite hard/stiff during the process. I used about a tsp of water and mixed it once before pressing again.
- As I had it in my pantry, I went with black chickpea flour, but regular chickpea flour works best for this recipe.
- Make sure you press and fry over a low flame. This pressing needs lots of practice. Alternatively, you can use the murukku press also. Use the round- hole mold and press them like murukku and break them later into small pieces.
📖 Recipe
Karasev | Milagu Karasev Recipe
Ingredients
Instructions
- In a wide bowl, sieve the besan and rice flour.
- Then add the salt, baking soda, pepper, and hing. Mix the ingredients.
- Then add the butter and mix again. Now add little by little water and combine them and form a smooth and soft dough.
- Meanwhile, heat the oil for frying for a low medium flame.
- When the oil is hot take medium potato-sized dough like below.
- Hold the perforated ladle on top of the oil and start pressing the dough to and fro like below. Using your thumb finger, press the dough hard during the to and fro motion. Slowly long strands will form like below. Towards the end, shake the ladle once so that the last parts of the hanging strands can fall into the oil.
- Flip them over and let it fry until the bubble ceases.
- Repeat the following for the remaining dough.
- Let it cool completely and then serve it with tea or coffee.
Notes
- I used black chickpea flour, and the dough was getting quite hard/stiff during the process. I used about a tsp of water and mixed it once before pressing again.
- As I had it in my pantry, I went with black chickpea flour, but regular chickpea flour works best for this recipe.
- Make sure you press and fry over a low flame. This pressing needs lots of practice.
- Alternatively, you can use murukku press also. Use the round- hole mold and press them like murukku and break them later into small pieces.
Nutrition
I am not a nutritionist. The nutritional information is provided as a courtesy and is an estimate only. It varies depending upon the product types or brands.

Hi Vidhya.Beautiful bog.I am new to food blog.Would love to learn from you .Best Wishes.Sudha from Sudha’s Kitchen
Thanks a lot and good luck to you as well.
Love it.. Never knew slotted spoon can be used in making this. Very nicely illustrated. Superb share
:-) Thanks much Ruchi. Happy Diwali
We have a very similar item that’s being made here in Jaipur. It’s called mote bhujiya and are sold only at few shops. They are lighter in shade but have red chilli flakes.
Oh yeah. The Hindu article that I quoted talks about bhujiya too. Love the name mote bhujiya. :-) Thanks for the information. Will try that out soon.
?
Totally love this! Perfect ah iruku :)
Thanks da. :-)