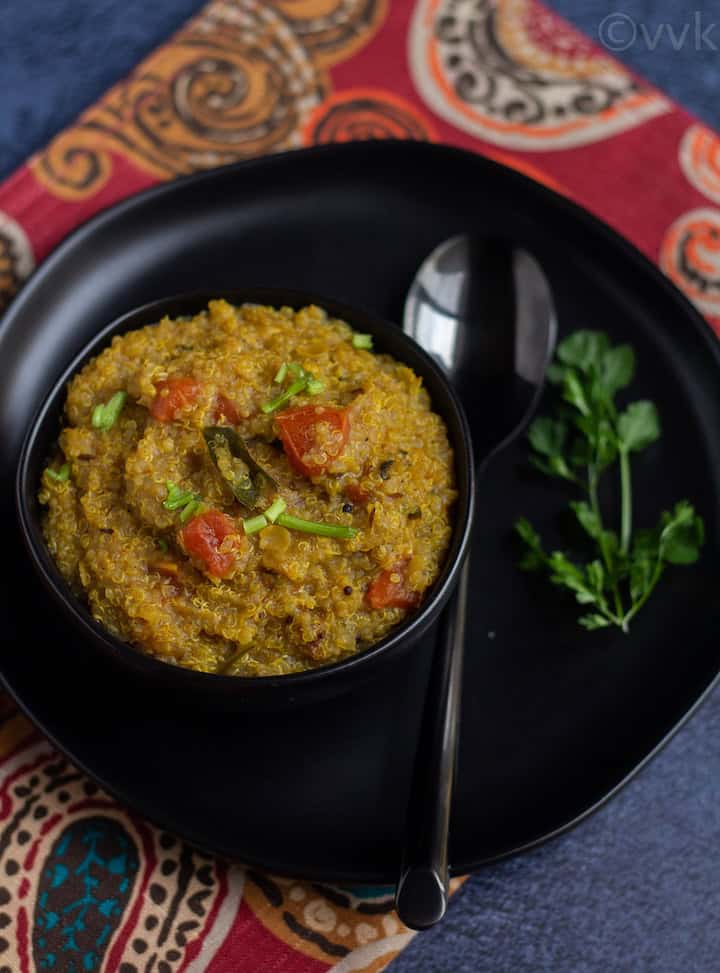
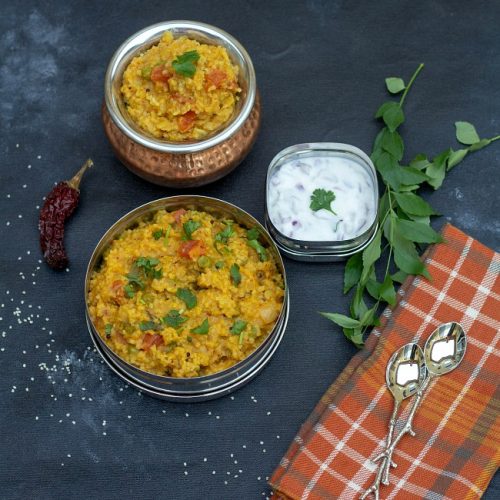
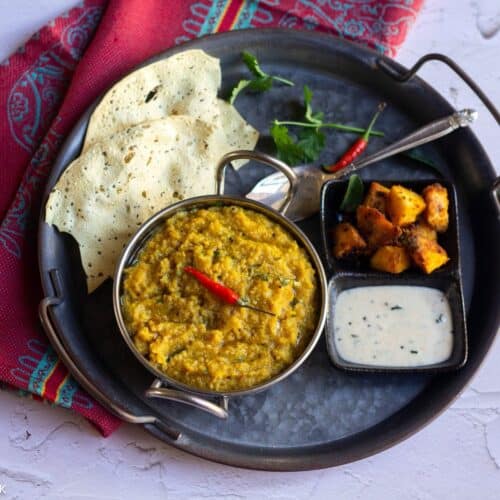
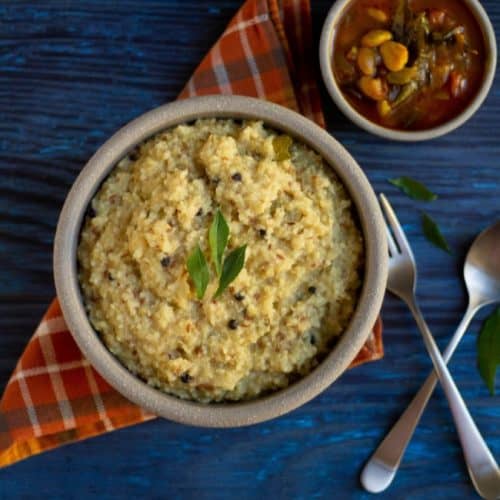
When we can make one pot sambar rice or sambar sadam, why not rasam rice/rasam sadam? Here comes my easy-peasy, comforting Instant Pot rasam rice with quinoa—a simple, one-pot, and healthy rasam rice recipe with a hint of dried neem flowers.
Jump to:
Rasam Recipes
The blog needs no introduction to my love for rasam. You can find over 15 rasam recipes on my blog. But it took me this long to post this humble one-pot rasam rice or rasam sadam, as we say in Tamil. Wondering why? My son and I love drinking the rasam, and we use the rasam mandi (the thick part of the rasam with dal) with idli, upma, and other tiffin items. So I prefer making rasam and rice separately.
But during our kitchen renovation, I used all one-pot recipes like Instant Pot soybeans, spinach rice, Instant Pot kootu, Instant Pot kadhi, and rice. Also, during that time, my Instagram friend Arch posted her one-pot rasam rice with black nightshade berries and turkey berries (manathakkali and sundaikai vathal) tempering. I gave it a try right away, and we all enjoyed it. I know rasam rice is not new, but I need to share mine for posterity.
What is rasam rice, and why?
As I mentioned in my Mysore Rasam post, rasam is a thin tamarind-based soup with or without lentils. In most Tamil houses, we use rasam powder/spice mix daily to make the rasam. You can also make fresh rasam spice mix. We typically make rice and rasam separately, mix them, and enjoy them with dry curries. But for this rasam rice, we cook the rice and all the ingredients in the pressure cooker, making it a one-pot comforting meal.
Why is this rasam rice so special?
- It’s a one-pot dump-and-go recipe, and you can make it in the stove-top pressure cooker or in the Instant Pot, which makes it super convenient for all.
- This rasam sadham recipe is perfect for busy days and is a great bachelor-friendly and kid-friendly recipe.
- You can customize this rasam recipe in multiple ways; every variation tastes amazing. Check out the different variations below.
- It’s wholesome, comforting food and great for lunch or dinner.
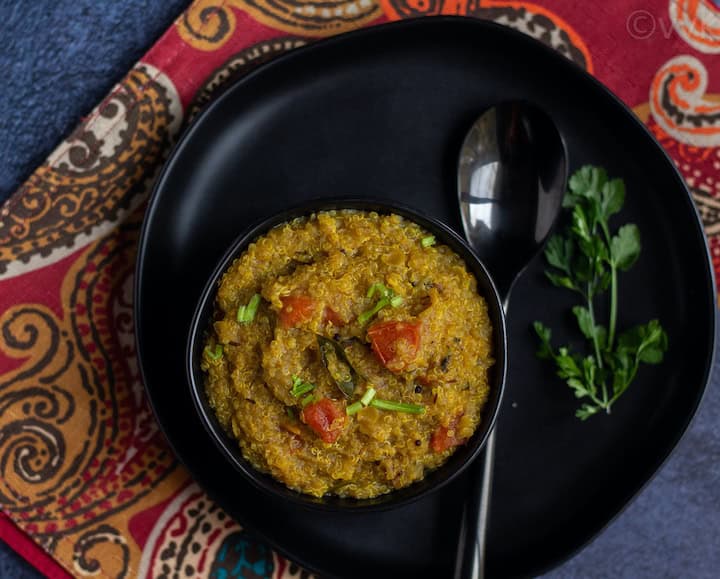
Ingredients Required & Variations
Sadham or sadam in Tamil means rice, hence the name rasam sadham for rasam rice. Please read the section carefully for variations as well.
Grain & Dal –
For the traditional paruppu rasam recipe, you need rice and toor dal. But instead of rice, I went with quinoa. You can use any other rice varieties or millet varieties instead of quinoa. Also, I included only 2 tbsp of toor dal. I didn’t add more as it would resemble sambar rice or bisibelebath.
You can skip the toor dal or add masoor dal or moong dal. I did not soak the quinoa or the dal. I just rinsed the quinoa and dal thoroughly and used it directly. There is no harm in soaking for about 15 minutes.
Rasam Powder –
Let’s talk about the essential ingredient, the rasam powder. I used my homemade rasam powder. Every household in South India will have its unique rasam powder recipe. So adjust the amount according to your preference. I used one heaped tbsp of rasam powder and ½ tsp freshly grated ground pepper.
You can also use store-bought rasam powder or quickly make your own. Follow the ground masala paste in my cumin pepper rasam with slightly modified measures. You can dry roast ½ to ¾ tbsp whole pepper, 1 tbsp cumin seeds, ten curry leaves, and ½ tbsp toor dal and grind it coarsely. Or soak them in water and grind them to a coarse paste by adding water.
Tamarind Paste –
I used homemade tamarind paste for this recipe, and with the slightly sour tomato, I went ¾ tsp of tamarind paste. If you can’t source tamarind paste, skip it and add more tomatoes or lemon juice after the pressure cooking. It will be more like lemon rasam rice.
Tempering-
Ahhh, the major question is when to do the tempering. I want to keep it as an exact one-pot recipe, so I started with the tempering. But you can skip the tempering part, cook the rice and dal with rasam powder, and add the tempering towards the end. As mentioned earlier, along with mustard seeds and cumin seeds, you can also add sun-dried turkey berries, black nightshade berries, and dried neem flowers. A tsp of each should work for this measure.
But for today’s recipe, I just used ½ tsp of dried neem flowers and made it more dried neem flowers rasam rice or vepampoo rasam sadam. Trust me, folks, half tsp of dried neem flowers doesn’t impart a bitter taste. You can go up to 1 tsp. Just make sure to saute until it turns brown. If you are preparing to temper the end, let it brown a bit longer and ensure it’s crisp.
Watch me make rasam rice in Instant Pot-
What to serve with it:
We love this rasam rice with dry curries, fryums, raita, and pickles. Here are some of my favorite combinations.
- Baked potato curry
- Kathirikai podi curry
- Beets stirfry
- Cucumber raita
- Sweet and spicy lemon pickle
- Fryums
- Ivygourd fry
- Instant mango pickle
How to make rasam rice in Instant Pot?
Prepare the tempering-
- Set the Instant Pot in saute mode, and when the display shows “hot,” add the ghee. Let the ghee melt, and add the mustard, cumin, and hing. Then add the dried neem flowers, if using, and saute until the neem flowers turn brown or for about 45 to 60 seconds.
- Now add the chopped tomato and mix. Then turn off the Instant Pot. Turning off the IP and adding other ingredients helps prevent the newer models’ burn signal.
Add the other ingredients-
- Now, we need to add all the other ingredients one by one. There isn’t any specific order. :-)
- First, add the rinsed and drained quinoa and toor dal. Followed by rasam powder, ground turmeric, salt, tamarind paste, curry leaves, and cilantro.
- If you are using ground pepper, add it as well. I went with freshly grated pepper.
- Finally, add water. If you want mushy rasam sadham/rice, add 3.5 cups to 4 cups of water. I added a little over 3 cups of water for this recipe.
Pressure cook the quinoa-
- Mix all the ingredients and thoroughly scrape the bottom of the Instant Pot.
- Close the Instant Pot. Ensure the sealing ring and the vent are in the sealing position.
- Pressure cook this for 12 minutes at high-pressure mode and let the pressure release naturally.
- Carefully open the Instant Pot. Mix and mash it gently. If you prefer a semi-solid porridge consistency, set the Instant Pot to saute mode, add more water, and mix. Add salt and let the rasam sadham cook for two minutes if needed. Turn off the heat. Garnish with more cilantro and ghee, and serve hot with your favorite vegetable.
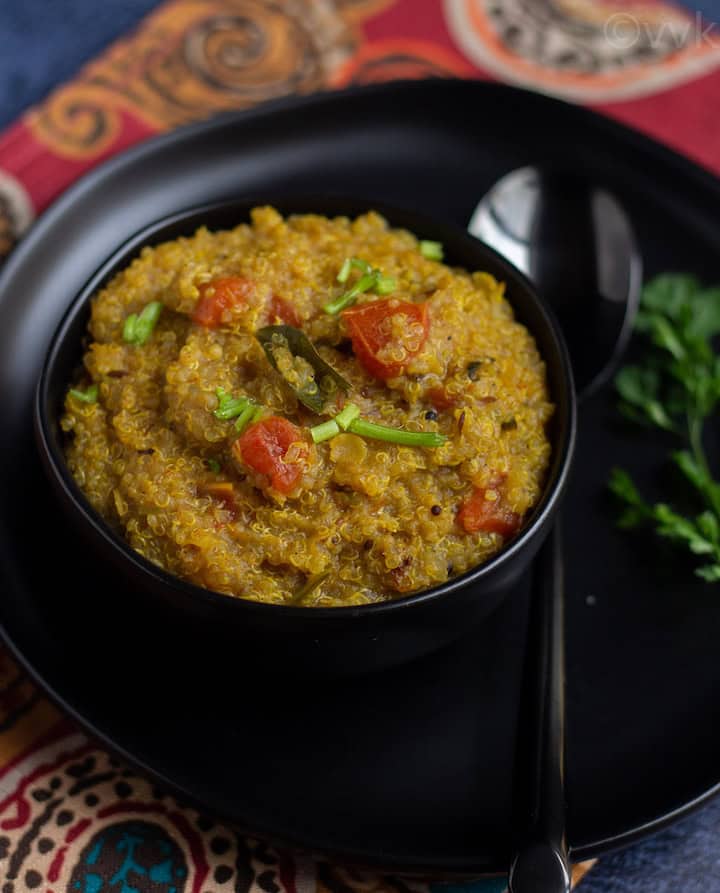
Recipe Notes
- I used quinoa in this recipe. You can replace it with regular rice, brown rice, millet, bulgur wheat, or any grain you choose.
- Adjust the salt, rasam powder, and ground pepper according to your preference.
- Also, I added only 2 tbsp of toor dal. However, you can adjust the grain-to-lentil ratio according to your preference.
- If you have trouble getting a mushy consistency with your toor dal, make sure to soak it for 30 minutes, and you can cook for up to 15 to 18 minutes. You can also use masoor dal or moong dal instead.
- If you can’t source tamarind, add more tomatoes or lemon juice. Check the post above for the details.
- Dried neem flowers are entirely optional. As mentioned above, you can skip it or add other dried fryums.
- I kept it no-garlic rasam rice. You can add two to three crushed garlic pods.
Explore more one-pot rice recipes
Frequently asked questions
If you use white rice, quinoa, millet, bulgur wheat, or buckwheat, the timing is as measured in the recipe card. But if you are using brown rice, I would do 20 minutes.
We want the rasam rice to be mushy like kichadi, so we cook it longer. Also, we want our toor dal to cook well with tamarind water, so we opt for a longer time. If you have cooked and frozen toor dal, you can reduce the cooking time and cook for just 5 minutes.
Follow the same tempering procedure, and after adding all the ingredients, add water and pressure to cook for four whistles.
You can reheat the rasam rice by adding water so it thins down. If you are packing this for lunch, I recommend cooking it with extra water so it doesn’t thicken for lunch.
Do the tempering with unflavored oil and skip the ghee.
PS: Follow me on Instagram or join my Facebook Group for more gardening and recipe updates. If you try this quinoa rasam rice recipe, please don’t forget to comment and rate this recipe. If you have any questions, please leave a comment, and I will get to it asap. Make sure to follow me on my Pinterest for more healthy and delicious ideas!
📖 Recipe
One Pot Rasam Rice | Rasam Sadam
Equipment
- Electric or stove-top pressure cooker
Ingredients
Measurement Details: 1 cup = 240ml; 1 tbsp = 15ml; 1tsp = 5ml;
- 1 tbsp ghee you can use oil for the vegan version
- ½ tsp mustard seeds
- 1 tsp cumin seeds
- ¼ tsp asafetida a fat pinch would do, skip for a gluten-free version
- ½ tsp dried neem flowers optional
- 1 tomato chopped
- 1 cup quinoa rinsed
- 2 tbsp toor dal split pigeon peas, rinsed
- 1 tbsp rasam powder heaped, adjust according to taste
- ⅛ tsp ground turmeric
- 1.25 tsp salt or to taste
- ¾ tsp tamarind paste
- 5 to 6 curry leaves chopped roughly
- 2 tbsp cilantro chopped roughly
- ½ tsp ground pepper or to taste optional
- 3 to 3.5 cups water
Instructions
- Set the Instant Pot in saute mode, and when the display shows "hot," add the ghee. Let the ghee melt, and add the mustard, cumin, and hing. Then add the dried neem flowers, if using, and saute until the neem flowers turn brown or for about 45 to 60 seconds.
- Now add the chopped tomato and mix. Then turn off the Instant Pot. Turning off the IP and adding other ingredients helps prevent the newer models' burn signal.
- Now, we need to add all the other ingredients one by one. There isn't any specific order. :-)
- First, add the rinsed and drained quinoa and toor dal. Followed by rasam powder, ground turmeric, salt, tamarind paste, curry leaves, and cilantro.
- If you are using ground pepper, add it as well. I went with freshly grated pepper.
- Finally, add water. If you want mushy rasam sadham/rice, add 3.5 cups to 4 cups of water. I added a little over 3 cups of water for this recipe.
- Mix all the ingredients and thoroughly scrape the bottom of the Instant Pot.
- Close the Instant Pot. Ensure the sealing ring and the vent are in the sealing position.
- Pressure cook this for 12 minutes at high-pressure mode and let the pressure release naturally.
- Carefully open the Instant Pot. Mix and mash it gently. If you prefer a semi-solid porridge consistency, set the Instant Pot to saute mode, add more water, and mix. Add salt and let the rasam sadham cook for two minutes if needed. Turn off the heat. Garnish with more cilantro and ghee, and serve hot with your favorite vegetable.
Video
Notes
- I used quinoa in this recipe. You can replace it with regular rice, brown rice, millet, bulgur wheat, or any grain you choose.
- Adjust the salt, rasam powder, and ground pepper according to your preference.
- Also, I added only 2 tbsp of toor dal. However, you can adjust the grain-to-lentil ratio according to your preference.
- If you have trouble getting a mushy consistency with your toor dal, make sure to soak it for 30 minutes, and you can cook for up to 15 to 18 minutes. You can also use masoor dal or moong dal instead.
- If you can’t source tamarind, add more tomatoes or lemon juice. Check the post above for the details.
- Dried neem flowers are entirely optional. As mentioned above, you can skip it or add other dried fryums.
- I kept it no-garlic rasam rice. You can add two to three crushed garlic pods.
Nutrition
I am not a nutritionist. The nutritional information is provided as a courtesy and is an estimate only. It varies depending upon the product types or brands.
Update notes – Earlier posted in 2020. Now updated with FAQ section and updated the content. The recipe remains the same.




what is the instant pot size , you use for these one pot rice items and for other recipes ?
This one is 5qt.
Great recipe! So quick and we had this with cabbage peas curry and some microwaved Vadam..made with red rice. How long did the npr take for you? I tried until 15 mins it didn’t happen so I did a qpr after that..
Sometimes if the pressure is high it takes 20 minutes too. Glad you all liked it.
It’s become my go-to rasam recipe! I’ve always been insecure about making rasam, unless this recipe came along! Thanks Vidhya☺️??
Awww thanks much. Glad it’s worked out.
This looks delicious will definitely try it out
Thanks. :-)
Thanks for the recipe. I tried and it turned yum :)
:-) Thanks a lot