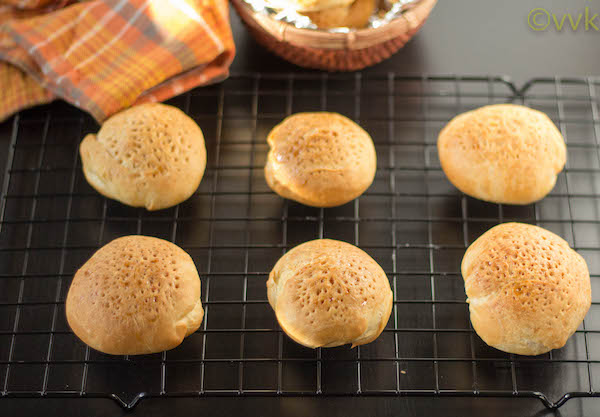
Hallullas – yeast-based soft Chilean Biscuits. They are the perfect buns for sandwiches and starters!
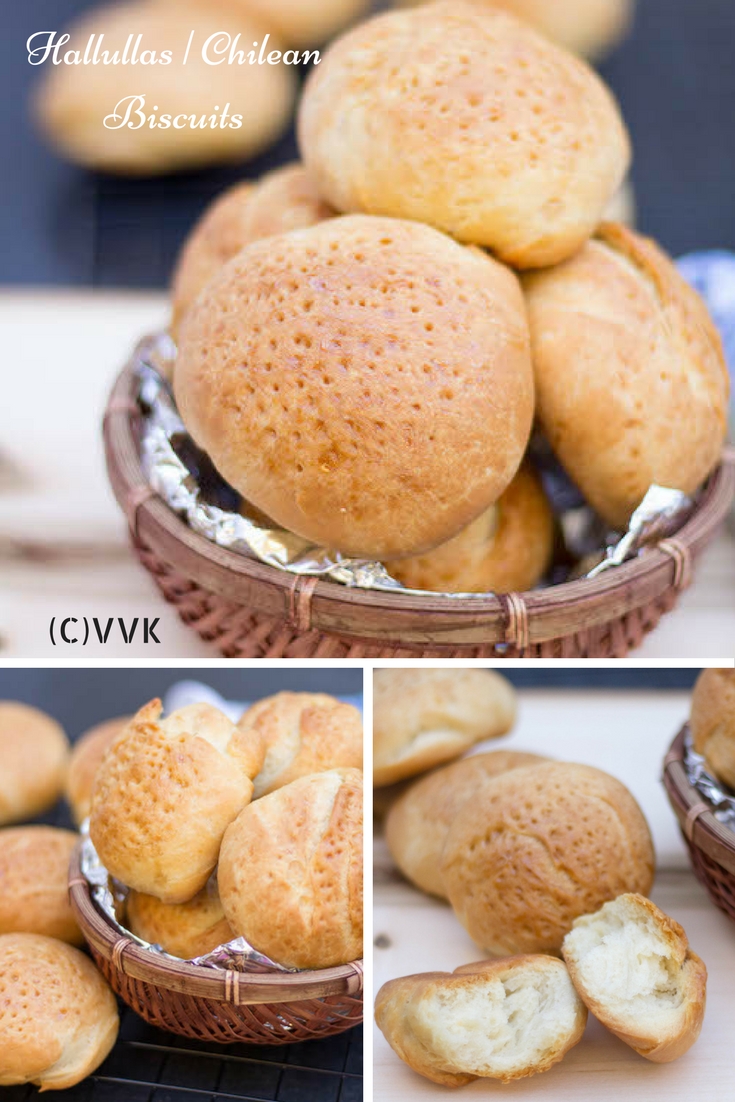
What I learned from wiki was that this Chilean bread is prepared with wheat flour, and that’s what I was planning to make this recipe with wheat flour, but when I found this recipe, I was in a dilemma whether to go with APF or wheat flour. I decided to go with wheat flour as I have few other recipes coming with other healthy flour mixes. :-)
Recap:
- 2015 | Day 8 –Baked Vazhai Poo Vadai
- 2016 | Day 8 – Horse Gram Dal Rasam Podi
- 2017 | Day 8 – H | Hallulla
As with all bread, this recipe involves yeast proofing, kneading, dough rising and kneading again before baking. :-) So without any further ado, here is the Chilean bread recipe.
Chilean Biscuits Hallullas Recipe
Ingredients:
For Yeast Proofing:
- Lukewarm water – ¼ cup
- Active Dry Yeast – 1 packet
For the Biscuits:
- All-purpose flour – 3 cups flour
- Milk – ½ cup
- Water – ½ cup
- Shortening – ¼ cup
- Sugar – 1 tsp
- Salt – 1 tsp
- Oil for greasing
- Maple Syrup for brushing
Steps:
Yeast Proofing:
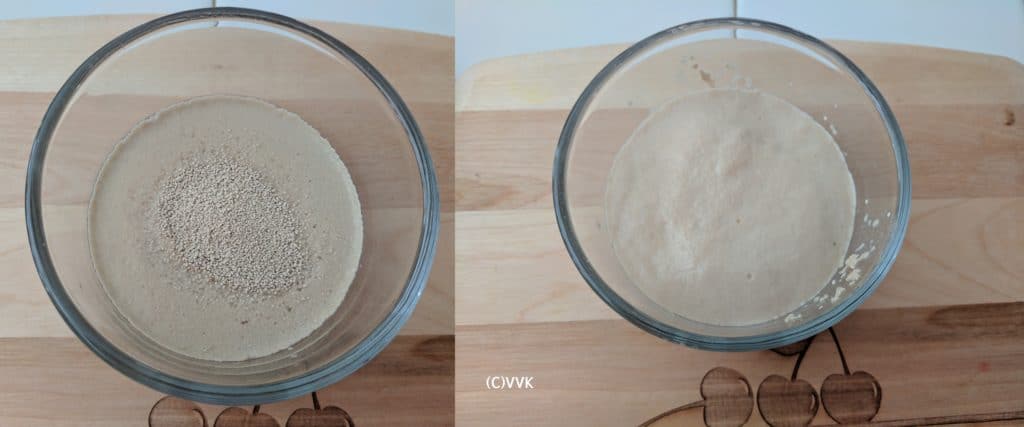
- Add the yeast to the lukewarm water and let it sit for 10 minutes.
- After 10 minutes, the water will be bubbly and frothy. (In parallel sieve the dough as mentioned below)
- At this stage mix it well.
- The yeast mixture is ready.
Preparing the dough:
- In a wide mixing bowl, sieve the flour, sugar, and salt.
- Add the yeast mixture and milk and mix well.
- Now add the vegetable shortening and mix the dough. At this stage, it will resemble like crumbles.
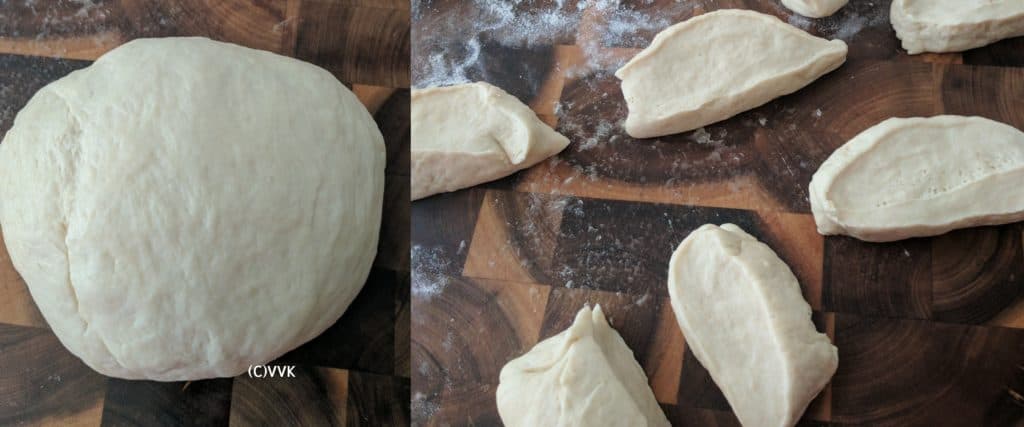
- Slowly water, 1 tbsp at a time and bring it together. Knead until dough is smooth, elastic, and not sticky, about 10 minutes.
- Grease a big vessel with sufficient room for the dough to rise with oil.
- Spread some oil on top of the dough too. Keep this dough in the greased vessel and wrap it with cling film and set aside.
- I kept it inside my oven. This time it took me 2 hours for the dough to rise.
Kneading and Shaping:
- Once the dough has raised, remove the cling film and punch it down.
- Knead it on lightly floured surface for 10 minutes to build the gluten content and to remove all the air pockets.
- Roll the dough into a single log and divide it into equal portions
- Now roll the individual sized portions into small balls and place on a baking tray lined with parchment paper with sufficient space in between.
- Let it sit for 30 minutes for the dough to rise again.
Baking:
- Pre-heat the oven to 400 deg F.
- After 30 minutes, using a fork, prick on top of the dough to form a decorative pattern or randomly. (That’s what I did)
- Bake it for 20 minutes and remove them from oven and brush it with maple syrup and bake again for 5 minutes.
That’s it Hallullas is ready.
Notes:
- You can replace the APF with wheat flour.
- Maple syrup brushing is completely optional.
- I stored this bread in the refrigerator and before serving I warmed it in my microwave oven for 30 seconds. This bread stayed fresh for one week.
- Temperature plays a significant role in dough rise so wait patiently but during warm weather check the dough after an hour.
- Kneading for at least 10 minutes is important after the rise.
- If you are using instant yeast, no proofing is required. You can directly add it to the flour. In that case, add more water.
Enjoying Chilean Biscuits Hallullas? You will love these pizzas, too:
- Eggless Pumpkin Pie With Good Day Biscuit Crust
- Buttermilk Biscuits
- Bombay Sandwich
- Vegetable Sandwich
- Banana Biscuit Halwa | Banana Pudding
Have you made made this recipe?
If you’ve made this Chilean Biscuits Hallullas recipe, please share your photos with me on Pinterest, Facebook, Instagram, YouTube or Twitter – I will be delighted to see your results!
📖 Recipe
Hallullas | Chilean Biscuits
Ingredients
For Yeast Proofing
- ¼ cup Lukewarm water
- 2.5 tsp Active Dry Yeast 1 packet
For the Biscuits
- 3 cups All purpose flour
- ½ cup Milk
- ½ cup Water
- ¼ cup Shortening
- 1 tsp Sugar
- 1 tsp Salt
- Oil for greasing
- 2 tbsp Maple Syrup
Instructions
Yeast Proofing
- Add the yeast to the lukewarm water and let it sit for 10 minutes.
- After 10 minutes, the water will be bubbly and frothy. (In parallel sieve the dough as mentioned below)
- At this stage mix it well.
- The yeast mixture is ready.
Preparing the dough
- In a wide mixing bowl, sieve the flour, sugar and salt.
- Add the yeast mixture and milk and mix well.
- Now add the vegetable shortening and mix the dough. At this stage, it will resemble like crumbles.
- Slowly water, 1 tbsp at a time and bring it together. Knead until dough is smooth, elastic, and not sticky, about 10 minutes.
- Grease a big vessel with sufficient room for the dough to rise with oil.
- Spread some oil on top of the dough too. Keep this dough in the greased vessel and wrap it with cling film and set aside.
- I kept it inside my oven. This time it took me 2 hours for the dough to rise.
Kneading and Shaping
- Once the dough has raised, remove the cling film and punch it down.
- Knead it on lightly floured surface for 10 minutes to build the gluten content and to remove all the air pockets.
- Roll the dough into a single log and divide it into equal portions
- Now roll the individual sized portions into small balls and place on a baking tray lined with parchment paper with sufficient space in between.
- Let it sit for 30 minutes for the dough to rise again.
Baking
- Pre-heat the oven to 400 deg F.
- After 30 minutes, using a fork, prick on top of the dough to form a decorative pattern or randomly. (That's what I did)
- Bake it for 20 minutes and remove them from oven and brush it with maple syrup and bake again for 5 minutes.
- That's it Hallullas is ready.
Notes
- You can replace the APF with wheat flour.
- Maple Syrup brushing is completely optional.
- I stored this bread in the refrigerator and before serving I warmed it in my microwave oven for 30 seconds. This bread stayed fresh for one week.
- Temperature plays a significant role in dough rise so wait patiently but during warm weather check the dough after an hour.
- Kneading for at least 10 minutes is important after the rise.
- If you are using instant yeast, no proofing is required. You can directly add it to the flour. In that case, add more water.
- Adapted from The Spruce
Nutrition
I am not a nutritionist. The nutritional information is provided as a courtesy and is an estimate only. It varies depending upon the product types or brands.
Check out the Blogging Marathon page for the other Blogging Marathoners doing BM# 75.


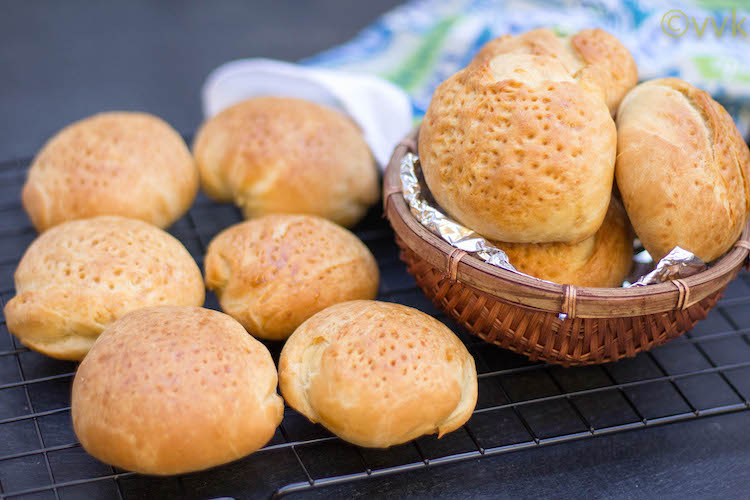





Those buns have got a nice soft texture and amazing crust.
Thank you :-)
Those Chilean buns look so soft and fluffy. Good pick for the letter H.
Thank you Pavani.
For a minute, when I just saw the pictures I thought they were kuzhi paniyaram. These are so cute and love the shape of the biscuits. Lovely choice for the alphabet.
LOL on kuzhi paniyaaram. Thanks Sandhya.
Very interesting Chilean biscuits, am hearing this Hallullas for the first time and am tempted to give a try soon.
Thanks Priya.
Looks like dinner rolls. New and interesting recipe!!
Thanks :-)
Dinner rolls sounds new.. Initially thought them as biscuits later realized.. Lovely share!!
It’s a cross between biscuit and a roll.. ;-) Thanks Sharmila
These buns have a beautiful texture! Can imagine what a delight they would be with jam…drooling here!
Thanks Sowmya.
This is a new dish Srividhya and so nicely done. I love the inner texture and looks so spongy!..very good pick..
Thanks a lot Valli.
Very interesting variety of dinner rolls.
:-) :-)
Hallulas.. that’s something I hadn’t heard of. They do look light and airy. Perfectly baked buns!
Thanks Namratha…