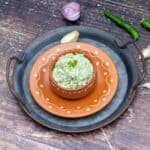
Biryani chammanthi – A delicious Kerala-special no-cook chutney made with a handful of fresh ingredients that are readily available in your pantry.
Check out how I made this simple biryani chutney!
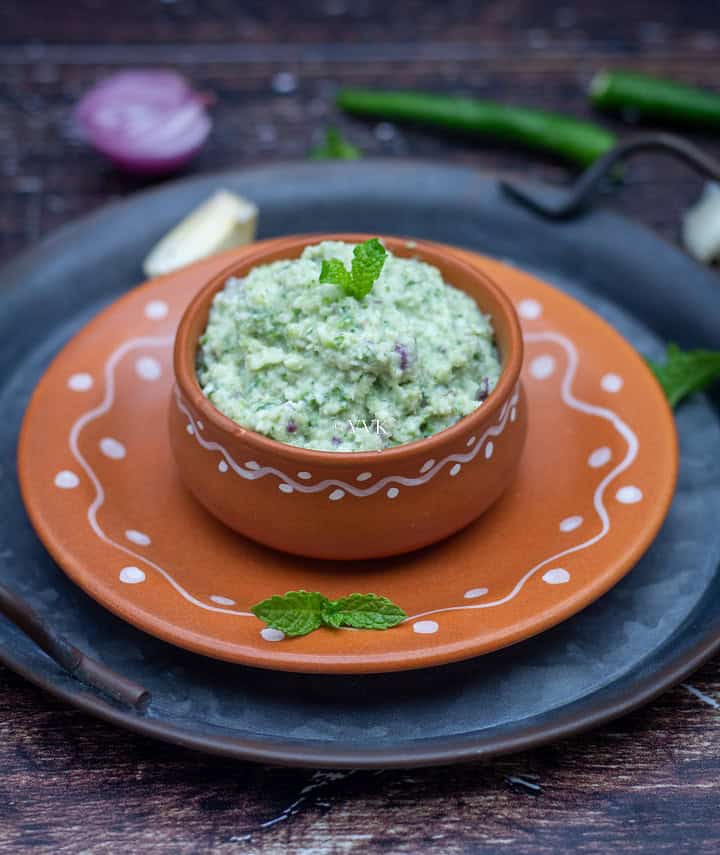
Kerala cuisine is known for various delicacies, and one among them is the chammanthi, meaning chutney. I have two Kerala style chutneys on my blog: manga chammanthi or the green mango chutney. The other one is the dry coconut chutney, which I call thogayal thoran.
And this biryani chutney or the biryani chammanthi is new to me. We all know raita, salan and other gravies served as a side for the biryanis, but chutney? Quite interesting and new, right?
When I was planning for the mega BM, especially the biryani platters, Sharmila from happietrio mentioned this chutney and shared her recipe. She posted a quick video on her IG feed, and I adapted mine from that. I bookmarked it right away and then started exploring more about it.
Biryani Chutney
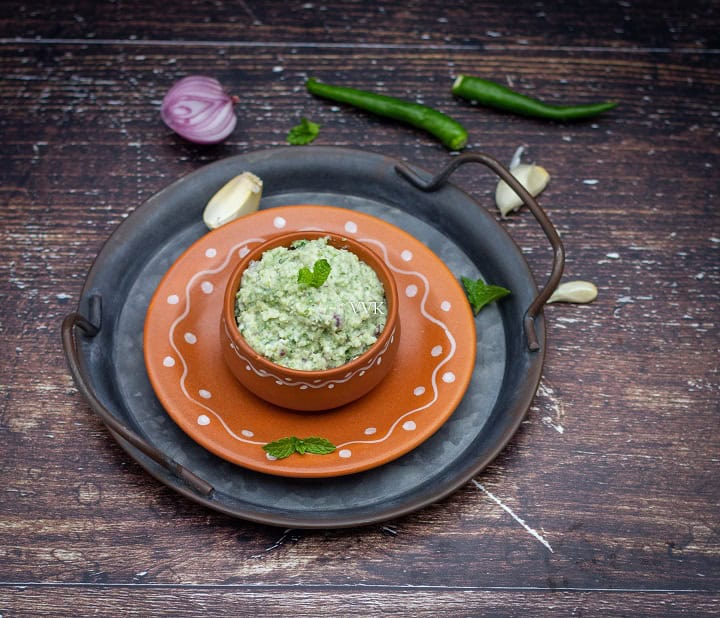
What I learned was this biryani chutney is usually served with Thalaserry biryani. Some call it as Malabar chammanthi and some as thenga chammanthi. But it is mostly known as green chutney for biryani or biryani chammanthi.
Coconut, green chilies, cilantro, and mint leaves are the main ingredients. Now you know why this chutney is known as green chutney for biryani. Adding shallots, garlic, curry leaves, and ginger is optional.
It pairs well with all biryani recipe, and I served it with my thengai paal sadam.
Can it be only served with biryani?
It’s a typical side for biryani, but I liked it with yogurt rice and roti. If you like the raw taste of garlic, shallot, and herbs, you can mix it with plain steamed rice with a dollop of ghee and relish it. Or use it as a sandwich spread.
Make it today and give it a try. Trust me, folks, you will be amazed for sure.
Now there are several recipes available online, but I followed Sharmila’s recipe with one small change.
Along with garlic, I added a shallot or small onion as well. That’s about it. We need to grind coconut, garlic, shallot, green chili, mint, and cilantro along with salt and mix the yogurt. That’s it. The chammanthi is ready.
Make it vegan
We add a tbsp of yogurt here; instead, you can add 2 tsps of lemon juice and make this chammanthi completely vegan. By nature, this chutney is gluten-free.
Now let’s see how to make this chutney,
How to make biryani chammanthi:

- Grind all the ingredients, including salt, into a coarse paste in a mixer jar or a coffee grinder.
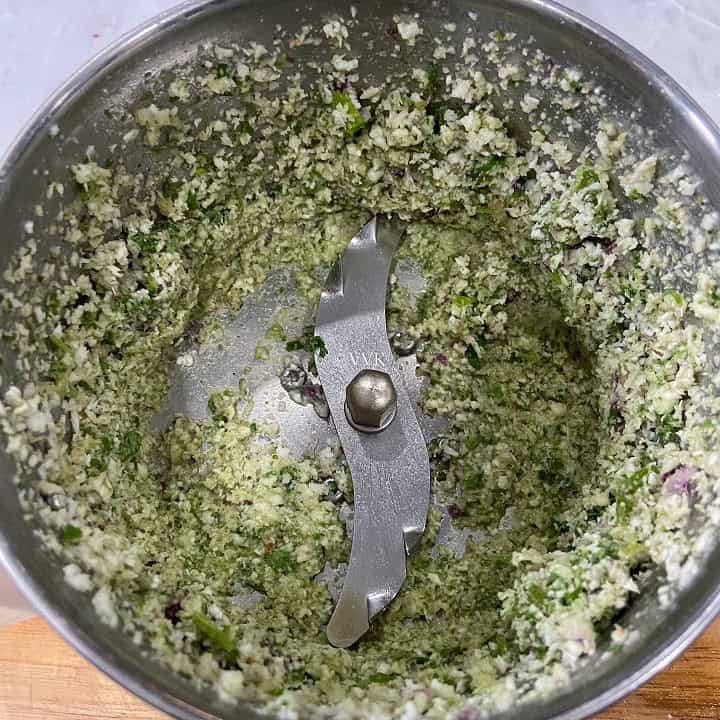
- Transfer it to a bowl and add the yogurt and mix well.
- That’s it. Serve it with biryani.
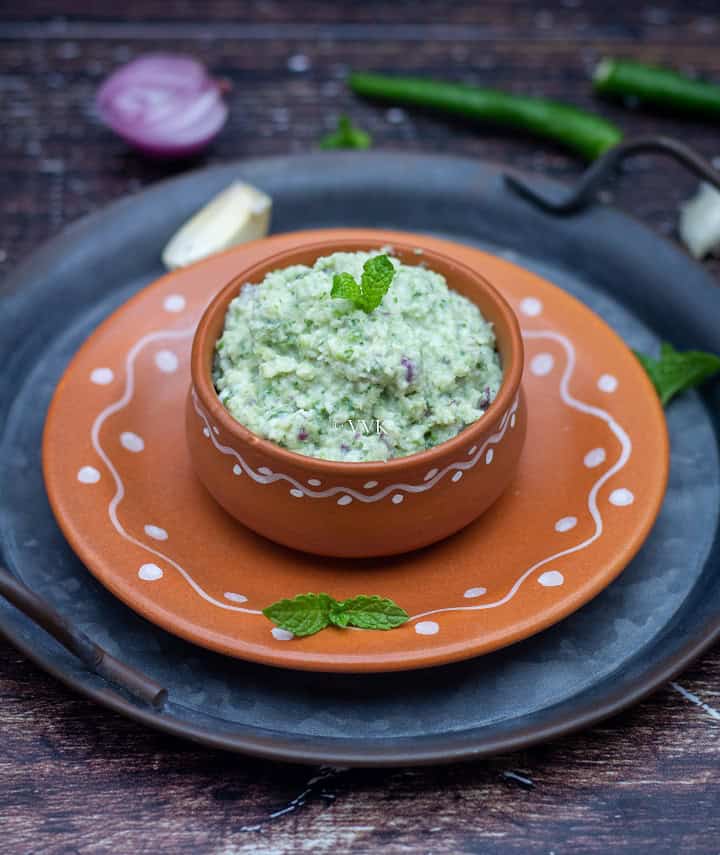
Recipe Notes-
- Skip yogurt and add 2 tsps of lemon juice or to taste.
- Adjust the green chilies and salt as per your preference.
- Garlic and shallots are optional.
- Along with other ingredients, you can include few curry leaves and ginger as well. Make sure you add a small piece and don’t let ginger to take over the flavor.
- Make sure to refrigerate the chutney, and I have stored it for two days in the refrigerator without any issues.
PS – If you try this biryani chutney, please don’t forget to comment and rate this recipe. If you have any questions, please leave a comment, and I will get to it asap. Make sure to follow me on my Pinterest for more healthy and delicious ideas! Follow me on Instagram or join my Facebook Group for more gardening and recipe updates.
📖 Recipe
Biryani Chammanthi | Kerala Special Biryani Chutney
Equipment
- Mixer jar or coffee grinder
Ingredients
- ⅓ cup coconut grated
- 1 green chili
- 1 garlic clove
- 1 shallot
- 1 tbsp cilantro
- 2 tbsp mint leaves approx 10 big leaves
- ½ tsp salt or to taste
- 1 tbsp yogurt
Instructions
- Grind all the ingredients, including salt, into a coarse paste in a mixer jar or a coffee grinder.
- Transfer it to a bowl and add the yogurt and mix well.
- That’s it. Serve it with biryani.
Notes
- Skip yogurt and add 2 tsps of lemon juice or to taste.
- Adjust the green chilies and salt as per your preference.
- Garlic and shallots are optional.
- Along with other ingredients, you can include few curry leaves and ginger as well. Make sure you add a small piece and don’t let ginger to take over the flavor.
- Make sure to refrigerate the chutney, and I have stored it for two days in the refrigerator without any issues.
Nutrition
I am not a nutritionist. The nutritional information is provided as a courtesy and is an estimate only. It varies depending upon the product types or brands.
Check out the Blogging Marathon page for the other Blogging Marathoners doing BM#116




Wow. this is new to me. This looks like adapted version of coconut sambol we make plus mint, coriander and garlic. This surely looks so flavorful and would love to try it sometime.
It is quite easy and we love it.
Mint, coconut, and shallot a completely different chutney recipe. I am intrigued by the taste of this, would love to give it a try first.
Please do try. It’s amazing.
It’s the name that caught my attention, Vidhya and I came to read the recipe. I have never combined Mint and Coconut and this seems to be a good way to do it.
Please do try it Aruna. It was really good.
I could call this a second version of coconut chutney that we make . We do not add mint and onion , rest is all the same . Will try adding these two ingredients the next time I make the coconut chutney .
I am sure it must be delicious , with all thise ingredients .
It is delicious and we all enjoyed it and I am sure you will love it too.
Wow! I never knew this coconut chutney is used as an accompaniment to biryani. Very interesting.
It was new to me too. I was amazed at how it paired so well with biryani.
Didn’t realise there was a biryani chutney, though it surely sounds excellent idea..I have only read and seen gravies..will surely try this sometime Srividya!
I learned it from Sharmila as well. It was amazing Valli. Do try it when you get a chance.